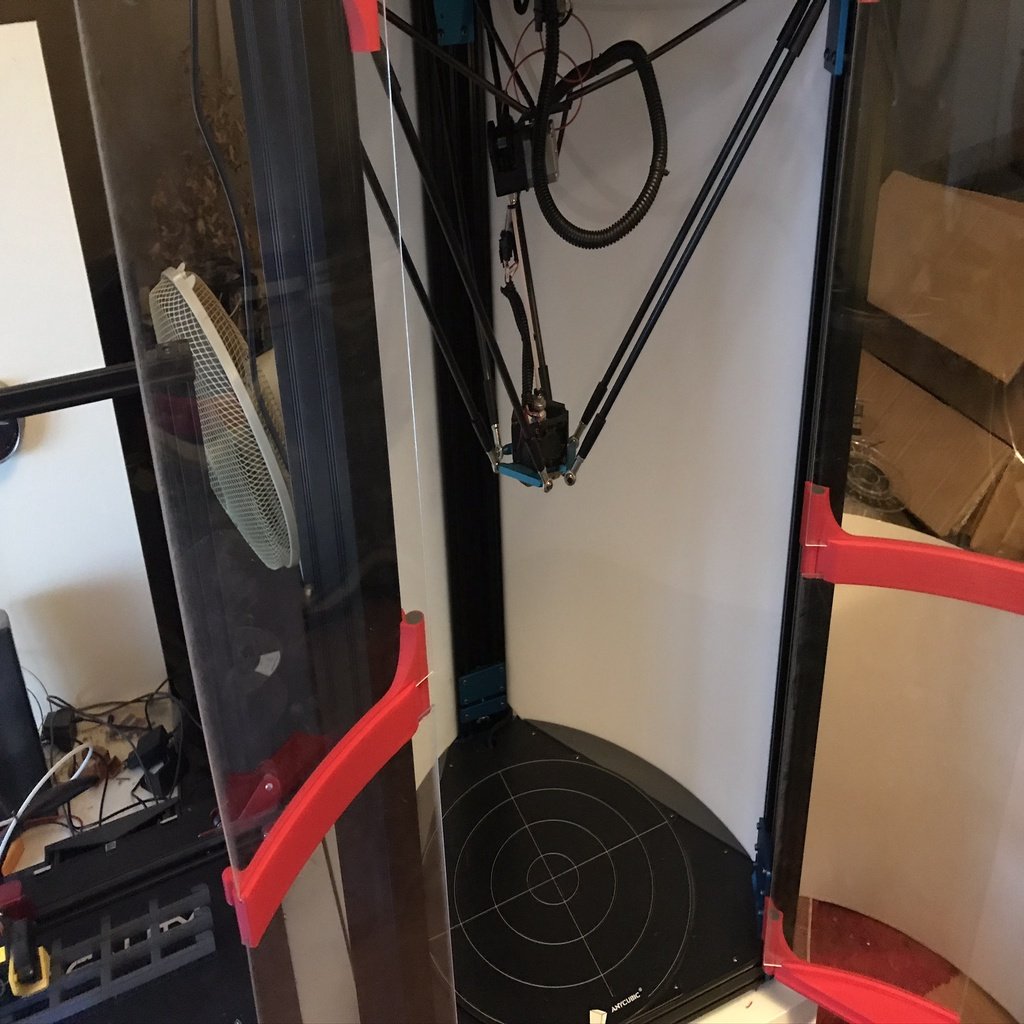
Anycubic Predator Enclosure
thingiverse
Enclosure for the Anycubic Predator. 12.01.2020 - added STL files for multi-color middle parts for the doors (prefix 'MC'). 06.02.2020 - added .STL files for Activated Carbon Filter (prefix AC). 12.02.2020 - by request, I've added parts for middle doors (prefix 'NT'). You'll need: 2 x 2 mm acrylic panels, 49x87.5 cm. 4 x 2 mm acrylic panels, 22.5 x 42.5 cm 20 x M4 8 mm screws 20 x M4 t-nuts Printed parts: 3 x 'predator_shape.stl' 2 x 'predator_bottom_right.stl' 2 x 'predator_bottom_left.stl' 2 x 'predator_top_right.stl' 2 x 'predator_top_left.stl' 1 x 'predator_door_bottom_right.stl' 1 x 'predator_door_bottom_left.stl' 1 x 'predator_door_mid_right.stl' 1 x 'predator_door_mid_left.stl' 1 x 'predator_door_top_right.stl' 1 x 'predator_door_top_left.stl' 2 x 'predator_hinge_right.stl' 2 x 'predator_hinge_left.stl' 1 x 'predator_hinge_top_right.stl' 1 x 'predator_hinge_top_left.stl' 4 x 'predator_door_pin_long.stl' 2 x 'predator_door_pin.stl' Instructions: 1. Cut the corners at the top and bottom on one side of one of the large acrylic sheets to make room for the heat bed cable. 2. Mount the two large acrylic panels in the grooves on the aluminum posts, ensuring the heat bed cable is not pinched. 3. Insert M4 screws and t-nuts into the bottom left and bottom right printed parts, then slide them into the upper groove of the aluminum extrusion. 4. Slide the top left and top right printed parts into place at the top of the acrylic sheets. 5. Mount each of the four door panels one by one in the printed shapers, heating them with a heat gun until they follow the shaper. 6. Install larger left and right hinges in the grooves of the aluminum extrusions. 06.02.2020 - added .STL files for Activated Carbon Filter (prefix AC). For instructions, see the video below. You'll need: 8 x M3x16mm screws 8 x M3 nuts 2 x Switch: https://www.amazon.co.uk/gp/offer-listing/B005S3QYRM/ref=dp_olp_new_mbc?ie=UTF8&condition=new Activated Carbon filter: https://www.amazon.com/gp/product/B078W4K7D1/ref=ppx_od_dt_b_asin_image_s00?ie=UTF8&psc=1 2 x 4010 axial fan: https://www.amazon.com/RioRand-Brushless-Cooling-40x40x10MM-Printer/dp/B07XBKNST9/ref=sr_1_fkmr0_2?keywords=axial+fan+24v+1040&qid=1580160535&sr=8-2-fkmr0 PS: Acrylic comes in two main versions: cast and extruded. They behave differently when it comes to bending. I chose extruded, so I had to warm the small sheets for the door to keep them in shape. In the downloadable files, I've included a model called 'predator_shape.stl'. Print at least 3 (preferably 5) of those to hold the sheets in shape while heating them with a heat gun. The larger sheets for the sides are no problem.
With this file you will be able to print Anycubic Predator Enclosure with your 3D printer. Click on the button and save the file on your computer to work, edit or customize your design. You can also find more 3D designs for printers on Anycubic Predator Enclosure .
