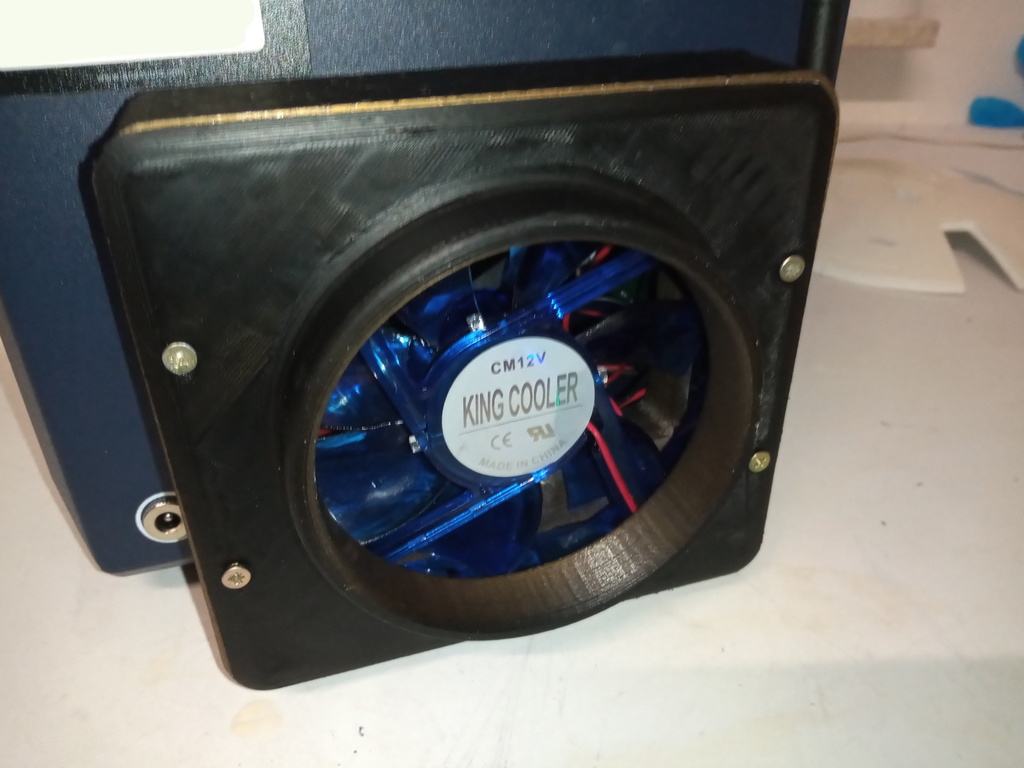
Anycubic Photon (Mono SE) rear vent adapter with fan
thingiverse
Updated this model for my Anycubic Photon Mono SE. This is the same layout as the normal Photon. But I had a 12x12cm fan laying aground. So I changed the size of the original model. The exhaust tube has a diameter of 10cm. The first two parts (seen from the printer) need to be glued together. Then this part can be screwed to the printer (using the original screws that held the plate). My fan used 12v. So it can be connected to the main power inside of the printer. (power supply delivers 12v, connection made on the PCB connector (after the power switch)) Then put in the fan and connect the power. (I did not screw it to the back plate) Then screw the last plate on it and connect the exhaust tube ( I used tyrips) Do not forget to tape the exhaust on the bottom side.
With this file you will be able to print Anycubic Photon (Mono SE) rear vent adapter with fan with your 3D printer. Click on the button and save the file on your computer to work, edit or customize your design. You can also find more 3D designs for printers on Anycubic Photon (Mono SE) rear vent adapter with fan.
