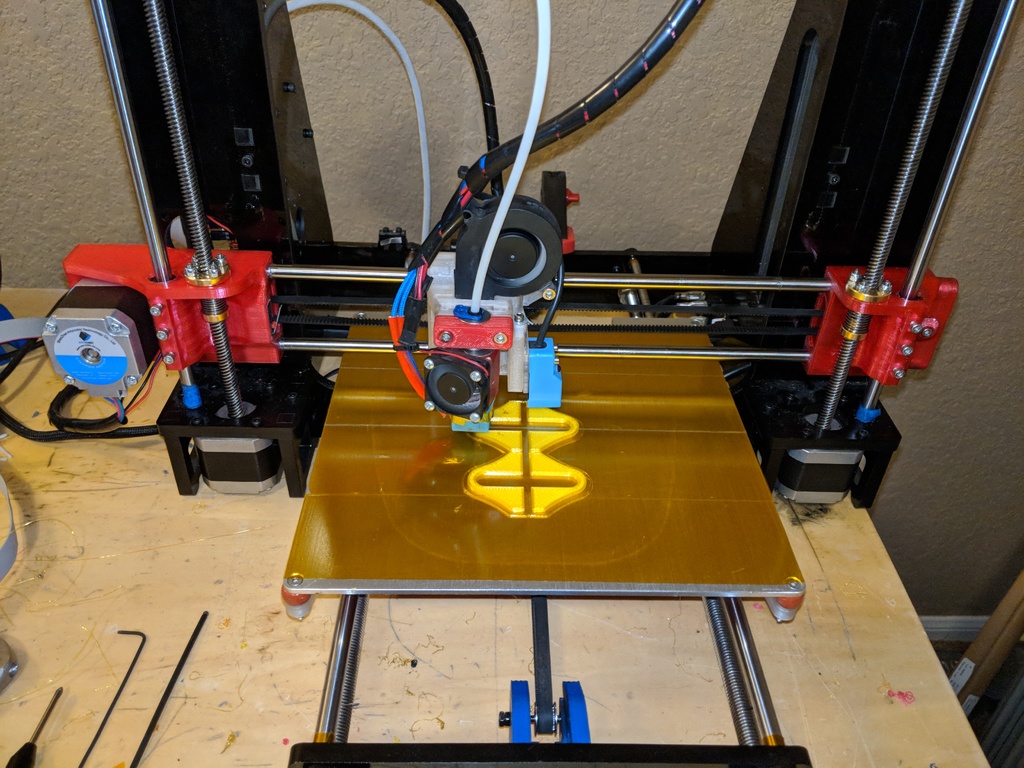
Anycubic I3 Z-Carriage upgrade
thingiverse
My Z Carriages started cracking on my Anycubic I3 so I decided to upgrade them using new LM8LUU bearings clamped in with set screws, which are working great so far. I moved the motor to the front of the carriage to position the center of the motor weight closer to the Z lead screws, effectively preventing twisting. An integrated X Endstop is built into the left carriage for precise control. Since I'm using a probe and a Z-Max endstop, I didn't include anything for a Z-Min endstop, but I do hate using the Z-max endstop - unfortunately, Smoothieware's developers are firm in their stance against allowing me to use my probe as Z-min. The right carriage will require springs for the belt tensioner; specifically, 9.6mm OD and 27mm length relaxed springs are needed. To accommodate this setup, a 16-tooth Idler pulley with a 3mm bore is required, along with replacing the existing belt drive pulley to 16 teeth to maintain proper alignment. Spring-loaded anti-backlash nuts were designed into the carriages, which work remarkably well. If you have any questions or print these carriages and would like to share your experience, please let me know in the comments.
With this file you will be able to print Anycubic I3 Z-Carriage upgrade with your 3D printer. Click on the button and save the file on your computer to work, edit or customize your design. You can also find more 3D designs for printers on Anycubic I3 Z-Carriage upgrade .
