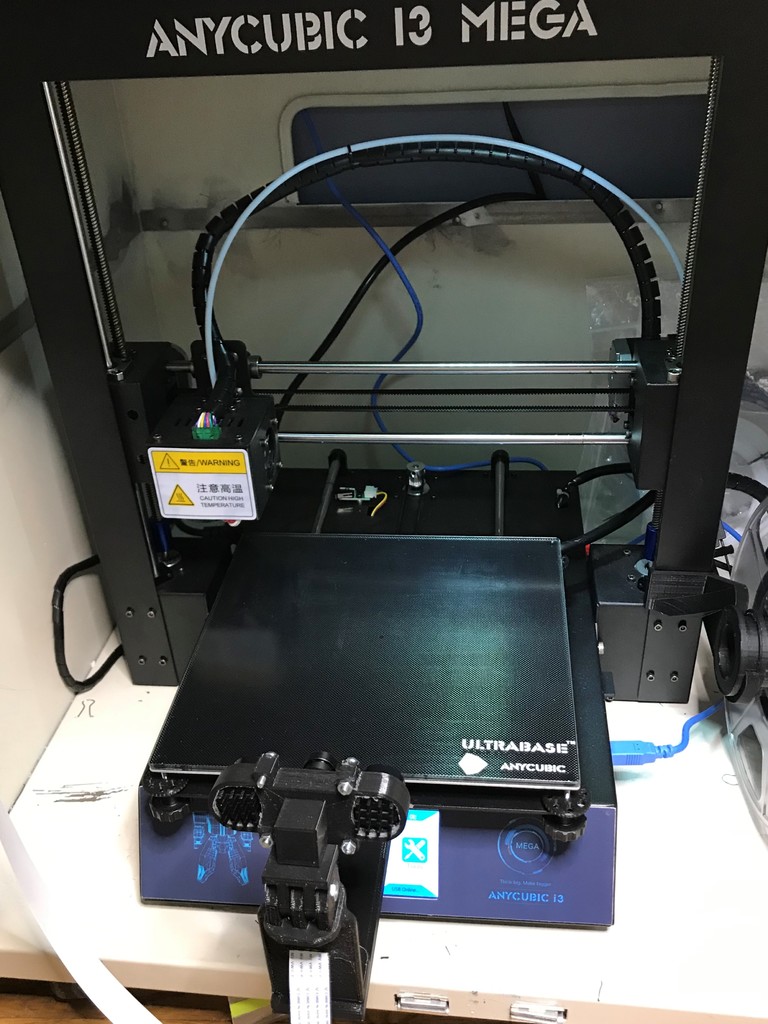
Anycubic i3 Mega Pi NoIR Camera Mount
thingiverse
This clip fits neatly into an opening in the aluminum plate beneath the heated bed. No modifications or part removals from the printer are required. To enhance clearance for the Y axis belt, I placed the clip on top of the aluminum plate. You'll need to obtain the following hardware: 4 M3x15 screws 4 M3 nuts 1 M4x25 (or longer) screw 1 M4 nut The M3 screws and nuts are used to attach the face plate to the camera case, providing a secure hold. Lock nuts can be employed for added security. The M4 screw adjusts tension on the mount-to-pivot connection, while the M4 nut is pressed into the opening in the mount. It was designed with a standard M4 nut in mind; I'm uncertain if a lock nut will fit. The camera case sits atop a post on the pivot, making it easy to remove (I've created a second mount attached to my enclosure). The face plate has been cut away to facilitate removal of the camera ribbon cable without taking out the camera from its case. The ribbon cable can be routed through the mount to prevent tangles. I printed this at draft quality since appearance was not my primary concern; functionality took precedence. I hope you find this helpful.
With this file you will be able to print Anycubic i3 Mega Pi NoIR Camera Mount with your 3D printer. Click on the button and save the file on your computer to work, edit or customize your design. You can also find more 3D designs for printers on Anycubic i3 Mega Pi NoIR Camera Mount.
