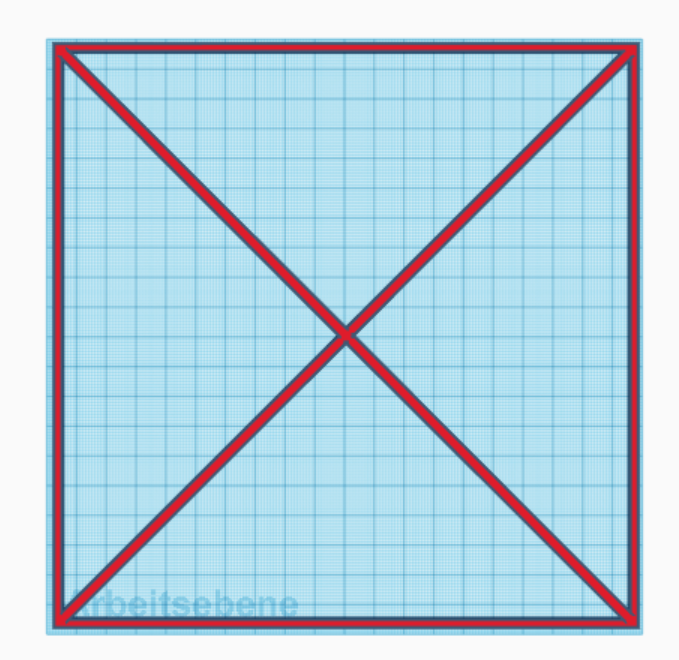
Anycubic i3 Mega level tester
thingiverse
I designed this level tester specifically for my Anycubic i3 Mega and it works exceptionally well. If you're just starting out with your first Anycubic i3 Mega, you can find the initial instructions below. Hint: When using clips to secure a glass-bed, set the "Level-tester" to 80% to avoid damage to the hotend or case for the fans that may occur if the clips are not properly aligned. Have fun! For beginners: Before printing this object, try leveling your printer with a piece of paper. Here's how to do it: 1. Start your 3D printer. 2. Click on "Tools." 3. Click on "Level." 4. Tighten down all screws to create more space for working with the leveler. 5. Now start this option, and the printer will check every corner. Simply take a piece of paper and try to insert it between the nozzle and the bed. There shouldn't be much space left; you should feel some resistance. 6. After completing all four corners, print my "level tester" object. To print my "Level-tester.stl" file, open it in a slicer. This slicer converts data from your model to specific instructions for the printer. I use "Cura," which is free and has become very comfortable to work with. Simply save the result as an ".gcode" file and load it into your printer. Thanks for reading! Enjoy printing!
With this file you will be able to print Anycubic i3 Mega level tester with your 3D printer. Click on the button and save the file on your computer to work, edit or customize your design. You can also find more 3D designs for printers on Anycubic i3 Mega level tester.
