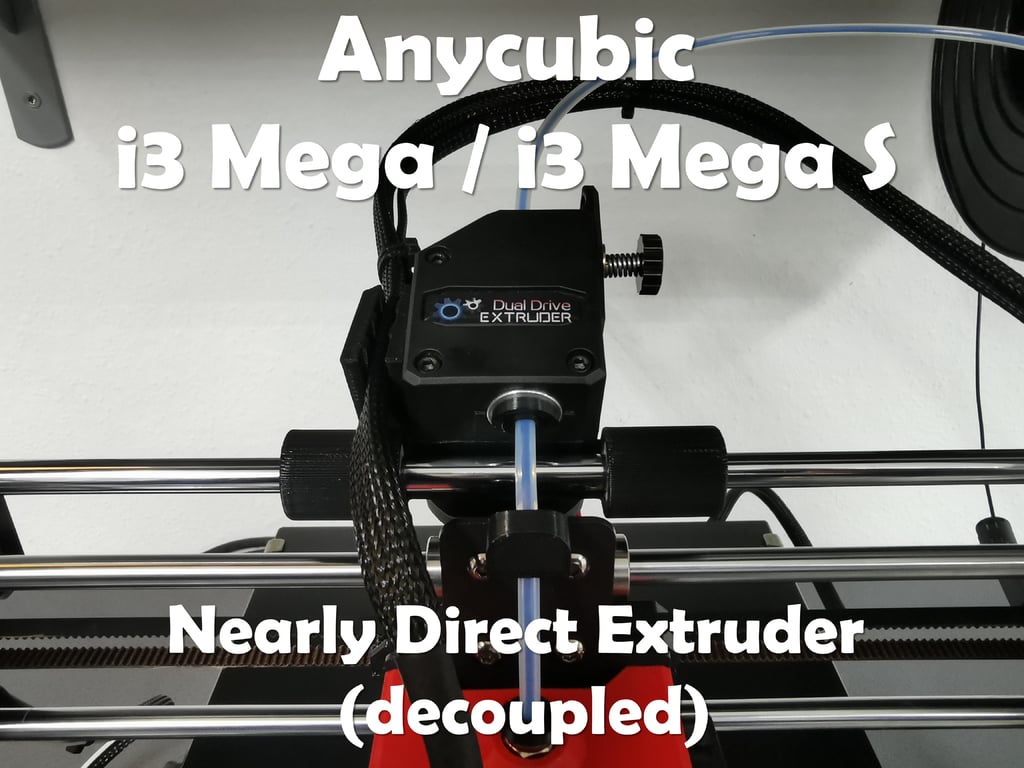
Anycubic i3 Mega / i3 Mega S Direct Extruder v1.0
thingiverse
Anycubic i3 Mega / i3 Mega S Direct Extruder Designing a direct extruder for the Anycubic i3 Mega and i3 Mega S printers has proven to be a worthwhile endeavor, offering significant benefits while minimizing stress on the X-axis. The advantages of this setup are numerous: - Reduced mass from the extruder, stepper motor, and additional components, which reduces ghosting, improves print smoothness, and ensures cleaner prints. - Trouble-free TPU retraction. - Lower retract settings (my settings: PLA - 2mm at 40 mm/s; TPU (Shore hardness: 88A) - 8mm at 70 mm/s). - Smooth bridle printing with TPU is also achievable (see image below). - Any extruder and stepper motor can be used, as the design and weight are irrelevant. The following components are required for installation: 1 x 360-365 mm precision ball bearing (standard i3 Mega X-axis bearing) 1 x LM8UU ball bearing 1 x igus drylin RJ4JP-01-08 bearing 2 x M3 screw 2 x standard Bowden connector with M10 thread Cable with 1mm cross-sectional area Installation: Option 1 with improved 4-point Z-clamp: Print and install the 4-point Z-clamp. -> https://www.thingiverse.com/thing:4241801 1. Fit the extruder holder with a cable guide to the left or right, equipped with the specified bearings, onto the linear bearing. 2. Attach the linear bearing holders to the ends of the linear bearing. 3. Secure the linear bearing holders to the Z-clamp using M4 screws. 4. Install the Bowden and cable guides (see images). For installation at the hotend, two M3 screws are required. 5. Now all other parts can be installed as shown in the images. The original cable sheathing is too stiff for this construction and should be replaced with a braided cable sleeve. The extruder cable needs to be lengthened. Option 2 with original Z-clamp: Remove the spacers from holder 1 and 2, then connect the two holders with linear bearing and use them as a template to mark the holes on the Z-clamp. Drill holes and cut M4 threads. Now the installation can proceed according to option 1.
With this file you will be able to print Anycubic i3 Mega / i3 Mega S Direct Extruder v1.0 with your 3D printer. Click on the button and save the file on your computer to work, edit or customize your design. You can also find more 3D designs for printers on Anycubic i3 Mega / i3 Mega S Direct Extruder v1.0.
