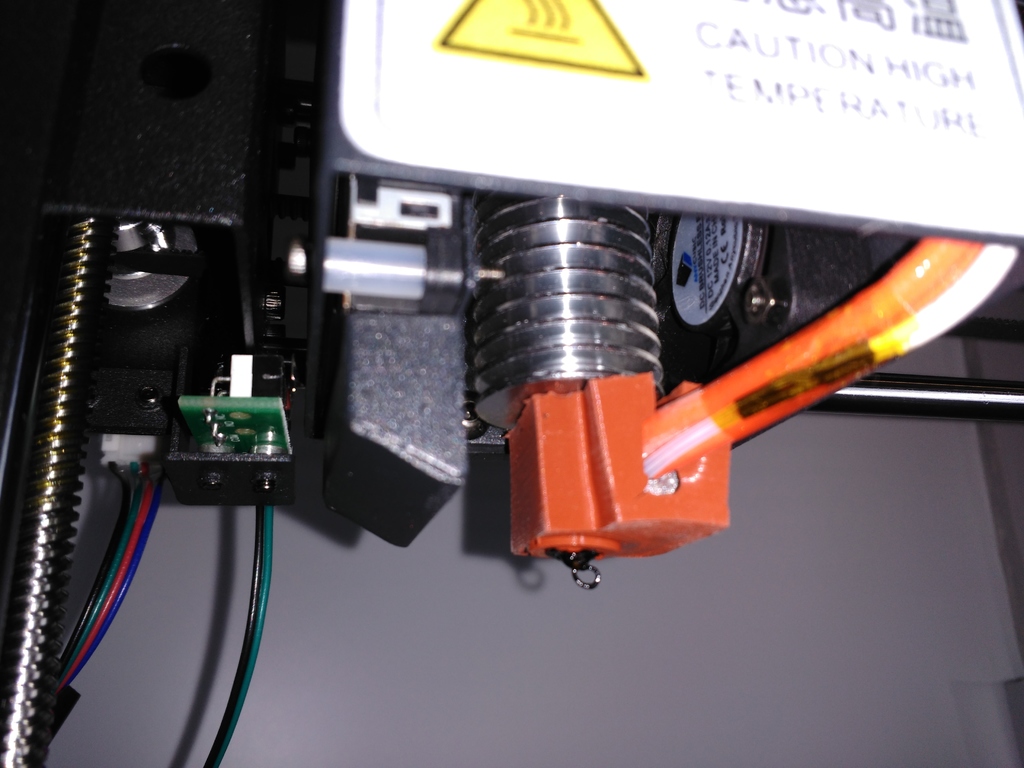
Anycubic i3 Mega Hotend Silicone Sock
thingiverse
Create a Silicone Mold for Your Original Anycubic i3 Mega Hotend in 5 Easy Steps. 1. Fill the Outer Shape with Heat-Resistant Silicone. Seal every corner of the outer shape with heat-resistant silicone, utilizing a product such as OBI's High-Temperature Silicone (310 ml). This ensures that the mold is well-structured and prepared for use. 2. Press the Inner Shape into the Outer Shape. Gently press the inner shape into the outer shape to secure it firmly in place. 3. Smooth the Top Using a Scraper. Utilize a scraper to smooth out any excess silicone at the top of the mold, creating a clean surface for printing. 4. Allow 3-4 Weeks for Curing. Wait patiently as the silicone cures for 3-4 weeks before utilizing the mold for printing. 5. Remove the Inner Part by Destroying the Outer Shape and the Sock from the Inner Shape. To remove the inner part, carefully destroy the outer shape. To detach the sock from the inner shape, use a carpet cutter to cut along the green line as shown in the image.
With this file you will be able to print Anycubic i3 Mega Hotend Silicone Sock with your 3D printer. Click on the button and save the file on your computer to work, edit or customize your design. You can also find more 3D designs for printers on Anycubic i3 Mega Hotend Silicone Sock .
