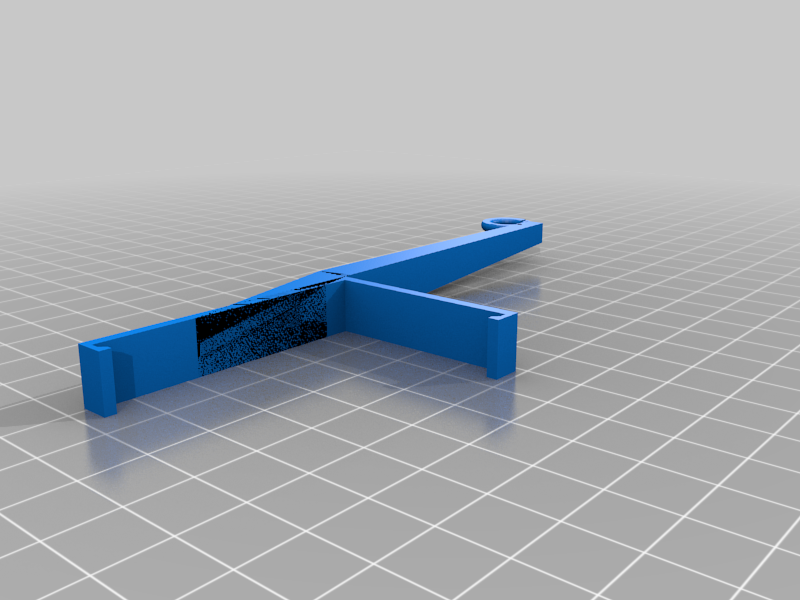
Anycubic i3 mega filament guide
thingiverse
Here is a rewritten version of the filament guide for Anycubic i3 Mega: "Mastering the Art of Filament Guide for Anycubic i3 Mega Introduction Congratulations on taking the first step towards creating intricate prints with your Anycubic i3 Mega! This comprehensive guide will walk you through the essential steps to install and set up a reliable filament guide, ensuring smooth and precise extrusion. Components Required 1. 10-20 cm of PTFE tubing (available at most hardware stores) 2. 2 small pieces of adhesive-backed velcro 3. Drill press or hand drill with a 6mm drill bit 4. Measuring tape 5. Ruler or straightedge 6. Safety glasses and gloves Step 1: Measure and Mark the Guide Carefully measure the length of your printer's extruder hotend, noting the exact distance from the nozzle to the end of the PTFE tubing. Record this measurement for later reference. Using a ruler or straightedge, mark two points on the guide approximately 10 cm apart. These marks will serve as guides for drilling holes in the next step. Step 2: Drill Holes and Attach Velcro Insert the drill bit into the drill press or hand drill, ensuring it is securely fastened. Hold the PTFE tubing firmly against the marked points on the guide, using a ruler or straightedge to maintain alignment. Drill two holes, one at each mark, making sure they are directly opposite and parallel to each other. These holes will hold the velcro strips in place. Step 3: Attach Velcro Strips Cut the adhesive-backed velcro into two equal pieces, approximately 5 cm long. Peel off the backing paper and attach the velcro strips to the guide, making sure they are centered over the drilled holes. Gently press the PTFE tubing against the guide, ensuring it is seated snugly between the velcro strips. This will provide a secure hold for the filament. Step 4: Install the Guide Carefully align the guide with the extruder hotend, ensuring it is flush and level. Gently push the PTFE tubing into place, making sure it is securely attached to the guide. Step 5: Test the Guide Before printing, test the filament guide by feeding a small amount of filament through the guide. Make any necessary adjustments to ensure smooth extrusion. Tips and Variations * For improved print quality, use a high-quality PTFE tubing with a smooth inner surface. * To reduce friction and improve extrusion, apply a thin layer of lubricant (such as silicone spray) to the PTFE tubing. * Consider adding additional supports or guides to your printer's frame for increased stability. Conclusion Congratulations! You have successfully installed and set up a reliable filament guide for your Anycubic i3 Mega. With proper care and maintenance, this guide will provide years of smooth and precise extrusion, ensuring high-quality prints every time."
With this file you will be able to print Anycubic i3 mega filament guide with your 3D printer. Click on the button and save the file on your computer to work, edit or customize your design. You can also find more 3D designs for printers on Anycubic i3 mega filament guide.
