Anycubic I3 Mega - Double MOSFET 3D-Freunde with NOCTUA 40x10
thingiverse
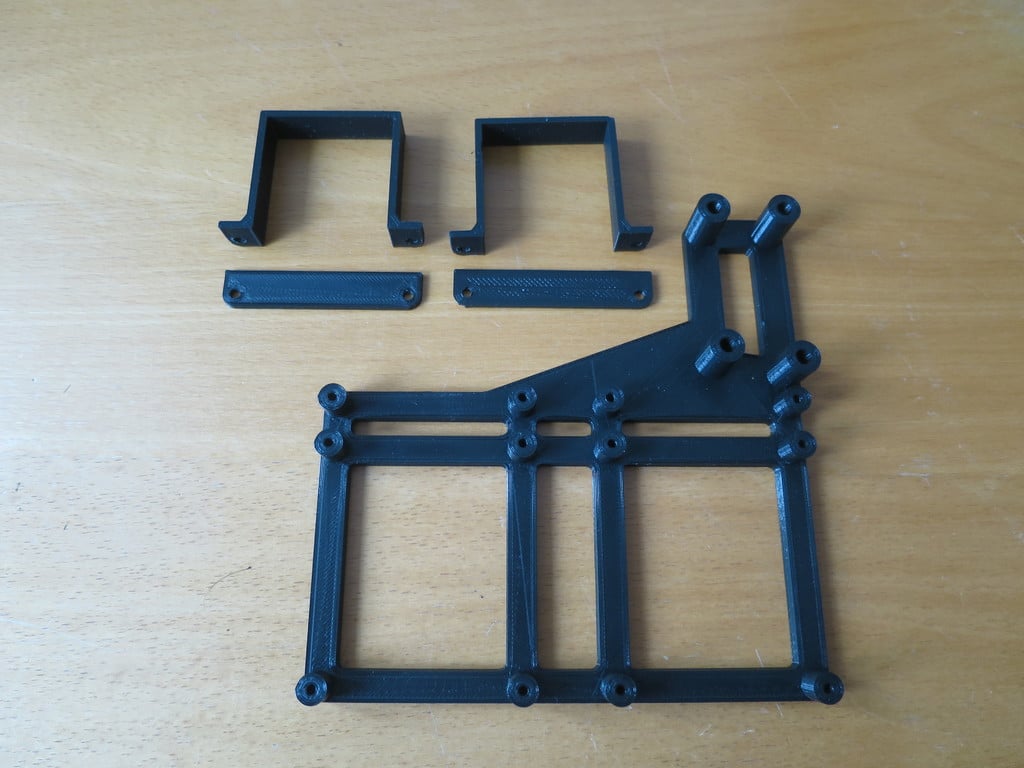
Starting This is part three of my airflow concept for the Anycubic I3M case. Part 1: Anycubic I3M - PSU Cover NOCTUA 60x25 https://www.thingiverse.com/thing:3441468 Part 2: Anycubic I3M - Mainboard Fan NOCTUA 92x14 https://www.thingiverse.com/thing:3441556 ### Aims + Solution Please review part one for context on the airflow concept. ### Installation The main support of the MOSFET is mounted over the pins of the USB board, so check the diameter of those four pins! I had to drill my print with a 4.5 mm bit. The mounting plate needs to sit snugly in place. I used two Noctua NF-A4x10FLX fans with the Low Noise Adapter NA-RC11 - see the wiring in picture ten. Follow the order of assembly shown in the pictures, and then attach the holder to the PSU. This secures the MOSFET plate against bending. The low noise adapter wiring is placed on the upper left side of the housing (see picture nine). Important: To get better airflow, I initially turned the groundplate upside down - but it's actually better to leave it in place, as this reduces the noise level by 2-3 dbA and eliminates any rattling sounds. The Anycubic I3M - Vibration Damper Feet allow for additional air intake: https://www.thingiverse.com/thing:3440488 ### Addendum 2019-03-06 Added wiring - see pics ten and eleven
With this file you will be able to print Anycubic I3 Mega - Double MOSFET 3D-Freunde with NOCTUA 40x10 with your 3D printer. Click on the button and save the file on your computer to work, edit or customize your design. You can also find more 3D designs for printers on Anycubic I3 Mega - Double MOSFET 3D-Freunde with NOCTUA 40x10.