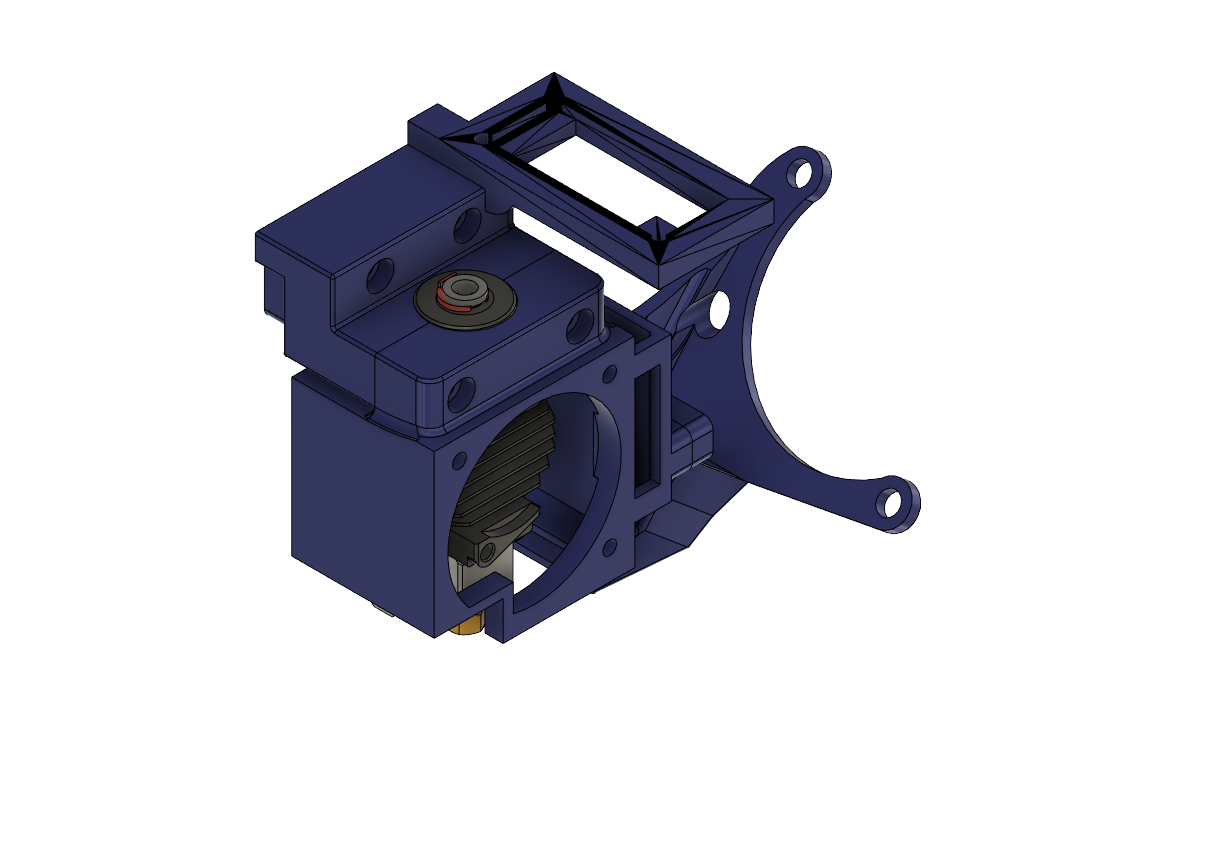
Anycubic Chiron Copperhead Mount
prusaprinters
<p><strong>This mount requires:</strong></p><ul><li>2 m3 x 30mm hex bolts</li><li>2 m3 x 25mm hex bolts</li><li>3 m3 x 10mm hex bolts</li><li>4 m3 nuts</li><li>2 m3 self locking nuts</li><li>3 m4 x 5mm hex bolts</li><li>3 m3 x 8mm hex bolt</li><li>2 m4 x 20mm hex bolts</li><li>2 m4 nuts</li></ul><p><strong>Installation</strong></p><ol><li>Insert 2 m3 nuts into the back of the mount.</li><li>Install the mount onto the carriage using the 2 m3 x 25mm bolts through the x carriage and install the self locking nuts and secure.</li><li>Install 2 m3 nuts into the inside of the fan shroud for the 5015 mount.</li><li>Tap or run the screws into the frontside of the hotend fan mount.</li><li>Assemble the Copperhead hotend.</li><li>Install the Copperhead hotend into the mount base attached to the carriage and press the fan shroud into place ensuring that the wires from the copperhead heater and thermistor are routed underneath. Route the x-axis endstop wiring through the slot on the of the fan housing. </li><li>Attach the fan shroud with the 2 m3 x 30mm bolts.</li><li>Route the heater cartridge and thermistor wiring up through the side of the holder.</li><li>Install the hotend cooling fan with the 3 m3 x 10mm hex bolts. Also route the wiring up through the wire holder. </li><li>Attach the 5015 cooling fan bracket with 3 m3 x 8mm hex bolts.</li><li>Install the 5015 fan and secure it with the 2 m4 x 20mm hex bolts and nuts.</li><li>Route all the wiring through the mount and reattach them to the circuit board. </li><li>Install the circuit board and secure it with the 3 m4 x 5mm hex bolts.</li><li>Lastly install the z-stops with the factory screws. </li><li>Perform your bed leveling, set your z-height. </li></ol>
With this file you will be able to print Anycubic Chiron Copperhead Mount with your 3D printer. Click on the button and save the file on your computer to work, edit or customize your design. You can also find more 3D designs for printers on Anycubic Chiron Copperhead Mount.
