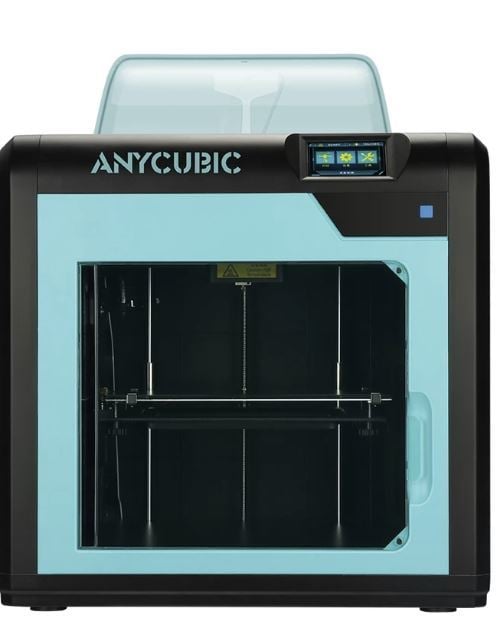
Anycubic 4Max Pro bed leveling assistant
thingiverse
Hello, I've created a short Gcode file for Anycubic 4Max Pro bed leveling that's ready to use. Simply copy it onto an SD card and print this file. The printer won't actually start printing; instead, it will move the print head after heating up to 200C nozzle temperature and 50C bed temperature. The leveling process is straightforward. The nozzle automatically moves to each corner for approximately 10 seconds at a time. During these brief periods, you need to check the gap under the nozzle using an A4 sheet of 80gsm paper that's 0.1mm thick. You should feel a slight resistance as you move the paper under the nozzle. Adjust the gap by turning the screw located beneath each corner. After about 10 seconds at each checking point, the print head moves to the next location. There is an audible signal indicating when the printer is shifting to the next position. This cycle begins in front of the left corner and then proceeds counterclockwise around the bed three times. Following a full three rounds of gap checks, the head will move to the center, completing the leveling process. Remember to fine-tune each corner using the screws located beneath them. I hope this simplifies the entire leveling process for you. Have a great day!
With this file you will be able to print Anycubic 4Max Pro bed leveling assistant with your 3D printer. Click on the button and save the file on your computer to work, edit or customize your design. You can also find more 3D designs for printers on Anycubic 4Max Pro bed leveling assistant.
