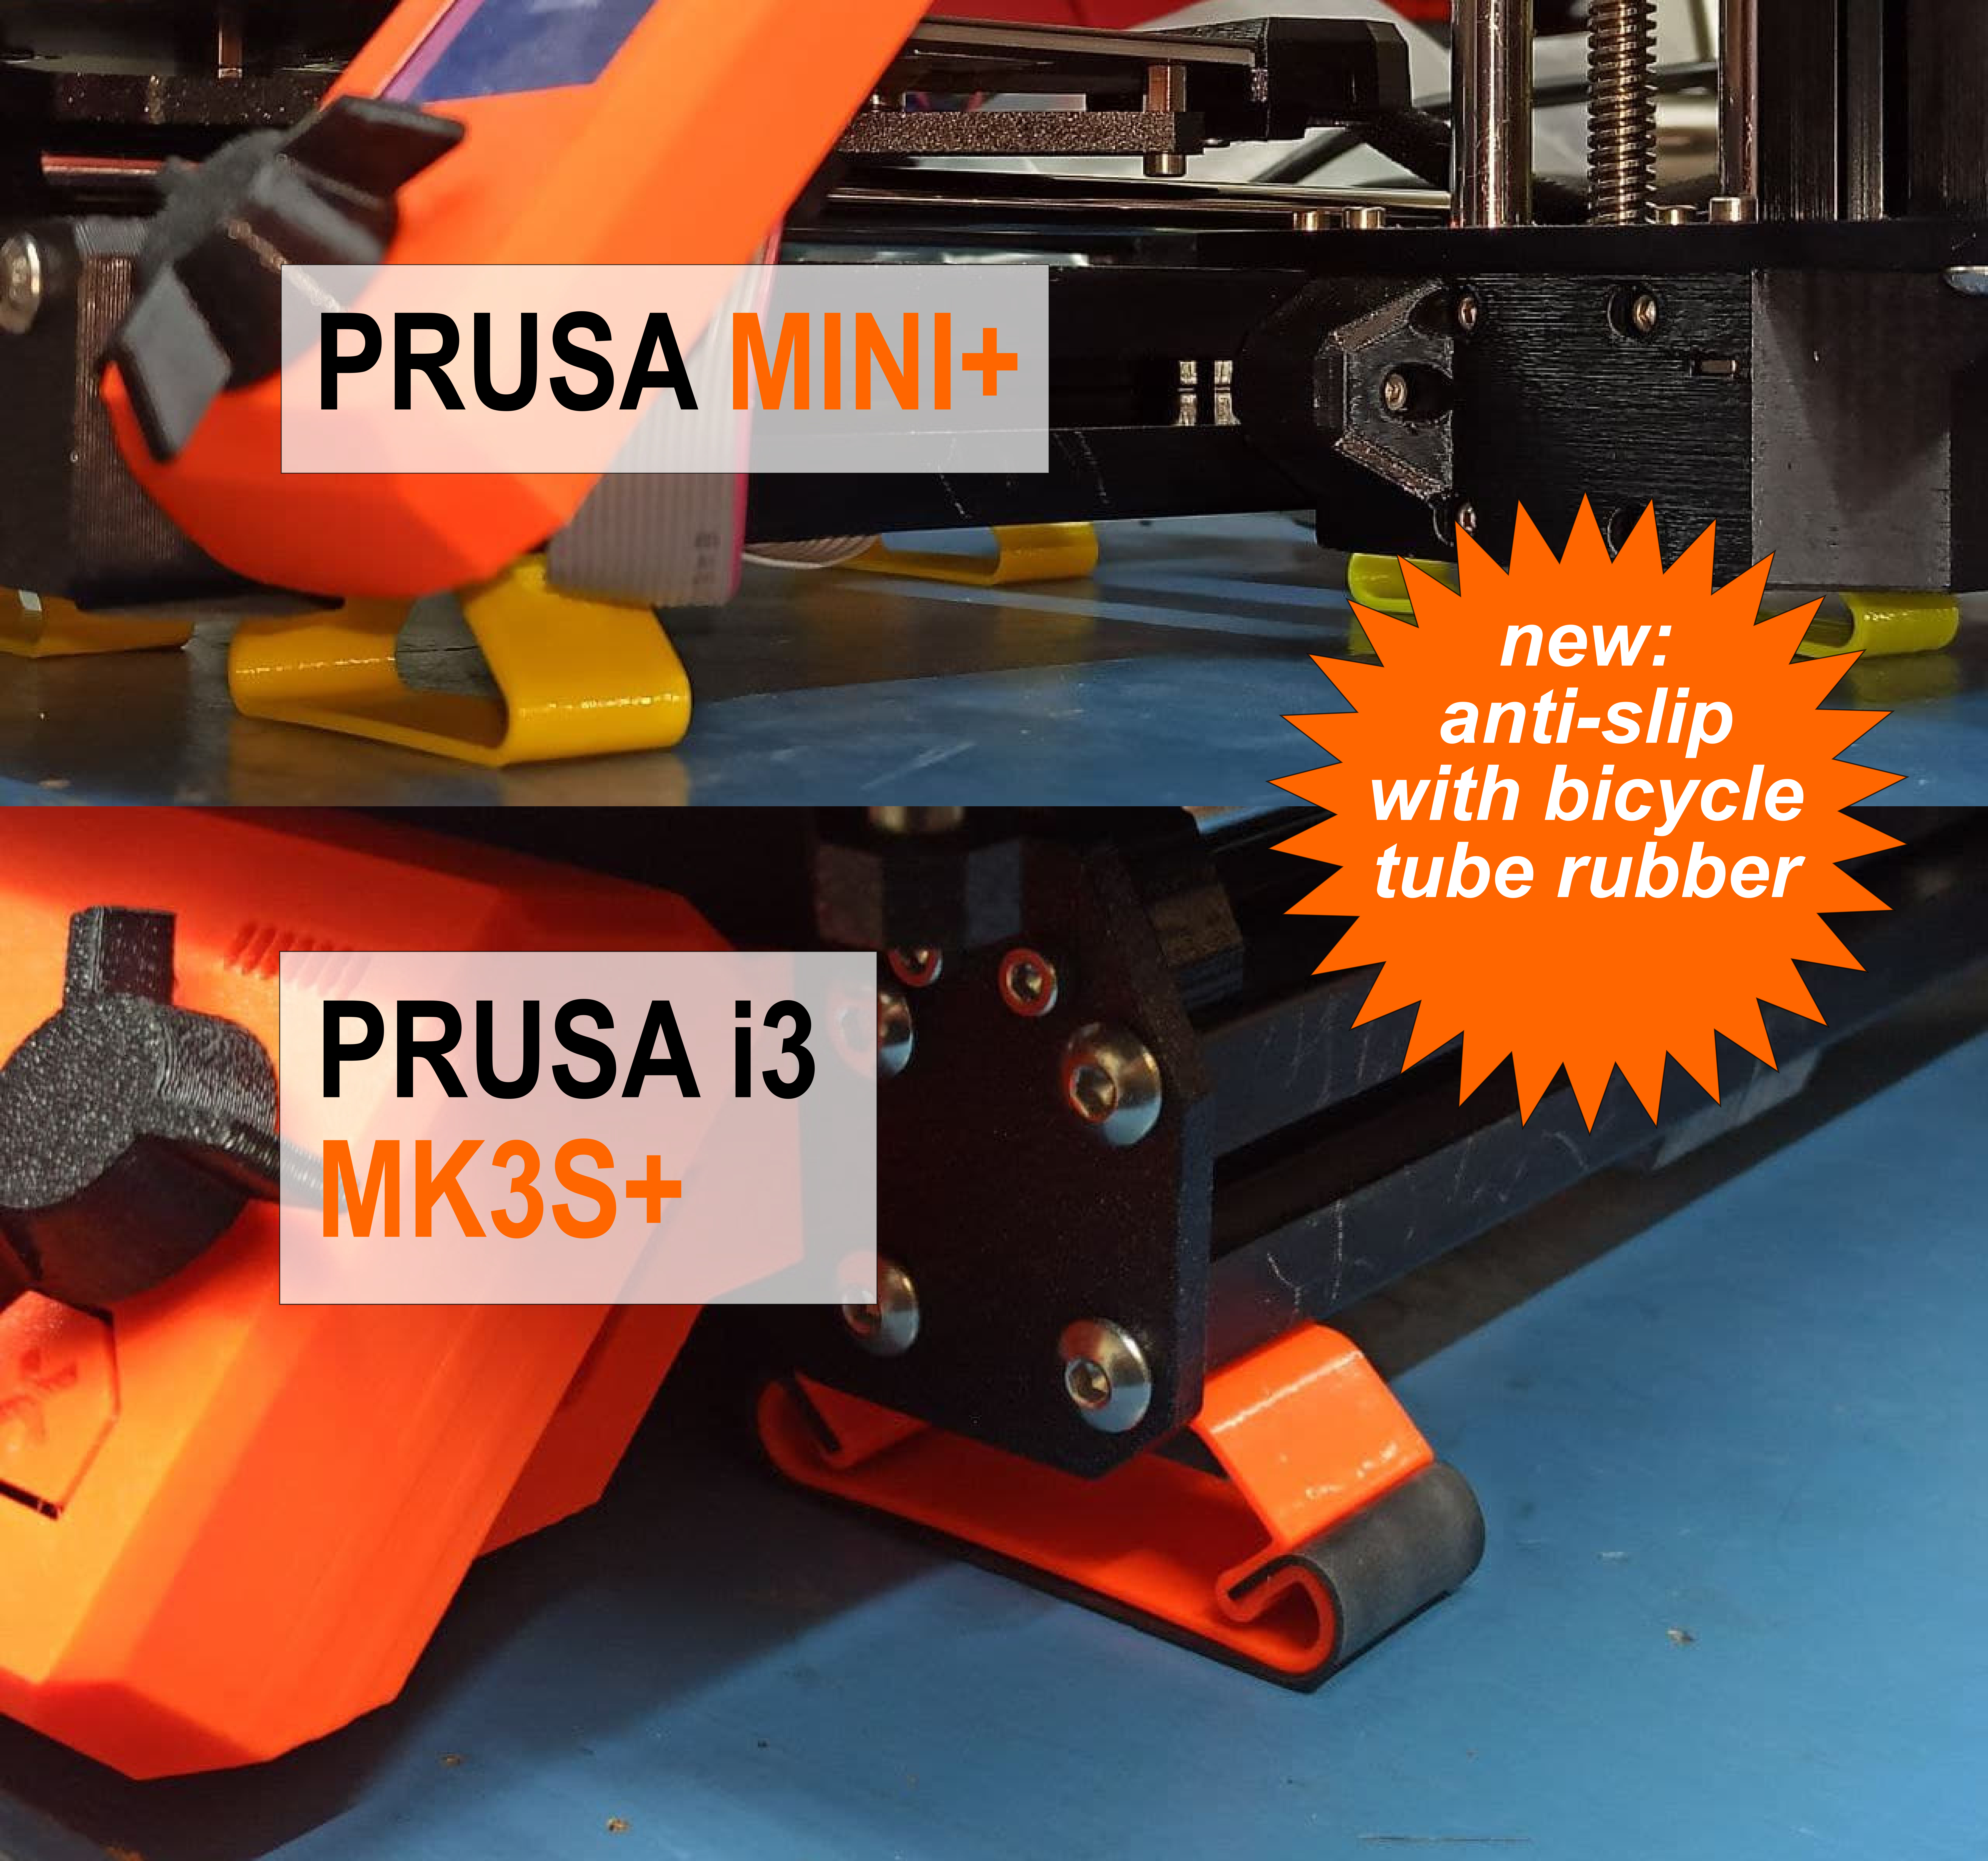
Anti-vibration feet for Prusa MK3 and Prusa Mini
prusaprinters
<p>My MK3 printer stands on an Ikea Lack table, which is an excellent amplifier for the vibrations of the printer. So I designed these feet, and they do a good job without making the printer too wobbly. A low profile version and a small profile version are also available. Also a version for Mini / Mini+ is available. The original feet can remain mounted. </p><p>NEW: If you are worried about the printer slipping with these feet, use the files with "slipprotection". With these, you can clamp a piece of rubber you cut from a bicycle inner tube directly into the feet.<br>But of course it can also be an advantage that the printer slips easily. This way, the printer can be easily rotated in a housing.</p><p>Please note: These feet cannot reduce the virbrations of the printer. They only ensure that the vibrations are not transmitted to the table. But they do that very well, as you can read in many comments here. I can not see any negative effects on the print.</p><p>Please take also a look at my <a href="https://www.prusaprinters.org/prints/154907-minimalist-nozzle-holder-for-e3d-v6-mini-mk3s">Nozzle Holder</a> for E3D V6 nozzles, used by Mini and MK3!<br>Do you know an Ender 3 owner? Tell him about my <a href="https://www.prusaprinters.org/prints/123234-anti-vibration-feet-for-ender-3-and-other-printers">Ender 3 feet</a>. Suitable for all V-Solt 4040 profiles.</p><p> </p><h5>Print instructions</h5><p>If you are not familiar with the settings of Prusaslicer, just use the provided gcode files. There is no easier way.</p><p>This design is solid so you can determine the thickness of the feet by the number of shells in your slicer.</p><p>I recommend 3 Shells (for 0.4 nozzle), no infill, no top layers, no bottom layers, Seam position Random, laying on the side. I prefer PETG, but PLA is also working, but a bit stiffer. ASA would also be a good choice.</p><p>For the Mini, print 3 standard feet, and the “mini” foot for the power supply. I recommend to use 4 shells for this mini foot, because this foot carries the most weight. Take a look at the picture with the yellow foot regarding cable management. You can also unplug the cable and pass it through the foot.</p><h5>Inserting the rubber</h5><figure class="image image-style-align-center"><img src="https://media.prusaprinters.org/media/prints/1727/rich_content/a14fde08-c7f1-4117-8004-db06820a72dc/screenshot_20220213_191856.png#%7B%22uuid%22%3A%22b5ae2330-1af3-4fd3-a235-2736fca30ed7%22%2C%22w%22%3A341%2C%22h%22%3A342%7D"></figure><p>Simply press, as shown in the picture, to open the narrow slot slightly. Now the rubber can be pushed into the slot.</p><h5>And last, please do not forget:</h5><p>If you like this model, please click "like", and post a make. This will help me to win some prusameters, and help other makers decide if this is a useful model. Thanks.</p><p> </p>
With this file you will be able to print Anti-vibration feet for Prusa MK3 and Prusa Mini with your 3D printer. Click on the button and save the file on your computer to work, edit or customize your design. You can also find more 3D designs for printers on Anti-vibration feet for Prusa MK3 and Prusa Mini.
