Anti-backlash x Oldham Adapter
prusaprinters
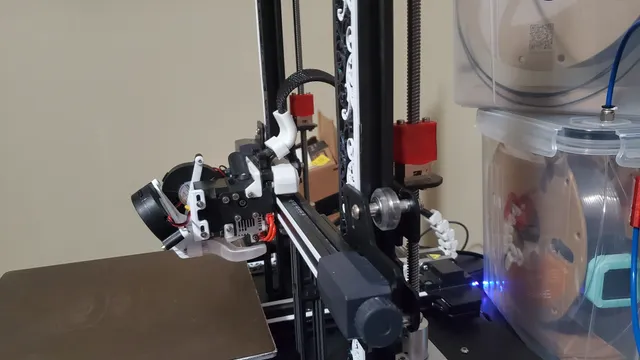
I had an Anti-backlash kit that was not compatible with my Oldham couplers. Even though I had them both installed, it was not perfect. I decided that I needed an adapter to use both properly. The adapter wraps around the top of the Oldham coupler to use it in place of the smaller nut of the Anti-backlash kit. --Hardware needed--x2 M3-5mm screws (can be 5-15mm)x2 M3-12mm screws (can be 9-12mm)x2 Oldham Coupler with extended top nut. (L: 25mm, W: 15mm)x2 Anti-backlash nut and Sprint. (L:.25 mm, W: 12.5mm)x2 Washer to attach to gantry. (Use original washer or one available to print.) --Print Settings--I used PETG with Cura set at 0.16 height. I set the minimum line width to 0.3 to allow multiple walls in smaller spaces. My Horizontal Expansion is set to -0.07mm. --Instructions--0) Insert the Anti-backlash nuts into the adapters.00) Secure them with M3-5mm screws.1) Drop washer down the leadscrew.2) Lower gantry onto the leadscrews. (perfect time to level with these supports.)3) Start the Oldham coupler (nut facing upwards.)4) Put spring inside of the Adapter and lower the Adapter onto the Oldham coupler.5) Screw down the Adapter while keeping it on top of the Oldham coupler.6) Secure the Washer-Gantry-Oldham coupler together with M3-12mm screws. Note: Dont forget to measure and set any limit changes to your Z height.
With this file you will be able to print Anti-backlash x Oldham Adapter with your 3D printer. Click on the button and save the file on your computer to work, edit or customize your design. You can also find more 3D designs for printers on Anti-backlash x Oldham Adapter.
