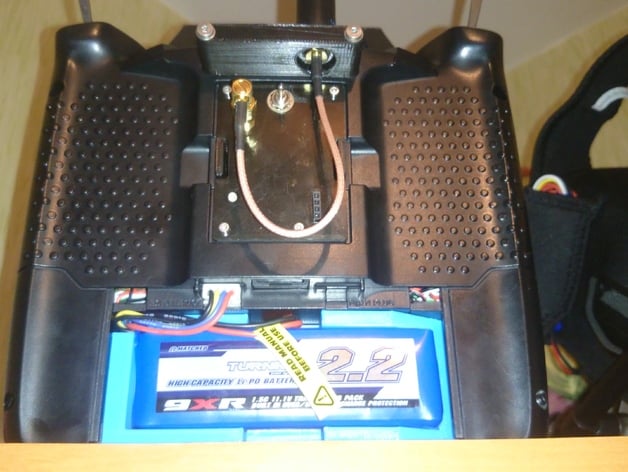
Antenna mount for Turnigy 9XR PRO
thingiverse
Turnigy 9XR Pro users seek a reliable antenna mounting solution that ensures consistent signal reception and robust performance in various flying conditions. This article showcases an effective DIY solution using readily available materials, guaranteeing seamless integration with the radio transmitter. To create this custom antenna mount, start by gathering essential components: a piece of aluminum or PVC tubing (1/4 inch diameter), a screw, a washer, and hot glue. Ensure that the selected material is suitable for your Turnigy 9XR Pro model to prevent any damage. Next, measure and cut the tubing into two identical lengths, which will serve as the antenna supports. Use a sharp utility knife or metal saw to achieve accurate cuts. Cut a small notch at one end of each support, approximately 1/4 inch from the top, using a hobby knife or file. This notch will help secure the screw and prevent it from coming loose over time. Thread the screws through the notches, followed by the washers, ensuring they are snugly seated. Apply hot glue to reinforce the joints, guaranteeing a solid bond between the components. Position the supports near the bottom of the radio transmitter, about 1 inch apart, using the provided screw holes for stability. Secure them firmly with the screws and washers. To complete the assembly, attach the Turnigy 9XR Pro antennas to the newly created mounts. Make sure they are properly seated and secure before testing the signal strength. The custom antenna mount ensures optimal signal reception by positioning the antennae in a stable, secure manner, minimizing signal loss due to movement or environmental factors.
With this file you will be able to print Antenna mount for Turnigy 9XR PRO with your 3D printer. Click on the button and save the file on your computer to work, edit or customize your design. You can also find more 3D designs for printers on Antenna mount for Turnigy 9XR PRO.
