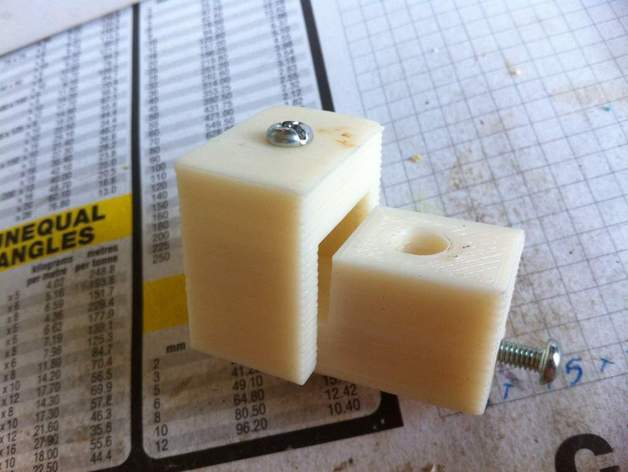
Another Z stop adjuster
thingiverse
Revising the Z-stop placement: Adjustments can be made precisely with the z-stop micro switch. Instructions provided: Assemble both components, insert a nut in the bottom part and 4mm screw head bolt in the top section, along with a bic pen spring. Glue the microswitch at the back and slide it onto the smooth Z guide rod. Adjust until the bead is slightly squashed and sticking for an accurate fit. I have also included a knob on top of the bolt to adjust manually or with a screwdriver. Separate STL files and SketchUp designs are available.
With this file you will be able to print Another Z stop adjuster with your 3D printer. Click on the button and save the file on your computer to work, edit or customize your design. You can also find more 3D designs for printers on Another Z stop adjuster.
