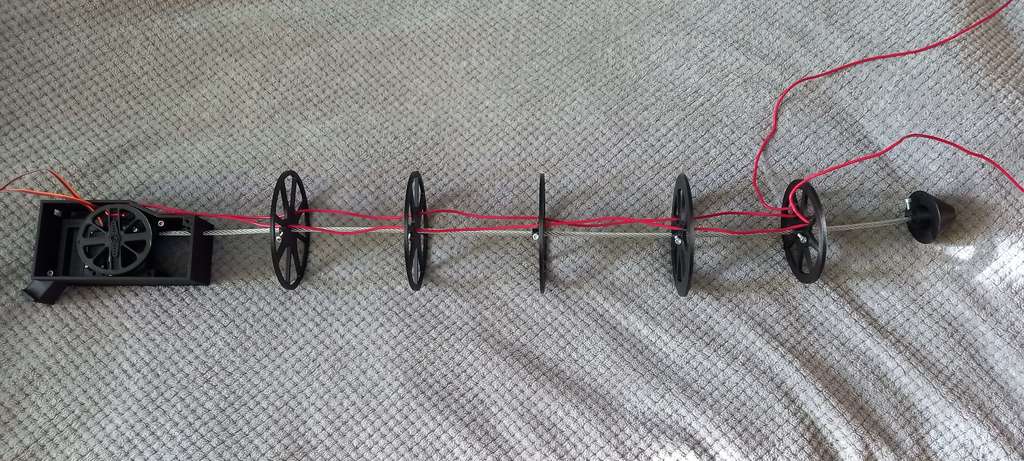
Animatronic Tail Gen 1.0
thingiverse
Finished version can be found here: https://www.thingiverse.com/thing:6279154 Oh god, where do I start? First thing: <b> If you're gonna remix this thing, your remix may be used (with proper credit of course) in finishing this WIP. </b> Second thing: As you can see, <b>THIS THING / MODELS ARE NOT MENT TO BE SOLD!</b> (see license). Third thing: <b> The f3d file is a clusterf**k, good luck. </b> <h1><b> How to assemble? </b></h1> <b> What you'll need:</b> 1. Some sort of thick multi-core wire (for the core). Something similar to this [wire](https://www.amazon.ca/Stainless-Galvanized-Aircraft-Balusters-Handrail/dp/B09D31JQGQ?th=1). <b> Note: I didn't buy this specific one, it's just the most similar to the one that I use. Second Note: Use a vinyl-coated wire, It will make your life much easier </b> The wire should be 5mm thick (about 0,20 inches) and should be 83 cm (about 32,6 inches) long. 2. Pulling wire(s). I used a 3mm (about 0,12inch) thick multi-core flexible wire, tho I can't find any similar wires now. You'll need two of them and they should be around 120 cm (about 47,2 inches) long but this is my estimate so take this with a grain of salt. 3. Servos. You'll need two of them, and make sure that they're strong, I accidentally annihilated one of my servos because it was too weak. Here's [what servo I'm currently using](https://botland.com.pl/serwa-typu-standard/817-serwo-towerpro-mg-995-standard-5904422329723.html) but i would still probably buy a stronger one. 4. RPI Pico H. 5. 4M screws. <b> How to assemble this?</b> 1. Good luck. 2. Sorry, but i'll finish this later.
With this file you will be able to print Animatronic Tail Gen 1.0 with your 3D printer. Click on the button and save the file on your computer to work, edit or customize your design. You can also find more 3D designs for printers on Animatronic Tail Gen 1.0.
