Animatronic Prusa and Emoji
myminifactory
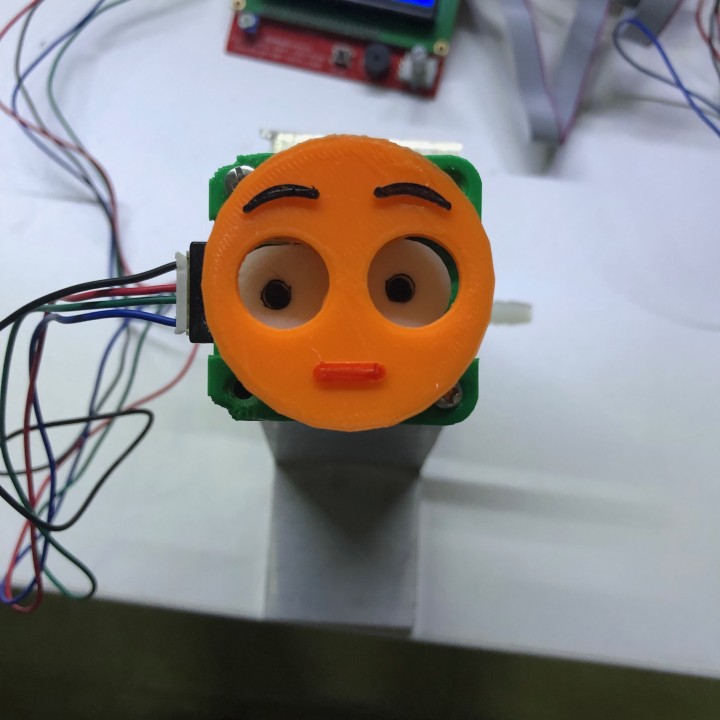
Human: Animatronic Prusa and 😊. The animatronic assembly will be attached to the X-stepper motor or extruder stepper motor. Step 1: Attach the X-Flywheel.stl to pulley as shown on the assembly image, gluing it securely in place. Alternatively, attach the Extruder Flywheel.stl to the back rotor shaft of stepper, making sure not to overglue. As seen in the assembly image. Step 2: Glue the Flywheel Pin.stl to flywheel, selecting a desired hole for optimal movement. The far hole from the center will provide more distance of movement. Step 3: Insert the Slider Plate.stl onto the Main Plate.stl and secure it with an M3 screw. Align the Flywheel Pin with the slat on the Slider Plate. Note: Horizontal movement is achieved by fixing the Main Plate horizontally, while vertical movement requires a vertical fixation of the Main Plate. Step 4: Glue the Emoji Mouth Plate.stl to the Slider Plate. Then, glue the Emoji Eye Plate.stl to the Slider Plate as well. Step 5: Attach the 4x-Upstand Spacer.stl to the Main Plate. Step 6: Glue the Emoji Laughing Face.stl to the Upstand Spacer and the Emoji Curious Face.stl to the Upstand Spacer.
With this file you will be able to print Animatronic Prusa and Emoji with your 3D printer. Click on the button and save the file on your computer to work, edit or customize your design. You can also find more 3D designs for printers on Animatronic Prusa and Emoji.