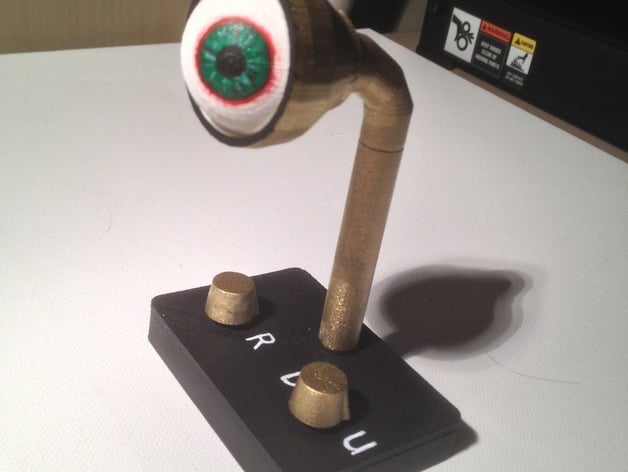
Animatronic Eyeball with Manual Controls
thingiverse
This intricate eye mechanism features a ball-and-socket joint within an adjustable socket. A series of strings attached to the inside of the control box and neck allow the eyeball to be maneuvered by turning the knobs. For assembly, ensure that all parts print without supports, and orient them correctly for proper fit. Begin by threading four strings through the button holes on the long neck, middle neck piece, and end neck piece. Proceed to attach the strings to the eye socket before gluing the pieces together in the correct orientation. Next, thread each string through an eyelet and push it partially through a hole on the inside of the eyeball. Once satisfied with the arrangement, glue the eyelets fully into place and trim any excess stem. The final step involves snapping the eyeball into the socket while ensuring strings are not crossed or caught in the ball joint. Attach the neck to the box top, align levers and knobs accordingly, tape the eyeball for stability, thread strings through appropriate levers, tie them securely, and glue or screw on the box bottom.
With this file you will be able to print Animatronic Eyeball with Manual Controls with your 3D printer. Click on the button and save the file on your computer to work, edit or customize your design. You can also find more 3D designs for printers on Animatronic Eyeball with Manual Controls.
