Animal Adaptation Creation
thingiverse
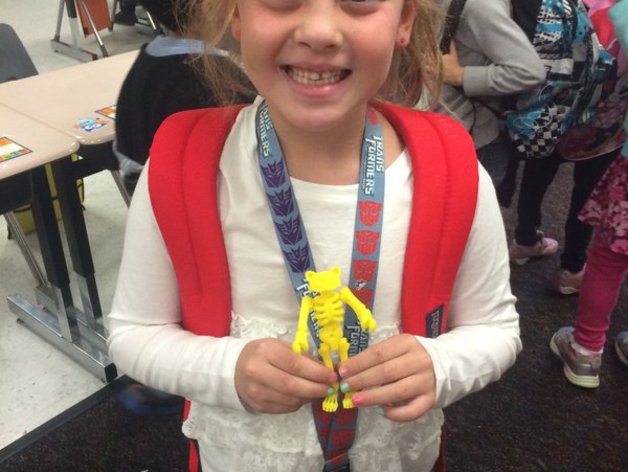
Students will design their own custom animal with unique adaptations using the TinkerPlay app, now called ThingMaker. They'll learn about different adaptations that animals have to survive and get creative combining various types in a single creature. Students can drag and drop body parts together in the app to create their new animal. TinkerPlay is listed in the app store under ThingMaker. To print, you'll need a MakerBot printer like the MakerBot Replicator 5th Generation. Using TinkerPlay on an Apple device, students can drag and drop different body parts onto the build area. As they choose each part, it can be dragged into place. When two body parts get close together, they create a "lightning" effect showing that they can connect. Students can add colors and textures to their creation. Once created, STL files can be exported using Google Drive, Dropbox, or other drives. One project will save as multiple STL files, making it easiest to upload all the files into a folder with the student's name on it for easy printing and organization. The files can then be uploaded onto the printer's software and printed. The pieces will snap together like an action figure once printed. Students will learn about different animal adaptations and how they help animals survive in their habitats. They'll also understand the basics of 3D printing and design. Standards: * Virginia SOL: SCI5.1b * Common Core 3rd Grade Lesson Plan and Activity: Download the TinkerPlay app onto student iPads. Introduce the lesson after students have some background knowledge on different adaptations. Explain to students that they'll create their own unique animal, thinking carefully about each body part choice. Demonstrate how to drag and drop each body part onto the workspace. As body parts get close together, a "lightning" effect will appear showing that they can connect. Each student or group of students gets an iPad to start creating. When they feel finished, they need to check with a teacher and explain each body part of their animal. Students must be able to justify each part and explain how it helps their animal survive. Once the teacher has checked the work, the STL files can be exported to either a Dropbox account or Google Drive within the app. One animal may consist of multiple STL files to complete one print. Make sure to save the files in a folder under the student's name for easy printing and organization. Arrange the STL files on the 3D printing software of choice and print. It will save time to print multiple student designs on a build plate at once, about 2-3 seemed to work best. Once printed, remove the pieces from their base and snap them together to make the animal figures. Materials Needed: * iPad with TinkerPlay app uploaded * Dropbox or Google Drive account to upload completed creations * 3D Printer to print student designs Duration of Lesson: This project can take as little as one lesson or be stretched throughout an entire unit. Teachers can choose to do this lesson as a standalone project or create an entire unit around it. Preparation: Students should have some background knowledge on different adaptations and understand how physical adaptations help certain animals survive in their habitats. Rubric and Assessment: Teachers should grade students by their knowledge and ability to justify how the adaptations they chose for the animal will help their animal survive. They can also grade on whether or not students can identify a habitat in which their animal would best fit. References: The following video shows a quick preview of how to use the TinkerPlay app and some of the different additions that can be used when using TinkerPlay.
With this file you will be able to print Animal Adaptation Creation with your 3D printer. Click on the button and save the file on your computer to work, edit or customize your design. You can also find more 3D designs for printers on Animal Adaptation Creation.