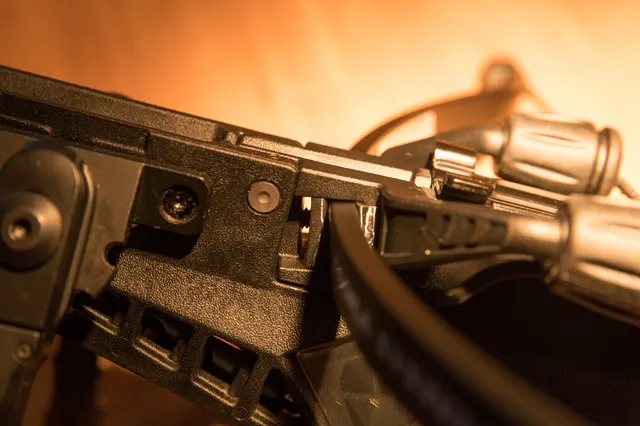
Angled Bow Washers (EK Archery RX Adder)
prusaprinters
Designed for EK Archery's Cobra RX Adder crossbow.These washers replace the original ones in the bow assembly and will angle the bow wedged inbetween them slightly more upwards. This is so that the bow string has less friction on the bolt guide rail.Effectively, this should reduce wear on the string as well as increase the effective force (due to reduced friction loss). Printing InstructionsMaterial: TPU - needs to be flexible to withstand vibration and general force (I use Shore 42D, but that detail shouldn't matter too much; all the TPU filament varieties have roughly the same hardness)0.6mm nozzle + 0.4mm layer height recommended (should also work with 0.4mm nozzle and 0.2mm layer height, just takes way longer to print)Perimeters: Depending on your nozzle diameter, as many perimeters as required to print the whole model with nothing but perimeters and no infill. For a 0.6mm nozzle that's 3 perimeters.Infill: Doesn't matter because of perimeters settingNo supportsNo ironingPrint bed: Preferably smooth PEI for better adhesionPrinter type: Direct drive extruder (i.e. Prusa i3). TPU filament is very hard to impossible to properly print using a bowden-style printer like the Prusa Mini.Printing time is roughly 1 hr (with 0.6mm nozzle and 0.4mm layer height at 1 mm3/s). Assembly instructionsYou'll need an Allen key (Inbus) in 3/32", and yes you read that right, it needs to be denominated in imperial units, not metric ones. There are tiny sizing differences. You'll also need the matching auxiliary string (Hilfssehne) for this crossbow in order to temporarily remove the string.Empty and dismount the magazine in case you still have it on the crossbow. Disengage the safety of the crossbow. Mount the auxiliary string on the bow end caps (on the inner hooks - not on the outer hooks where the bow string is mounted!). Unlock the repeating lever and move it just enough so that you can manually put the auxiliary string inside the lock unit. Re-engage the safety. Put the lever back into its locked position, tensioning the bow using the auxiliary string and loosening the actual bow string. Remove the bow string from the bow. Carefully unlock the repeating lever (careful, it's under tension!) and move it back to the front in order to unbend the bow. Remove the auxiliary string (disengage safety and press the firing lever when the auxiliary string is loose). Remove the bow assembly from the crossbow by field stripping.Loosen the grub screw at the front of the bow holder. Replace the original plastic washers with the new ones (seat the metal plate inside the front-facing washer like it was seated in the original one). Ensure that their orientation is correct.Ensure bow is perfectly centered inside the bow assembly using the white lines printed on the front-facing side of the bow. Tighten the grub screw again, then put the bow assembly back into the crossbow body. Attach the auxiliary string and use it to tension the bow as described in the disassembly section. Reattach the bow string to the bow, threading it through the loops of the auxiliary string from the inside outwards. Unlock the lever (careful, under tension!) and move it forward. Remove the auxiliary string (disengage safety and press the firing lever when the auxiliary string is loose). Re-engage the safety of the crossbow, then lock the repeating lever back in the handle. Re-mount magazine if you dismounted it before.
With this file you will be able to print Angled Bow Washers (EK Archery RX Adder) with your 3D printer. Click on the button and save the file on your computer to work, edit or customize your design. You can also find more 3D designs for printers on Angled Bow Washers (EK Archery RX Adder).
