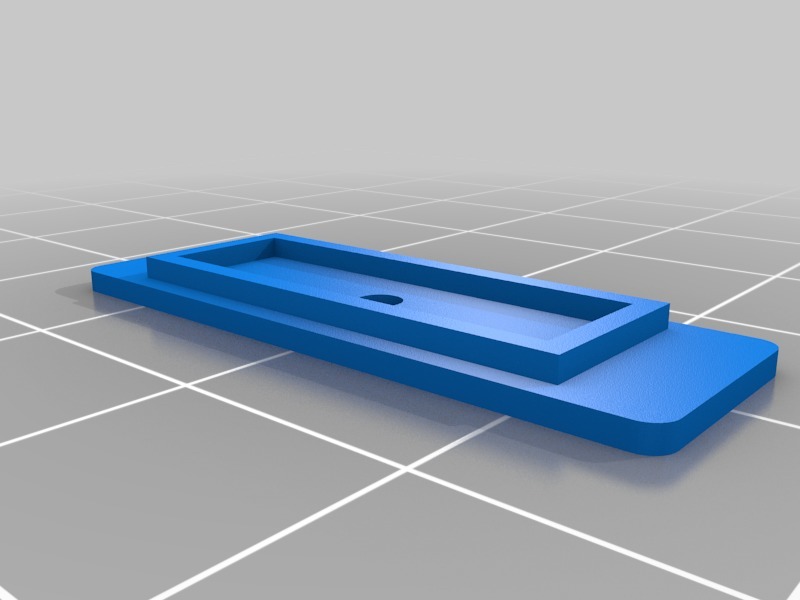
Anet A8: Z-Motor Foot
thingiverse
The foot of the Z-motor assembly on the Anet A8 is a crucial component that requires attention to detail and precision during installation. First, ensure that you have the correct screws, specifically M3x10mm screws with a Phillips head, for securing the motor in place. Next, carefully align the motor with its mounting holes, taking care not to scratch or damage the surrounding area. To secure the motor, insert the screws into the pre-drilled holes and tighten them firmly using a screwdriver. Make sure not to overtighten, as this can damage the threads or strip the screws. Once the motor is securely fastened, proceed with connecting the cable to the motor's power connector. Before finalizing the connection, double-check that all wires are properly seated in their respective connectors and that no loose ends are exposed. This will prevent any electrical shock or short circuits during operation. With these precautions taken care of, you can now plug the cable into the motherboard and connect it securely to the motor. Finally, test the motor by powering on the 3D printer and verifying that it's functioning correctly. If everything is in order, proceed with calibrating the Z-axis to ensure accurate and smooth movement during printing. Remember to adjust the belt tension as needed to prevent any sagging or vibration issues.
With this file you will be able to print Anet A8: Z-Motor Foot with your 3D printer. Click on the button and save the file on your computer to work, edit or customize your design. You can also find more 3D designs for printers on Anet A8: Z-Motor Foot.
