anet a8 z axis bushing
thingiverse
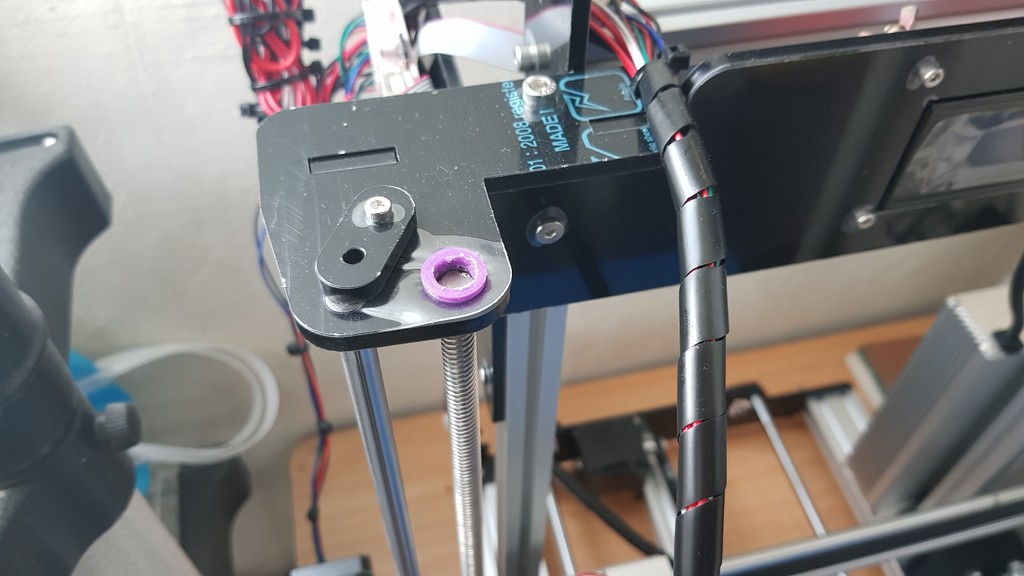
The Anet A8 Z-Axis Bushing Wobbles on the Z-axis can be prevented with a few simple steps. To do this, some basic post-processing is necessary after each print. First, locate the Z-axis bushing and remove any protective covering or tape that may have been applied during shipping. Next, carefully inspect the bushing for any signs of wear or damage. If the bushing appears to be in good condition, proceed with installation. To install the Z-axis bushing, follow these steps: 1. Locate the threaded rod on the X-carriage and unscrew it from the Z-axis motor. 2. Remove any old lubricant or debris that may have accumulated on the Z-axis motor and threaded rod. 3. Apply a thin layer of lubricant to the threaded rod and motor shaft. 4. Insert the bushing into the Z-axis motor and screw the threaded rod back into place. After installation, test the printer by printing a small object. This will help identify any issues with the Z-axis movement. If wobbles persist, repeat the post-processing steps as necessary until the issue is resolved.
With this file you will be able to print anet a8 z axis bushing with your 3D printer. Click on the button and save the file on your computer to work, edit or customize your design. You can also find more 3D designs for printers on anet a8 z axis bushing.