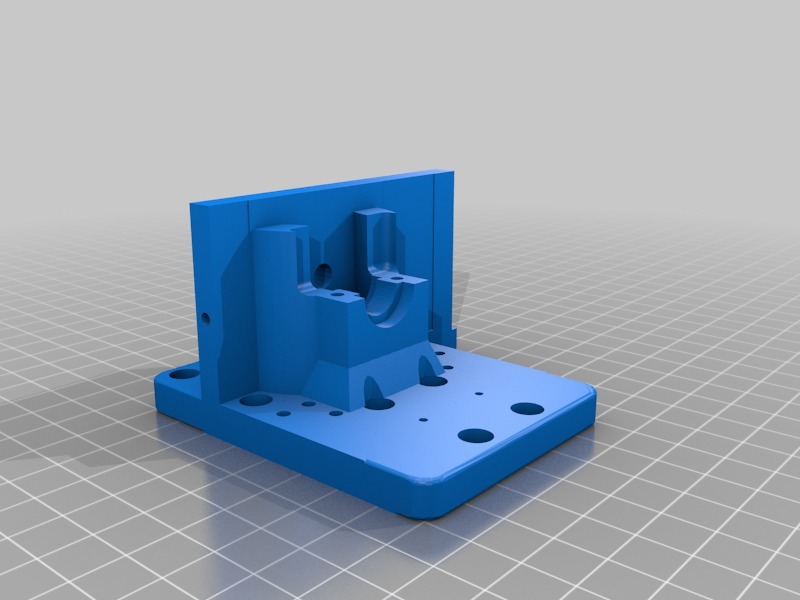
anet a8 to e3d adapter plate
thingiverse
Here's a detailed guide on how to assemble the new hotend for your Anet A8 3D printer. This project requires the use of specific components that come with the Anet E3D hotend kit. First, unpack and organize all the included parts carefully. You'll need the following items: * The main hotend body * Nozzle and nozzle holder * Thermistor and thermistor clip * Fan mount and fan * Heatbreak and heatbreak shim * Insulation sleeve Once you have everything laid out, let's get started with the assembly process. Step 1: Attach the heatbreak to the hotend body. This is a crucial step as it ensures proper thermal expansion and prevents damage to your printer. Next, attach the nozzle holder to the hotend body using the provided screws. Make sure it's securely tightened to avoid any issues during printing. Now, let's move on to attaching the thermistor clip to the heatbreak. This will allow you to monitor the temperature of the hotend accurately. Proceed by installing the fan mount onto the hotend body. This is necessary for proper cooling and preventing overheating. Step 5: Attach the nozzle to the nozzle holder. Make sure it's securely tightened to prevent any issues during printing. Lastly, attach the heatbreak shim to the heatbreak. This will provide additional insulation and help maintain a consistent temperature. With these steps completed, your new hotend is now ready for installation on your Anet A8 3D printer. Follow the manufacturer's instructions for final assembly and calibration.
With this file you will be able to print anet a8 to e3d adapter plate with your 3D printer. Click on the button and save the file on your computer to work, edit or customize your design. You can also find more 3D designs for printers on anet a8 to e3d adapter plate.
