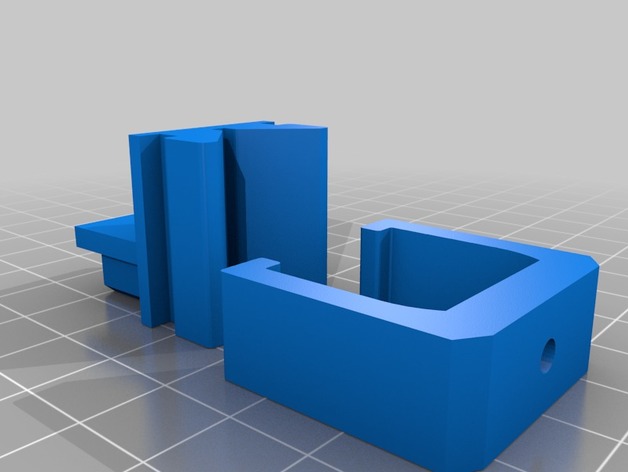
Anet A8 Pen Plotter
thingiverse
Pen plotter for Anet A8, a simple way to print pictures on pieces of paper. This YouTube video describes the process very well. https://www.youtube.com/watch?v=oP3jkoEJSa4 My Video is here: https://youtu.be/Z1OPxMJlRos Download 2D image to STL Converter (Windows) from Thingiverse: http://www.thingiverse.com/thing:66115 Open the image inside the program. Target Size: custom to the size of the image you want. Target Height: 0.2 (or the layer height you have set in Cura for your printer). Add Base: no. Spike filter and Anti-Spike filter all the way to the left. Create STL. Now it's time for Cura settings. Open up Cura, save your previous profile by going to File, Save Profile. Cura settings: enable retraction, set minimum extrusion before retraction (mm) to 0 and Z hop when retracting (mm) to 1. Printing temperature is 0, bed temperature is 0. My print speed is set to 50 mm/s. Open up Expert Settings, remove the skirt by setting the line count under Skirt to 0. Now go to G Code and replace everything with these commands: ;Sliced at: {day} {date} {time}; Basic settings: Layer height: {layer_height} Walls: {wall_thickness} Fill: {fill_density}; Print time: {print_time}; Filament used: {filament_amount}m {filament_weight}g; Filament cost: {filament_cost}; M190 S{print_bed_temperature}; Uncomment to add your own bed temperature line; M109 S{print_temperature}; Uncomment to add your own temperature line G21; metric values G90; absolute positioning M82; set extruder to absolute mode M107; start with the fan off G28 X0 Y0; move X/Y to min endstops G28 Z0; move Z to min endstops G1 Z15.0 F{travel_speed}; move the platform down 15 mm G92 Z14 G92 E0; zero the extruded length G1 F200 E3; extrude 3 mm of feed stock G92 E0; zero the extruded length again G1 F{travel_speed} M117 Printing... Now you're ready to print. Save to SD card or upload to Octoprint, use some binder clips or tape to hold down a piece of paper and 2D print with your 3D printer. Some recommendations: the pen is offset from the extruder so move everything up on Cura so the pen doesn't start drawing off the platform. Also save this profile when you're done creating it so you don't need to change the settings all the time. Also, start the printer and insert the pen once it starts printing so you don't get a line across your print and also set the pen to the proper height for printing. Print Settings Printer: Anet A8 Rafts: Doesn't Matter Supports: No Resolution: .2 Infill: 20% Notes: You will need an M3 screw and M3 nut Post-Printing
With this file you will be able to print Anet A8 Pen Plotter with your 3D printer. Click on the button and save the file on your computer to work, edit or customize your design. You can also find more 3D designs for printers on Anet A8 Pen Plotter.
