Anet A8 full graphics LCD mount
thingiverse
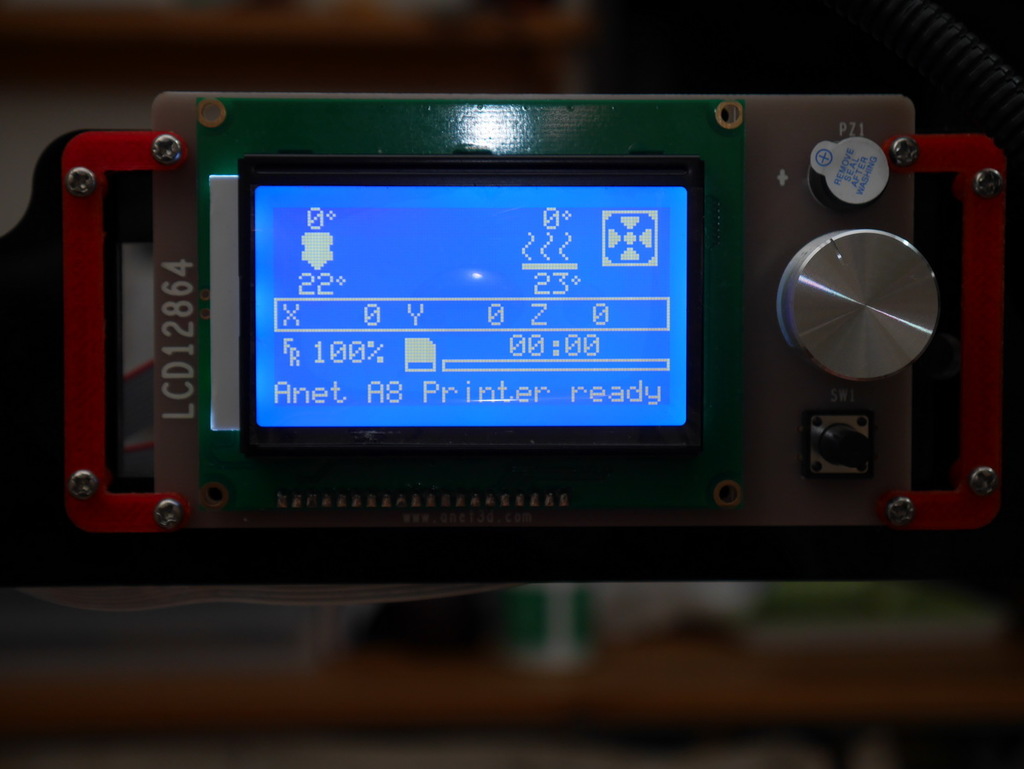
I'm going to upgrade my Anet A8's display, swapping out the original 20x4 LCD for a shiny new 12864 model. This is not a difficult task and shouldn't take too long if you're somewhat handy with electronics and know your way around a 3D printer. First things first, disassemble the printer as much as possible to access the area where the display is located. Remove the screws holding it in place and gently pull the display out of its housing. Next, disconnect any wires that may be connected to the old display, such as power cables or ribbon connectors. Take note of how they're routed so you can easily reattach them when installing the new display. Now it's time to install the new 12864 LCD. Align it properly with the mounting holes and screw it into place using the provided screws. Make sure not to overtighten, as this could damage the display or surrounding components. Reconnect any wires that you disconnected earlier, paying close attention to their routing so they're secure and won't get in the way of future printer upgrades. Turn on your Anet A8 and verify that everything is working correctly with your new 12864 LCD. You should see a crisp, clear display showing all the necessary information for printing.
With this file you will be able to print Anet A8 full graphics LCD mount with your 3D printer. Click on the button and save the file on your computer to work, edit or customize your design. You can also find more 3D designs for printers on Anet A8 full graphics LCD mount.