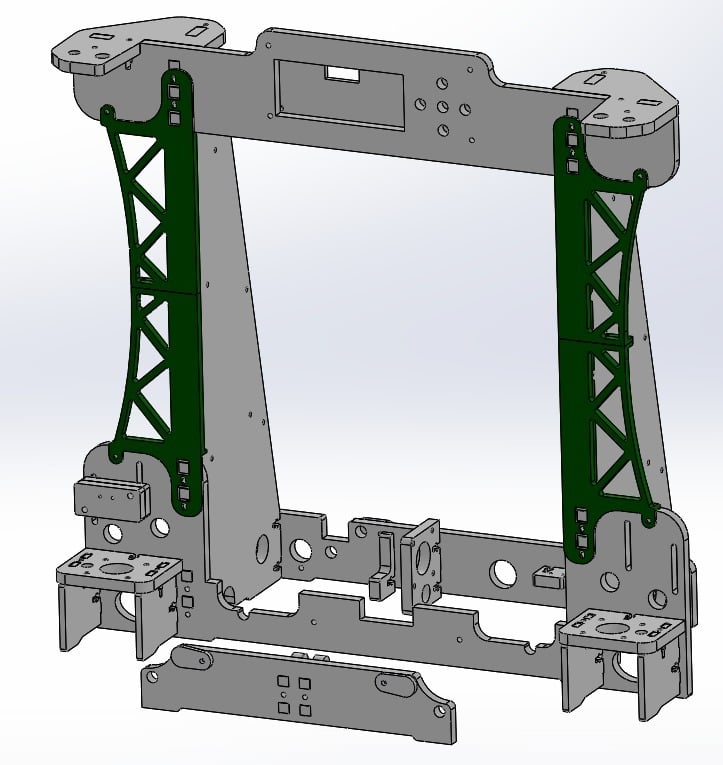
Anet A8 Frame Brace "Bridge"
thingiverse
Frame Setup for Anet A8: Unpacking and Assembling Your Printer's Base Unpacking the Frame: 1. Remove all packaging materials from the frame to prevent damage during assembly. 2. Lay out the parts on a flat surface, ensuring all components are accounted for. Identifying Frame Parts: * Main Frame (A) * Upper Beam (B) * Lower Beam (C) * Side Brackets (D) * End Plates (E) Assembling the Frame: 1. Attach the side brackets to the main frame using the provided screws. 2. Place the upper beam onto the side brackets and secure it with screws. 3. Repeat step 2 for the lower beam, attaching it to the side brackets. Securing the End Plates: 1. Attach the end plates to the side brackets using the provided screws. Final Frame Assembly: 1. Double-check all connections and ensure a stable frame structure.
With this file you will be able to print Anet A8 Frame Brace "Bridge" with your 3D printer. Click on the button and save the file on your computer to work, edit or customize your design. You can also find more 3D designs for printers on Anet A8 Frame Brace "Bridge".
