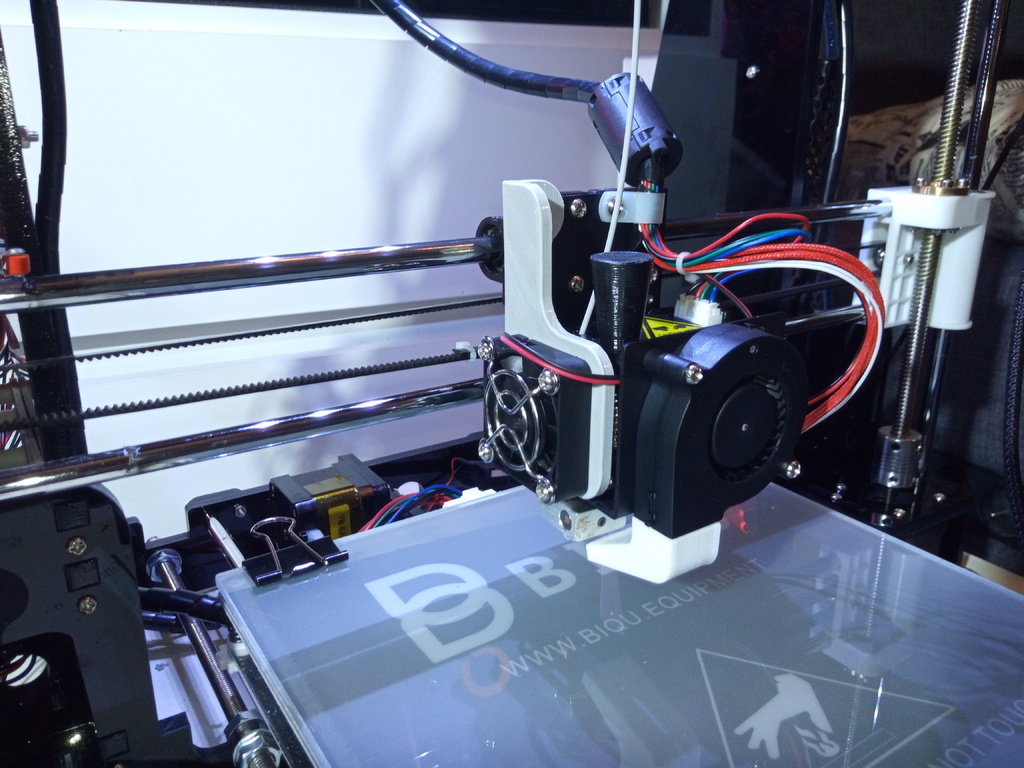
Anet A8 Extruder Fan Modification
thingiverse
The Anet A8's extruder fan modification is a straightforward upgrade that enhances print quality and reduces noise levels. This DIY project involves replacing the existing fan with a more efficient one, typically a 40mm or 50mm model. The new fan is attached to the printer using screws, making sure it's securely fastened. The modification also includes adjusting the fan's speed by installing a PWM (Pulse Width Modulation) controller. This allows for precise control over the fan's operation, enabling users to optimize airflow and heat dissipation during printing. By regulating the fan's speed, users can minimize vibrations and noise generated by the printer. To perform this modification, the user must first disconnect power to the printer before starting work. Remove the existing extruder fan by unscrewing it from its mount, taking care not to damage any surrounding components. Once the old fan is removed, install the new one, ensuring a secure connection using screws. The PWM controller should then be connected to the fan and printer's control board. Adjusting the PWM settings allows users to fine-tune airflow according to their specific printing needs. After completing the modification, reassemble all components, reconnect power, and test the printer to ensure smooth operation.
With this file you will be able to print Anet A8 Extruder Fan Modification with your 3D printer. Click on the button and save the file on your computer to work, edit or customize your design. You can also find more 3D designs for printers on Anet A8 Extruder Fan Modification.
