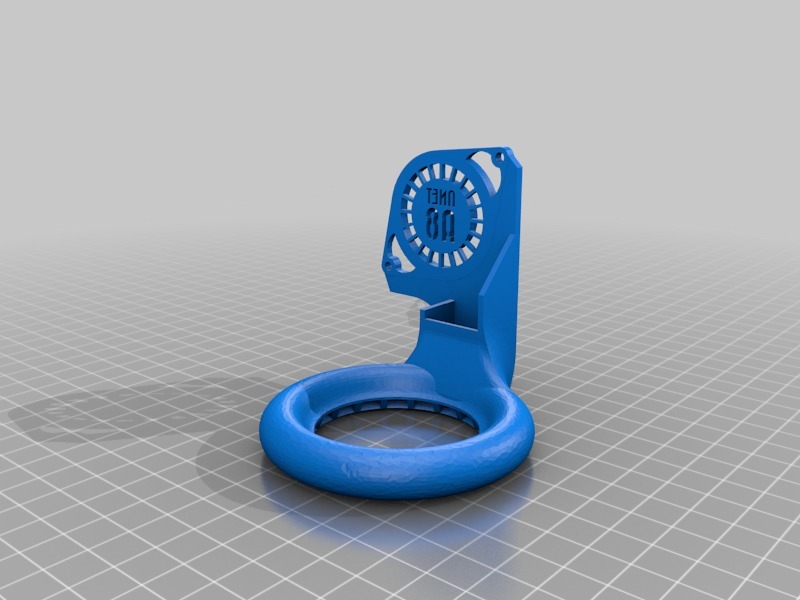
Anet A8 duct&cover
thingiverse
A clever hack to upgrade your Anet A8 3D printer involves combining a fan cover with a duct. The goal is to create a more efficient cooling system that will improve print quality and reduce the risk of warping. To start, you'll need to remove the existing fan cover from your printer. This typically involves unscrewing a few clips or screws holding it in place. Be careful not to touch any of the electronics as you work. Once the old fan cover is removed, take a look at the area where the new duct will be installed. You may need to clean out some debris or dust that has accumulated over time. This will ensure a smooth and even airflow when you're done. Next, attach the new duct to the printer's frame using screws or clips provided with your upgrade kit. Make sure it's securely fastened so it doesn't come loose during printing. The next step is to connect the fan to the duct. You may need to use some adhesive or clips to secure it in place. Be careful not to block any of the airflow paths. Finally, plug everything back in and test your upgraded cooling system. Print a few small objects to see how well the new setup works. If you're happy with the results, you can start printing larger projects with confidence. Remember to keep an eye on your printer's temperature during extended print sessions. This will help prevent overheating, which can damage your prints or even the printer itself. By following these simple steps, you'll be able to create a more efficient and effective cooling system for your Anet A8 3D printer. This will lead to better print quality, reduced warping, and increased overall performance.
With this file you will be able to print Anet A8 duct&cover with your 3D printer. Click on the button and save the file on your computer to work, edit or customize your design. You can also find more 3D designs for printers on Anet A8 duct&cover.