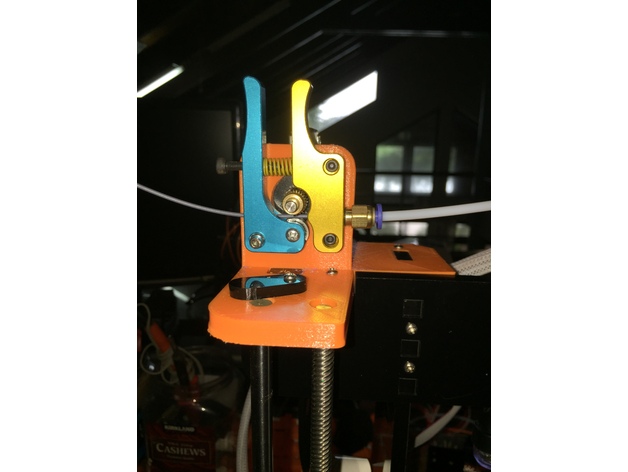
Anet a8 -Bowden extrudeuse kit Left filament
thingiverse
Anet A8 Bowden Extrude Kit (Step Motor) Instructions The Anet A8 Bowden Extrude Kit with Step Motor is a fantastic addition to your 3D printing arsenal. This kit allows you to upgrade your existing printer, giving you the freedom to print with more precision and control. To begin, carefully unpack the contents of the kit, making sure not to damage any of the delicate components. You'll find everything you need to complete the installation, including the Bowden extruder, step motor, and necessary cables. Step 1: Prepare Your Printer Before starting the installation process, ensure your Anet A8 is turned off and unplugged from power. This safety precaution will prevent any accidental startups during the upgrade. Step 2: Remove the Old Extrude Carefully detach the old extruder from the printer's frame. You may need to use a screwdriver or wrench for this step, depending on your printer's configuration. Take note of any screws or bolts you remove, as they will be needed later. Step 3: Install the New Bowden Extrude Mount the new Bowden extruder onto the printer's frame, ensuring it is securely fastened with the provided screws or bolts. Make sure all connections are tightened firmly to prevent any loose ends. Step 4: Connect the Step Motor Next, connect the step motor to the printer's control board. Refer to your printer's manual for specific instructions on how to do this, as the process may vary slightly depending on the model. Step 5: Configure Cura Software To ensure proper calibration and functionality of your new Bowden extruder, you'll need to mirror the installation in Cura software. Open Cura and navigate to the "Mirror" option under the "Build Plate" settings. Select the "Mirror" checkbox to reflect the extruder's position on the opposite side of the printer. Step 6: Calibrate Your Extrude After completing the installation, it's essential to calibrate your new Bowden extruder. This involves setting the correct extrusion temperature and flow rate. Refer to your printer's manual for specific calibration instructions, as this may vary depending on the model. With these simple steps, you'll be able to upgrade your Anet A8 with a step motor-driven Bowden extrude kit, giving you improved precision and control over your 3D printing projects.
With this file you will be able to print Anet a8 -Bowden extrudeuse kit Left filament with your 3D printer. Click on the button and save the file on your computer to work, edit or customize your design. You can also find more 3D designs for printers on Anet a8 -Bowden extrudeuse kit Left filament.
