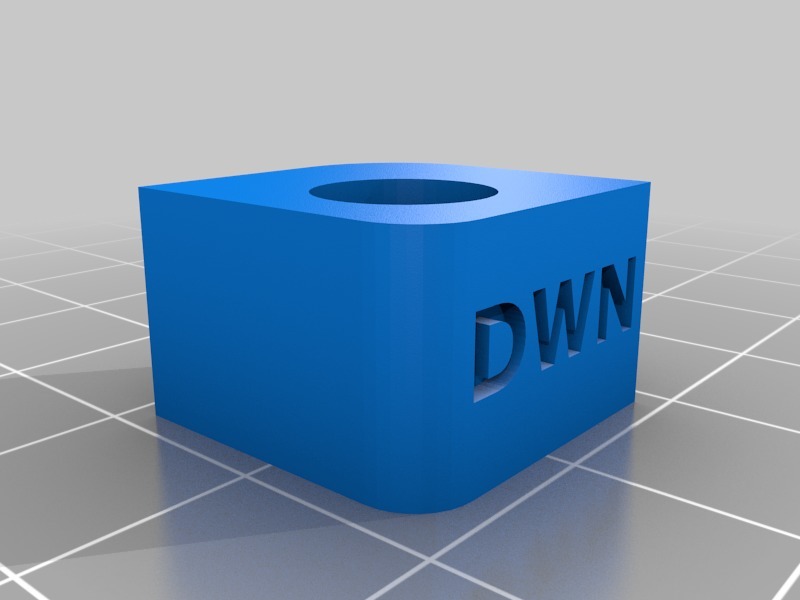
Anet_A8 Bed Level adjustment_Z_Axis
thingiverse
The Z-Axis Bed Level Adjustment Process for Anet A8 Printers Requires Precision Calibration. Begin by ensuring your printer is properly assembled and calibrated. Next, locate the Z-axis bed level adjustment screws located on the left side of the Y carriage assembly. Turn these screws clockwise to raise the bed or counterclockwise to lower it. Make sure the bed is perfectly level before proceeding with further calibration. The next step involves using a paper strip to check the bed's levelness. Place the strip along the bed's edge and gently press down on it until it touches the print surface. Slowly move the strip back and forth, checking for any unevenness or wobble. If necessary, make adjustments to the Z-axis bed level adjustment screws to achieve perfect levelness. With the bed properly leveled, proceed with further calibration by ensuring the Y carriage is aligned with the X-axis rail. This involves adjusting the Y-endstop screw to ensure smooth movement and proper alignment. Once complete, test your printer's functionality by running a simple print job to verify that it is operating correctly.
With this file you will be able to print Anet_A8 Bed Level adjustment_Z_Axis with your 3D printer. Click on the button and save the file on your computer to work, edit or customize your design. You can also find more 3D designs for printers on Anet_A8 Bed Level adjustment_Z_Axis.
