Anet A6 upgrade: X-Belt tensioner
thingiverse
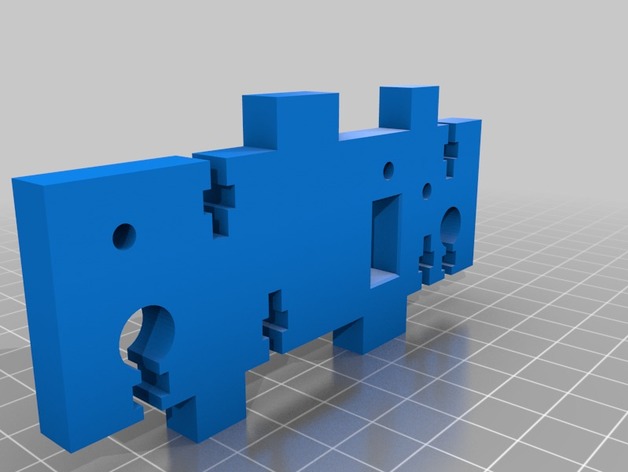
You'll need a couple screws and nuts to secure the X axis tensioner: 1x M3 40 mm, 1x M3 30 mm, and 2x M3 nuts. To install it, remove the original bearings holder from the right side of the X-axis by unscrewing almost all of its parts. You can either reuse the original part or print a new one (X-axis_Tensioner_Frame.stl). Keep in mind that the original frame might break easily because it's not very strong; I recommend printing the new one instead. To assemble the tensioner, place the required M3 nuts into the six angled holes on the right side of the X-axis and install the bearing. Next, slide the X-axis_Tensioner_Adjustment_holder.stl part into its correct position and start reassembling everything. Once it's back together, attach it to your printer and put the belt back in place. To achieve proper tension, turn the M3 screw until the belt is at the right tightness. Before printing or assembling, make sure your printer is calibrated correctly; otherwise, the parts might not fit properly. Printer settings: Anet A6 Rafts: Doesn't Matter Supports: Yes Resolution: 0.25 Infill: 15% I designed this project with precision and attention to detail, ensuring everything fits perfectly together. It was one of my most challenging projects yet, but I enjoyed making it. The adjustment section required careful planning to make it solid and functional.
With this file you will be able to print Anet A6 upgrade: X-Belt tensioner with your 3D printer. Click on the button and save the file on your computer to work, edit or customize your design. You can also find more 3D designs for printers on Anet A6 upgrade: X-Belt tensioner.