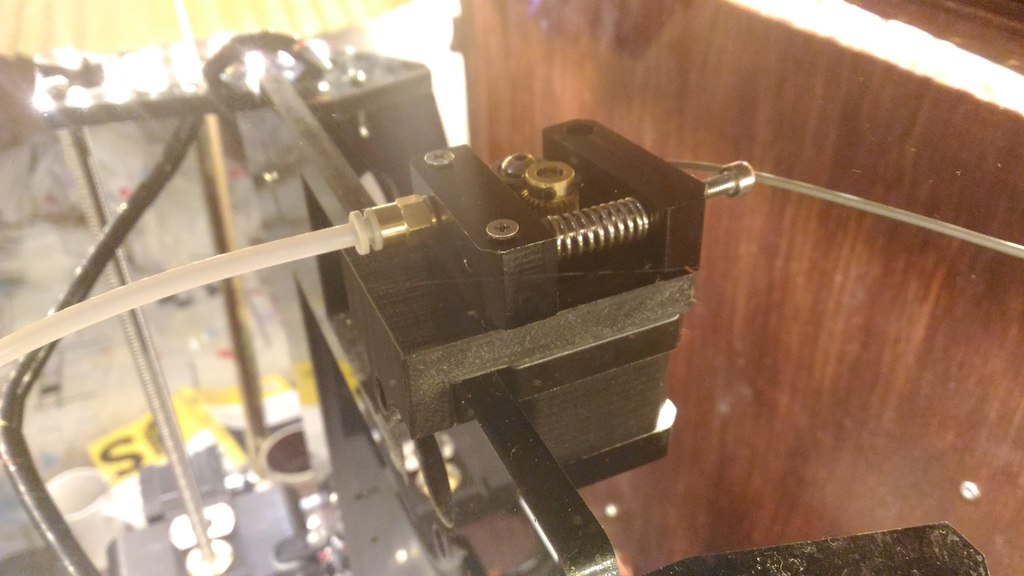
Anet A6 Bowden mount
thingiverse
Anet A6 Frame Mounts: DIY Installation of a Modified Bowden System For those familiar with the Anet A6 3D printer's limitations, one potential area for improvement is the factory-installed bowden tube assembly. By removing the LCD display and upgrading to a more efficient bowden mount, users can significantly enhance print quality and overall performance. A key modification involves replacing the standard mount with a custom-designed frame mount that provides increased stability and reduced vibrations during printing operations. This DIY upgrade requires careful consideration of the printer's mechanical components and a basic understanding of 3D printing principles. To begin, carefully disconnect the bowden tube from the hotend and set it aside for future use. Next, remove any remaining screws or clips holding the LCD display in place, taking care not to damage surrounding components. Once the LCD is removed, proceed with installing the new frame mount, ensuring a snug fit around the printer's structural framework. The modified bowden system offers several advantages over the original design, including improved thermal management and reduced likelihood of clogging. Additionally, this upgrade allows users to experiment with different hotend configurations and filament types, further expanding the printer's capabilities.
With this file you will be able to print Anet A6 Bowden mount with your 3D printer. Click on the button and save the file on your computer to work, edit or customize your design. You can also find more 3D designs for printers on Anet A6 Bowden mount.
