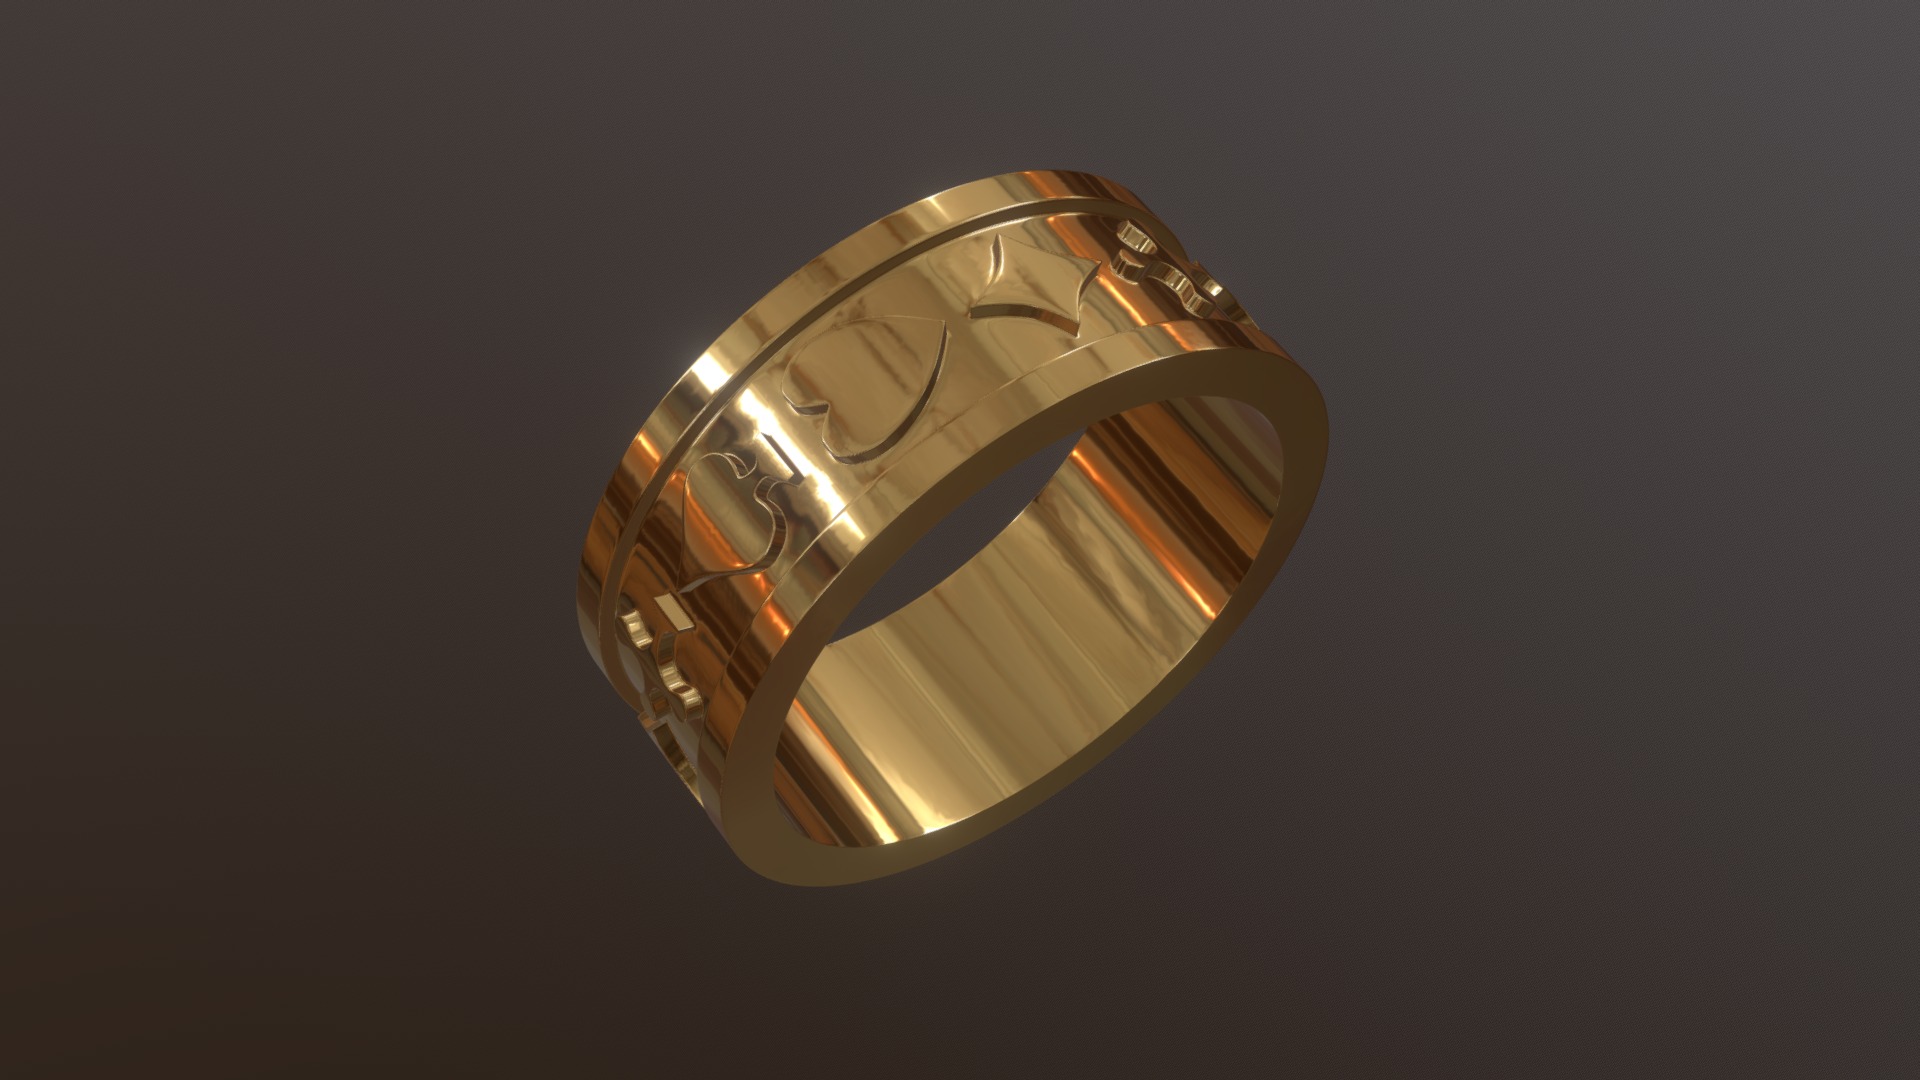
Anello CQFP
sketchfab
Basic Ring Modeling Test in Blender Software. This Tutorial Demonstrates How to Create a Simple Ring Using Blender's Modelling Tools. Step 1: Launch Blender and Create a New Project. Begin by launching the Blender software on your computer and selecting the "Create a New Project" option from the startup menu. This will open up a new window where you can set up your project settings, including the scene units and render resolution. Step 2: Add a New Mesh Object. Next, navigate to the "Object Mode" panel in the top left corner of the Blender screen and click on the "Add" button. From the drop-down menu that appears, select "Mesh" as the object type. This will create a new mesh object in your scene. Step 3: Create a Ring Shape. With the new mesh object selected, switch to the "Edit Mode" panel by clicking on the corresponding button in the top left corner of the screen. In Edit Mode, you can manipulate the vertices and edges of the mesh to create a ring shape. To do this, select all the vertices of the mesh and move them upwards slightly using the mouse wheel or arrow keys. Step 4: Extrude the Ring Shape. Once you have created the basic ring shape, you can extrude it by selecting one edge of the ring and pressing the "E" key on your keyboard. This will extend the selected edge outward, creating a new loop in the mesh. Step 5: Refine the Ring Shape. To refine the ring shape, select all the vertices of the mesh again and move them slightly inward using the mouse wheel or arrow keys. This will help to even out the shape of the ring and create a more symmetrical appearance. Step 6: Apply Materials and Lighting. Finally, apply materials and lighting to your ring model by navigating to the "Materials" panel in the top right corner of the Blender screen. Select a material from the drop-down menu or create a new one using the "New Material" button. Then, navigate to the "Lighting" panel and adjust the light settings as needed. Step 7: Render the Final Image. With your ring model complete, you can render it by clicking on the "Render" button in the top right corner of the Blender screen. This will create a final image of your ring model that you can save to your computer or share with others.
With this file you will be able to print Anello CQFP with your 3D printer. Click on the button and save the file on your computer to work, edit or customize your design. You can also find more 3D designs for printers on Anello CQFP.