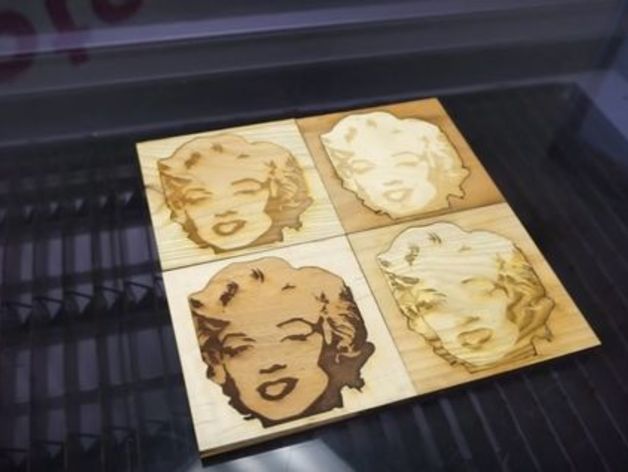
Andy Warhol's "Marilyn Monroe" wood engraving
thingiverse
We're laser engraving Andy Warhol's iconic Marilyn Monroe print, guaranteeing to make some eyes stop and stare. Let's dive into how I designed this unique piece. **Step 1: Cut and Engrave the Wood** First, we set the Speedy 400 100w laser machine to 100 power and 85 speed to engrave Marilyn's face on four types of wood: maple, ash, mahogany, and cherry. We then added a border around her face. After separating the two pieces of wood, we're ready for the next step. **Step 2: Mix the Wood** We add glue to the perimeter of the squares and attach the faces to the borders like a puzzle. Now you have something that closely resembles Warhol's original piece. **Step 3: Put Them Together** Now that we've mixed all the pieces together, it's time to glue them to a backboard (the original has four). We use LePage glue to stick them together. **Step 4: Clean Up the Finish** We give our piece a smooth finish by using a sanding block or sandpaper. And there you have it - a work of art!
With this file you will be able to print Andy Warhol's "Marilyn Monroe" wood engraving with your 3D printer. Click on the button and save the file on your computer to work, edit or customize your design. You can also find more 3D designs for printers on Andy Warhol's "Marilyn Monroe" wood engraving.
