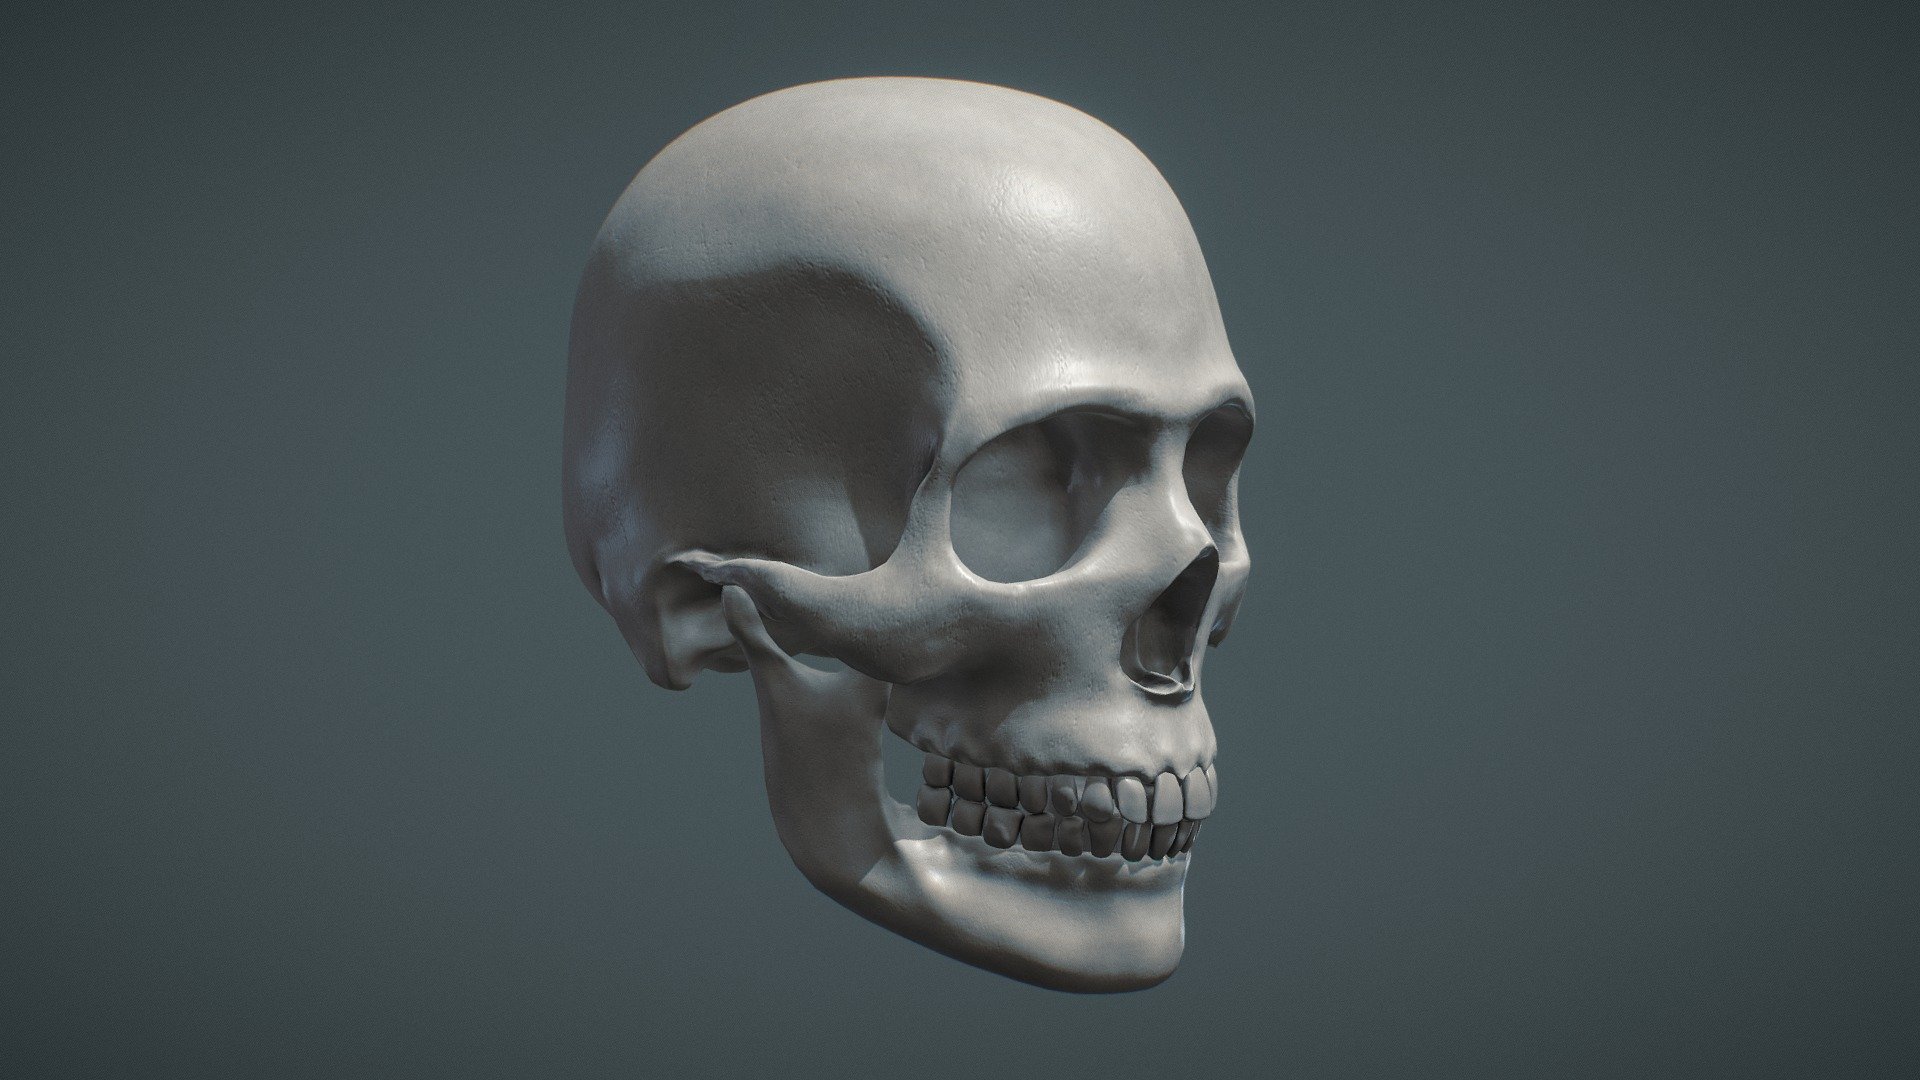
Anatomy study_v02
sketchfab
Study on the human skull reveals a refined model, the culmination of an initial work sculpted in a single piece. I initiated the process by transforming a sphere into a three-dimensional form using Zbrush's Move, Standard, Dam Standard, ClayBuildup, and hPolish brushes. Dynamesh and ZRemesher tools were employed to refine the shape, while UV (UV master) and ID maps (polypaint) were created for texturing purposes. The final model was exported in both high and low resolutions. I then proceeded to adjust the UV coordinates in Cinema 4D's Body Paint - UV Edit module to create three UDIMs (upper, jaw, and teeth), with the intention of increasing resolution and texture detail. This allowed for more precise control over the model's surface. In Substance Painter, I designed a basic bone texture in two distinct phases. The first phase involved applying a single color with two variations: a base layer and a secondary layer that tweaked certain values and incorporated procedural textures masked to achieve a specific look. The second phase focused on creating surface details through the use of one layer with rough channel enabled, additional effects, and procedural textures (noise/scratch). By adjusting negative and positive values, I was able to manipulate the final appearance of the texture.
With this file you will be able to print Anatomy study_v02 with your 3D printer. Click on the button and save the file on your computer to work, edit or customize your design. You can also find more 3D designs for printers on Anatomy study_v02.
