An Apartment Friendly Dry-Erase Board
thingiverse
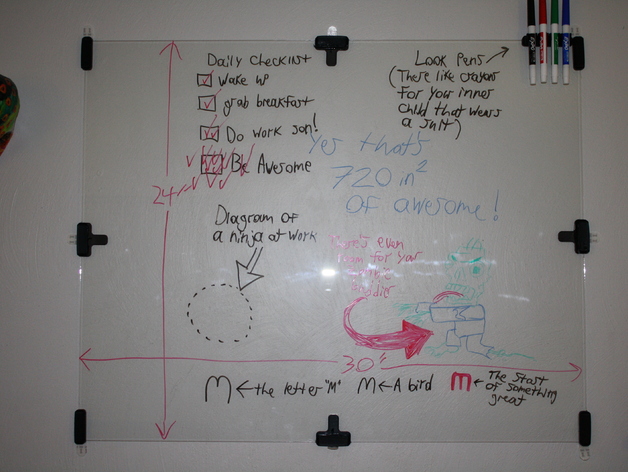
Create an affordable, customizable dry-erase board by designing a unique alternative to pricier models that require screwing into studs. The materials list includes two "Mount1" and "Mount2", four "Mount3", one "Pen Clip", and a 24" X 30" X 1/8" tempered glass pane. First, sand the edges of the glass with wet sandpaper to remove burs. Next, assemble the mounts and mark their positions on the glass before removing them for sanding with coarse paper and cleaning with rubbing alcohol. Apply liquid nails clear silicone adhesive in the mount openings and affix them to the wall, letting it cure for 48 hours. Then, attach command adhesive strips to the mounts' back, clean the board's area on the wall with a moistened paper towel and rubbing alcohol, and press the board into place. Finally, install the pen and clip, completing your minimalist dry-erase board for organization or creativity.
With this file you will be able to print An Apartment Friendly Dry-Erase Board with your 3D printer. Click on the button and save the file on your computer to work, edit or customize your design. You can also find more 3D designs for printers on An Apartment Friendly Dry-Erase Board.