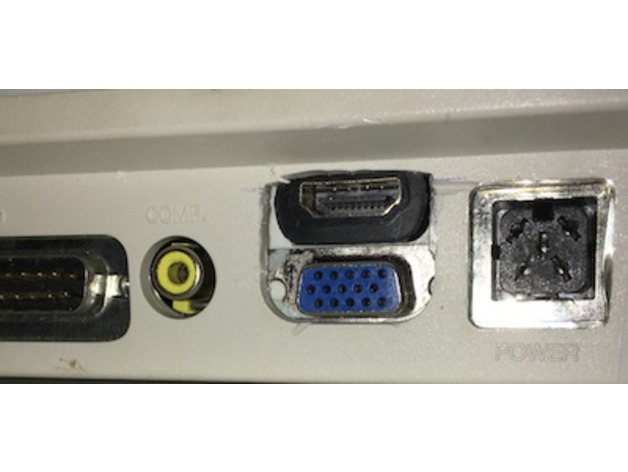
Amiga HDMI+VGA mount
thingiverse
Mounting an internal HDMI and VGA connector in your A600 or 1200 is a straightforward process. To begin, you need to remove the RF modulator from the rear panel of your computer. This will give you access to the opening that needs to be expanded. Once you've removed the RF modulator, use a drill press to carefully expand the existing hole until it's large enough for your HDMI extender. Make sure not to damage any surrounding components during this process. After expanding the hole, you can then mount your internal HDMI and VGA connector in place. Secure it firmly using screws or adhesive. When choosing an HDMI extender, consider one that suits your needs. For example, a right-angle short extension cable adapter with 3D and 4K capabilities would be ideal for high-definition video output. You can find suitable options on online marketplaces like eBay. Search for "Right-Angle-Short-Extension-Cable-Adapter-3D-4K-Male-to-Female-HDMI-1-4" to find the exact adapter used in this solution.
With this file you will be able to print Amiga HDMI+VGA mount with your 3D printer. Click on the button and save the file on your computer to work, edit or customize your design. You can also find more 3D designs for printers on Amiga HDMI+VGA mount.
