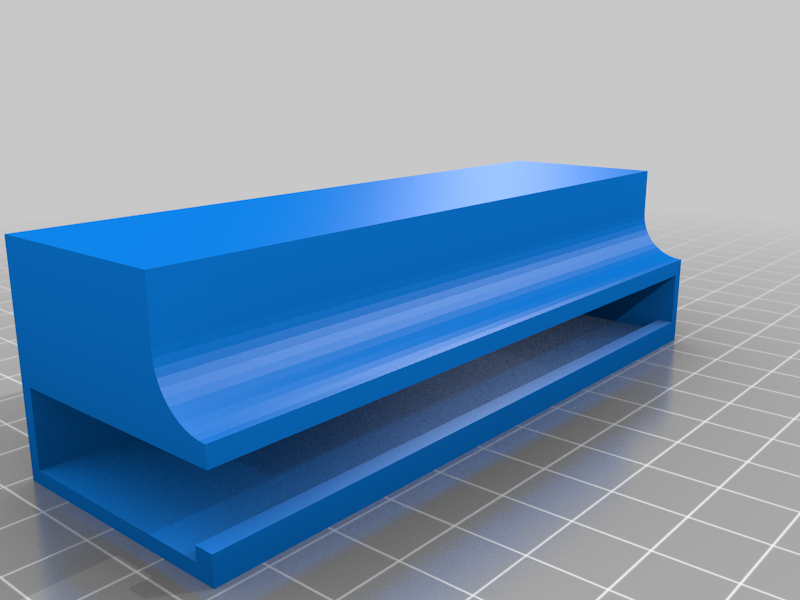
Amazon Basics Monitor Stand Anker USB Hub Mount
thingiverse
Mounting the Anker 4-Port USB Hub securely to the Amazon Basics Metal Monitor Stand requires some careful planning and execution to ensure stability and functionality of both devices. The first step is to identify a suitable location on the monitor stand where you can attach the USB hub without obstructing its ports or interfering with the stand's structural integrity. This might involve placing it at an angle, which could help distribute the weight more evenly. Next, choose one of the four mounting screws that came with the Anker 4-Port USB Hub and screw it into a suitable hole on the back of the Amazon Basics Metal Monitor Stand. Hold the hub firmly in place while you do this to prevent any accidental movements or slippage. Once the first screw is securely in place, proceed to attach the remaining three screws using the same method described above. Make sure that all four screws are tightened evenly and snugly into their respective holes on the monitor stand. After attaching the USB hub, plug it into a power source and test its functionality by plugging various devices into each of the four available ports. This will ensure that everything is working as expected. Finally, place your computer or other device on top of the Amazon Basics Metal Monitor Stand, which should now be securely holding the Anker 4-Port USB Hub in place. You can now use the extra ports to connect multiple devices and enjoy a clutter-free workspace.
With this file you will be able to print Amazon Basics Monitor Stand Anker USB Hub Mount with your 3D printer. Click on the button and save the file on your computer to work, edit or customize your design. You can also find more 3D designs for printers on Amazon Basics Monitor Stand Anker USB Hub Mount.
