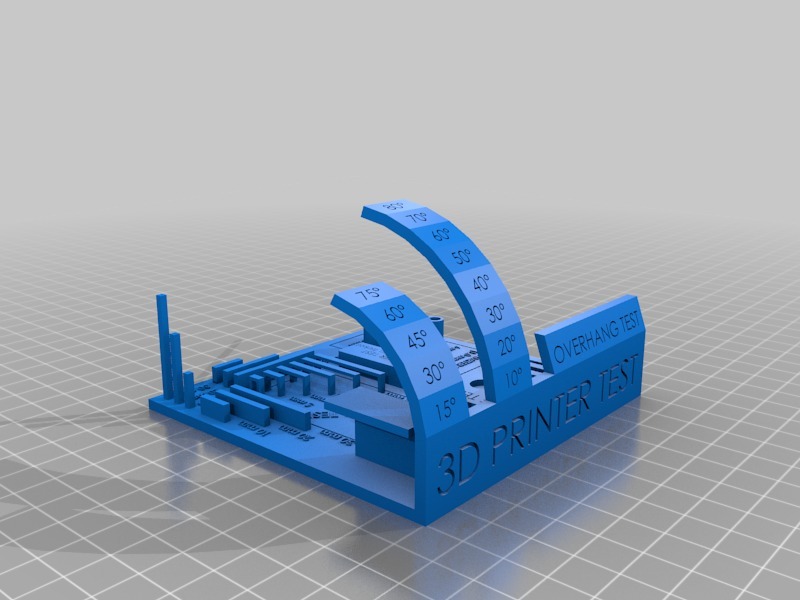
All In One 3D Printer Test with real supports
prusaprinters
<p>Overall, I liked the original, but the support test had pre-defined supports that were completely attached to the horizontal platform, negating the test and making the print use more material and take more time without actually testing the support features in the slicer.</p> <p>This model has a simple 90-degree ledge in the same location, but you must now define supports in your slicer.</p> <h3>Print Settings</h3> <p><strong>Printer Brand:</strong></p> <p>Creality</p> <p class="detail-setting printer"><strong>Printer: </strong> <div><p>CR-10</p></div> <p><strong>Rafts:</strong></p> <p>No</p> <p class="detail-setting supports"><strong>Supports: </strong> <div><p>Yes</p></div> <p><strong>Resolution:</strong></p> <p>0.2</p> <p class="detail-setting infill"><strong>Infill: </strong> <div><p>100%</p></div> <p><strong>Filament:</strong> Sunlu PLA Plus Orange</p> <p><br/> <p class="detail-setting notes"><strong>Notes: </strong></p> </p><div><p>You must now enable supports in your slicer for this remixed version!. Make sure support angle is set to >80 degrees (I used 82), or you'll get them under the overhang tests. Also, you'll have to place a support blocker over the bridging tests, otherwise they will also end up with supports. </p> If you don't see the supports after slicing, you probably have supports set to too steep of an overhang angle, or you have them set to attach to the build plate only. </div></p></p></p> Category: 3D Printing Tests
With this file you will be able to print All In One 3D Printer Test with real supports with your 3D printer. Click on the button and save the file on your computer to work, edit or customize your design. You can also find more 3D designs for printers on All In One 3D Printer Test with real supports.
