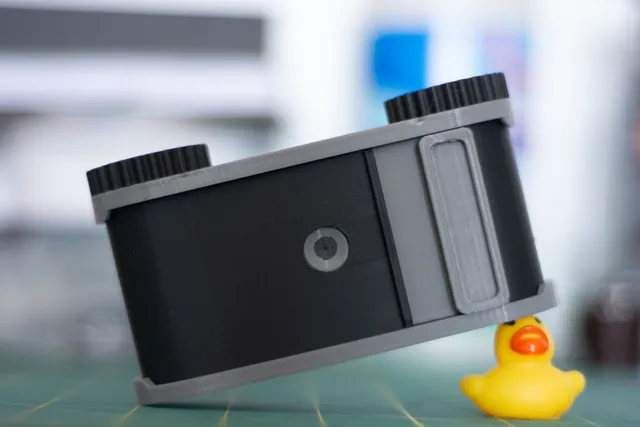
All 3D Printed Camera
prusaprinters
This is my first time posting anything I have designed and providing instructions. This camera is printed in parts to allow for easy assembly. I made it so that the pinhole had a thin spot to be able to push a small pin through it to make the hole for the camera. I was able to get 26 exposures out of a 36-exposure roll. Assembly Instructions:Take the (sewing) pin and push it through the center of the pinhole part. (There is a small indent to help guide you to where the pin should be pushed through) Take the light blocker and place it in the gap in the top of the camera body with the same shape and press down on both sides and apply even pressure. (It will be a snug fit to ensure that no light bleeds through). Make sure to orient legs downward into camera body. Slide the pinhole into the slot (ensuring the flat side is facing inward) in the front of the camera and place the pinhole-cover in front of the pinhole. Take the camera cap top and place the dials through the holes on each side. Orient the dial on the side of the cap with the small notch so that the slit on the dial lines up with the small notch on camera cap top. On the underside of the camera cap top, attach the clicker to the slotted hole flat side down. On the same side as the clicker, attach the clicker gear careful not to break spokes and not to move the dial. Attach right dial lock on to dial on the right, this is the dial with no gearing. Load Film - see Loading Film instructions below Attach camera cap top to camera body Attach camera cap bottom to camera bodyLoading Film:Take a used film roll and remove internal film take up spool. This will be used to wind and rewind film while in camera body. Use the scotch tape to attach film to empty film take up spool. Ensure both film roll, and film take up spool have same orientation Insert film cannister into right side of camera body (while holding the camera and seeing its back side) and extend film across body until take up spool can be set within left side of camera body.Taking Photographs:Best to advance the film two whole rotations before taking first photo (left side dial to advance) Taking picture requires exposing pinhole by sliding pinhole-cover to the left, exposing between 5 and 15 seconds and sliding cover to right to close the pinhole. Each photo requires 1 full rotation of left side dial. After taking all photos, using right and left dials turn counterclockwise at same to reset film. Both dials recommended as using just the right dial to rewind can be sticky. When completely rewound take top off, remove film and reload as desired.
With this file you will be able to print All 3D Printed Camera with your 3D printer. Click on the button and save the file on your computer to work, edit or customize your design. You can also find more 3D designs for printers on All 3D Printed Camera.
