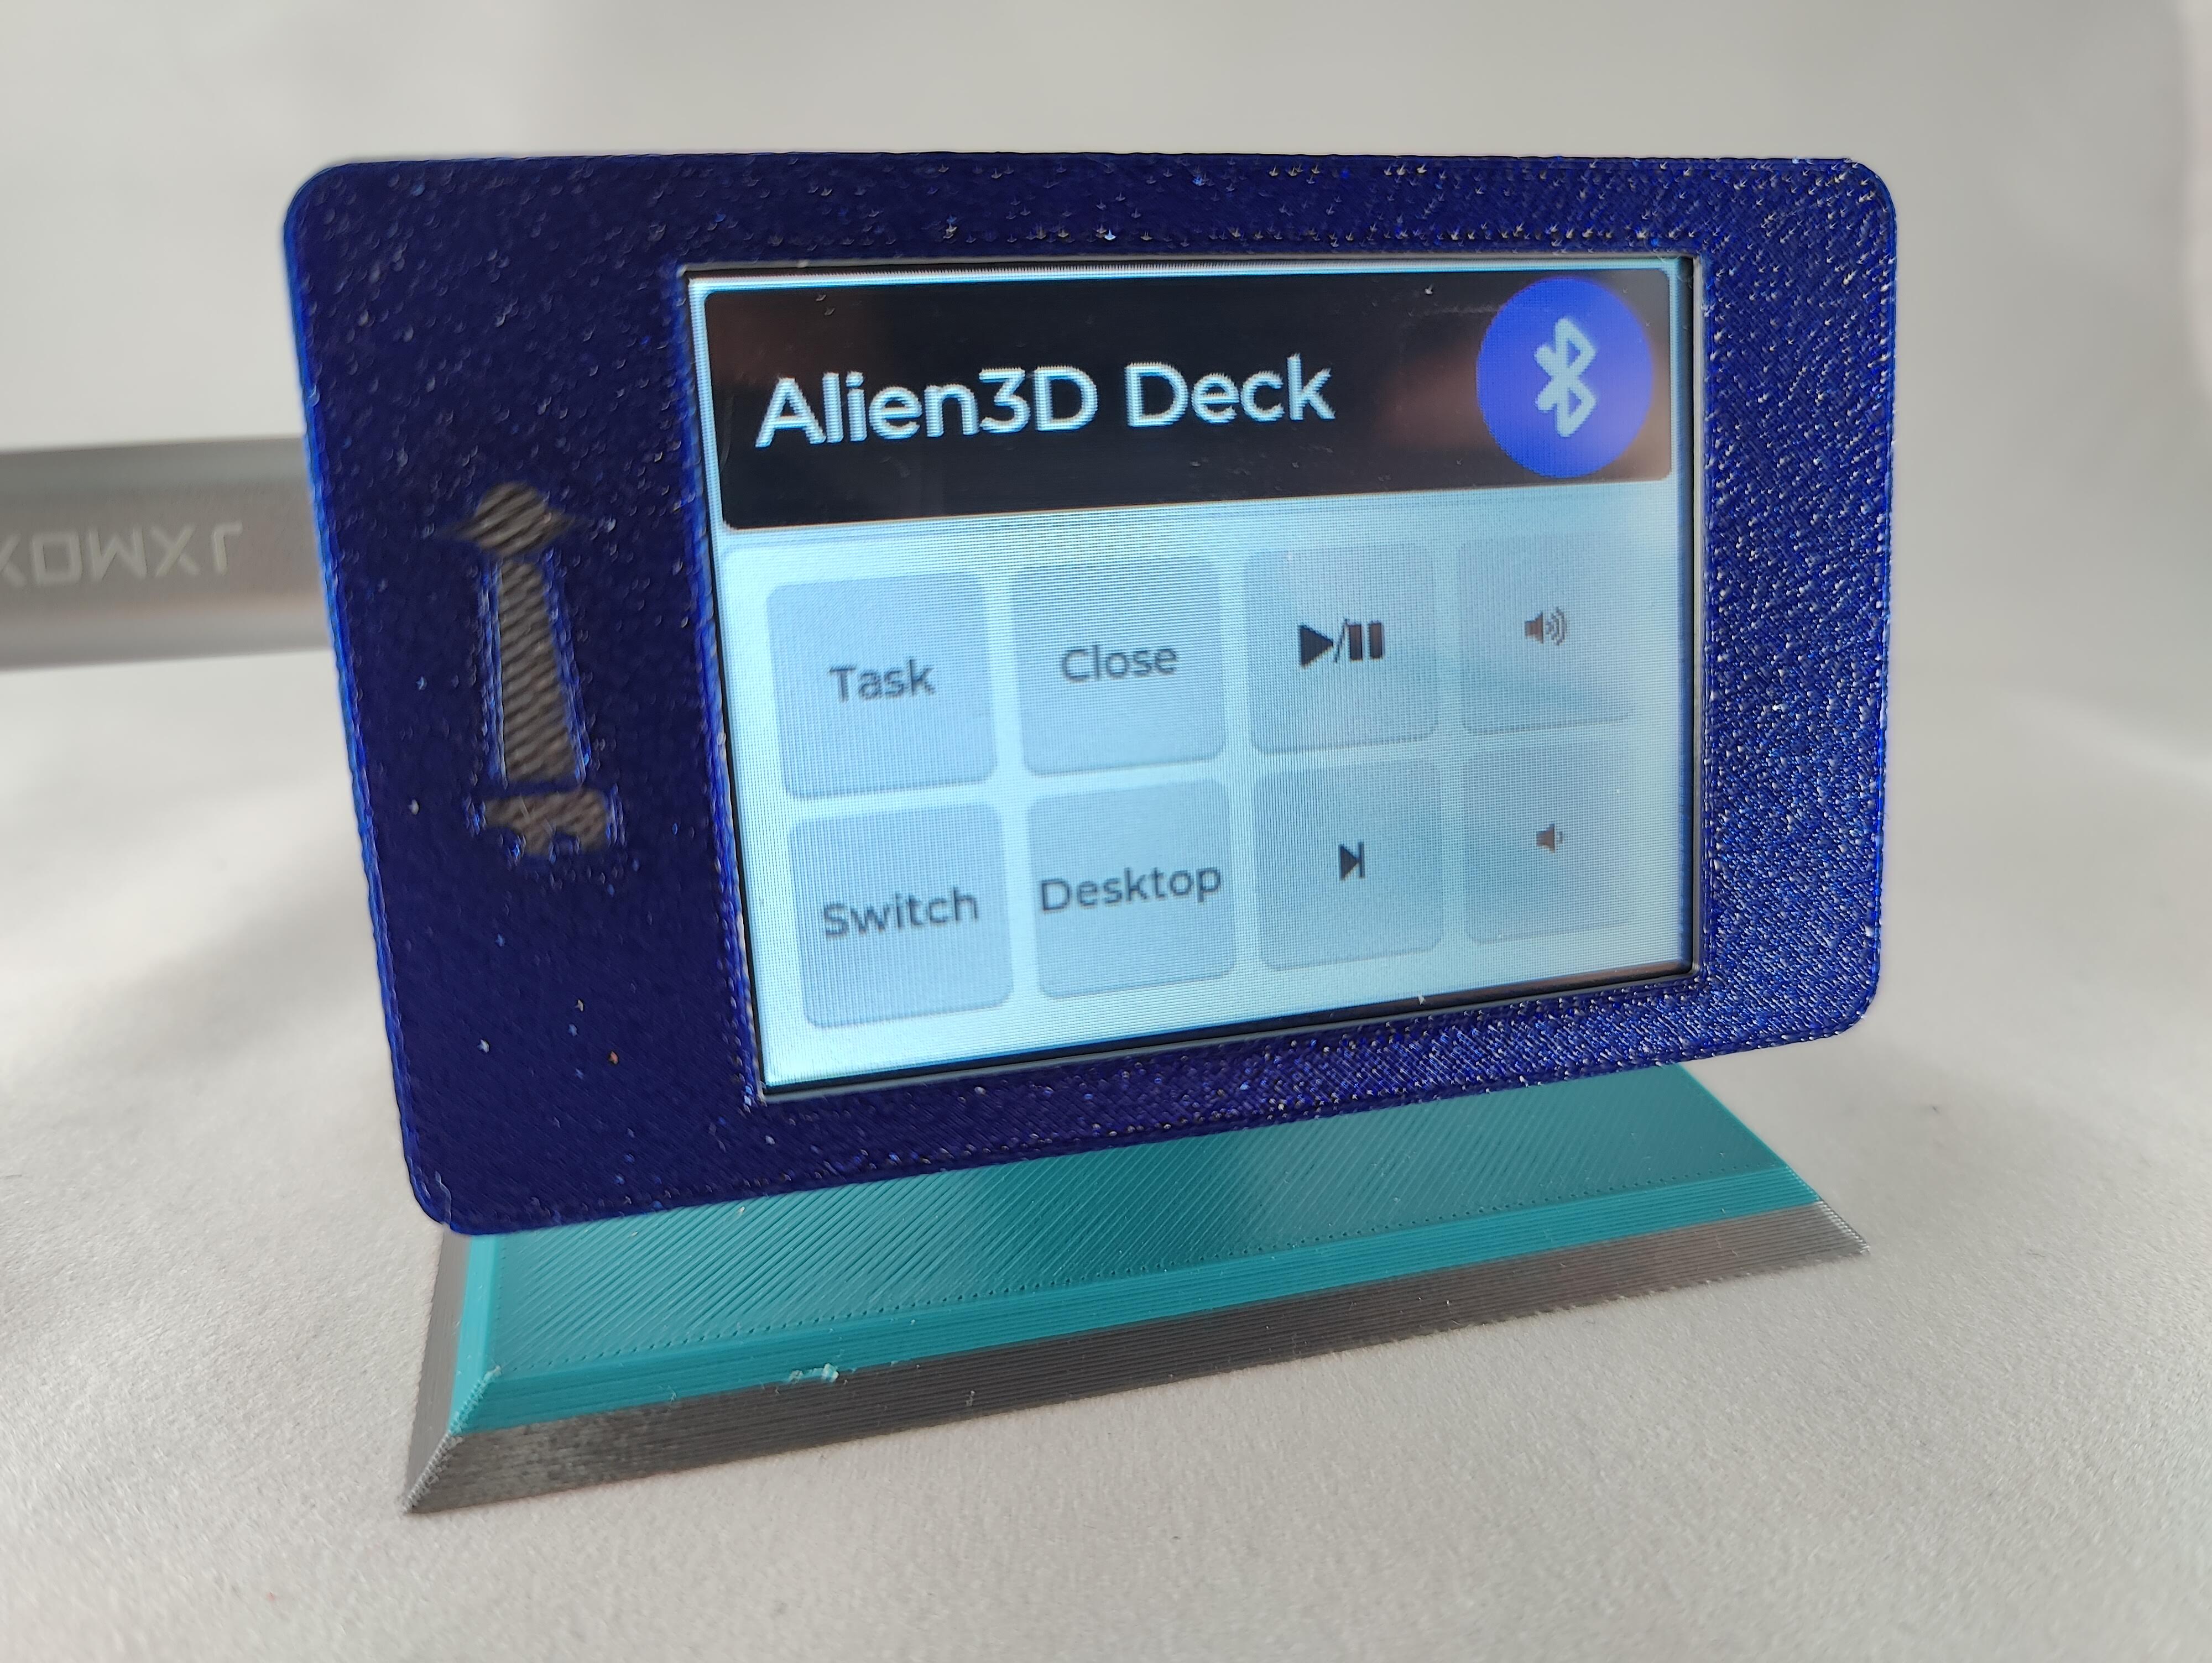
Alien3D Deck
prusaprinters
<p>This is an lcd based shortcut device that connects to your device over Bluetooth. Since it uses Bluetooth to connect it is compatible with pc's and mobile device as well. The gadget runs from an esp32 based development board with an integrated lcd screen. It also uses the LVGL library that provides a nice way to bring graphics to Arduino projects without needing to code from scratch.</p><p> </p><h3>How to use:</h3><p>When you plug the Alien Deck into power after it has been flashed it will present the screen below.</p><figure class="image image_resized" style="width:30.1%;"><img src="https://media.printables.com/media/prints/310352/rich_content/195b40f8-4186-4a70-a0ad-769086da8164/snag-0133.jpg#%7B%22uuid%22%3A%223c432721-e9d2-451c-a4e7-c578a7a6cf6d%22%2C%22w%22%3A320%2C%22h%22%3A240%7D"></figure><p>This means the device is ready but disconnected. You can tell because the Bluetooth icon is white, another indicator is the RGB LED in the back. When it is disconnected it lights up red and connected changes to blue.</p><p>When you search for Bluetooth devices you should see Alien 3D Deck. Once you connect your device to it the Bluetooth icon will change to blue and the LED in the back will change to blue.</p><figure class="image image_resized" style="width:30.14%;"><img src="https://media.printables.com/media/prints/310352/rich_content/aa57531c-6ea5-4dcd-800a-619511e6ed16/snag-0132.jpg#%7B%22uuid%22%3A%2236eb34b6-f83e-458d-829f-e082bf957823%22%2C%22w%22%3A320%2C%22h%22%3A240%7D"></figure><p>If for some reason the device becomes frozen or unresponsive you can click on the flush reset button on the back.</p><p> </p><h3>Printing:</h3><p>All parts saved as STL are in the correct orientation, and no supports are needed if printed in that orientation. Please print 2 screws</p><p> </p><h3><strong>Components:</strong></h3><ul><li>ESP32-2432S028R (ESP32 Dev Board with LCD Screen)</li><li>4 M3x16 screws</li></ul><p> </p><h3>Wiring Diagram:</h3><p>None just plug in USB cable for programming/power. (since this connects by Bluetooth you don't necessarily needs to plug it into your pc, any USB port will work)</p><p> </p><h3>Assembly:</h3><figure class="media"><oembed url="https://youtu.be/NWdUGA8y8mA"></oembed></figure><h3> </h3><h3>Programming:</h3><p>If you haven't work with an ESP type board before the first thing you will need is to install the Espressif ESP board library. You can do so by following the tutorial on the website below: [Note for our board select the ESP32 Dev Board]</p><p><a href="https://randomnerdtutorials.com/installing-the-esp32-board-in-arduino-ide-windows-instructions/">https://randomnerdtutorials.com/installing-the-esp32-board-in-arduino-ide-windows-instructions/</a></p><p>Usually this is where I would tell you which libraries you would also need to install. For this project I was able to simplify the process and all you need to do is extract the included zip file below into your Arduino library. This will give you the files for the project as well as install all the needed libraries and configs. (It was much better to do it this way as the libraries needed have extra steps needed to configure them and simpler is always better)</p><p>Note: If in the future you try to compile this project and it does not work. It could be cause by updated libraries that are incompatible, just re-extract the files again and compile. Different versions of LVGL are not always backwards compatible)</p><p>After your have extract the files into your Arduino folder you will need to select your board. You will select </p><p><strong>Tools > Board > esp32 > ESP32 Dev Module</strong></p><p>You will also need to change the partition scheme on the board to Huge as this is a big app</p><p><strong>Tools > Partition Scheme > Huge App (3MB No OTA/ 1MB SPIFFS)</strong></p><p>Then compile! (The first time you compile this program it will take a LONG time, several minutes so go take a break)</p><p> </p><h3>Make it your own:</h3><p>Once you have it compiled and verified it works you can if you would like modify the code to have the buttons do what you would like.</p><p>There are 2 places that need to be modified to change the actions of the buttons. One is the title of the button and another is the action of the button.</p><p>To change the titles you will need to change the array in the Alien_Deck.ino file</p><p>On line 47 you will see a static const char * btnm_map[]</p><p>This array controls the buttons and titles of them. the “\n” creates a new line and the “” finishes the array. Change the text between the commas. If you would like to use symbols like I did for the media keys please refer to <a href="https://docs.lvgl.io/master/overview/font.html?highlight=symbol">https://docs.lvgl.io/master/overview/font.html?highlight=symbol</a> and scroll down to special fonts.</p><p>To change the actions of the buttons that is done in a different section for that go to the MyShortcuts file. Here you will see a list of cases starting with case 0 that is the first button case 4 is the first button on the second row. You can follow the format of the shortcuts already there as there are example of media keys and multiple key presses as well. For available media keys available for use please go to <a href="https://github.com/T-vK/ESP32-BLE-Keyboard">https://github.com/T-vK/ESP32-BLE-Keyboard</a><br>[Please not media keys use the write function and regular keys use press]</p><p>Changes in these 2 places allow to change all the buttons and functions, you can even add more buttons and it will auto arrange them but you must also create the proper new cases in the MyShortcuts section.</p><p> </p><h5><strong>Special Thanks:</strong></h5><p>I would like to thank ThatProject on YouTube who created and shared several videos on how to use and make programs using LVGL and touchscreens. Specifically this video that this project was based on (I had to rewrite most of the code as the version of LVGL was different and the board and screen used were different as well.)</p><p><a href="https://www.youtube.com/watch?v=EWKAyQBdcYM">https://www.youtube.com/watch?v=EWKAyQBdcYM</a></p><p> </p><p><strong>Post and Share</strong><br>I love seeing the community makes please feel free to tag me @dsk001_3D and @alienslacker on Instagram and twitter </p><p><br> </p>
With this file you will be able to print Alien3D Deck with your 3D printer. Click on the button and save the file on your computer to work, edit or customize your design. You can also find more 3D designs for printers on Alien3D Deck.
