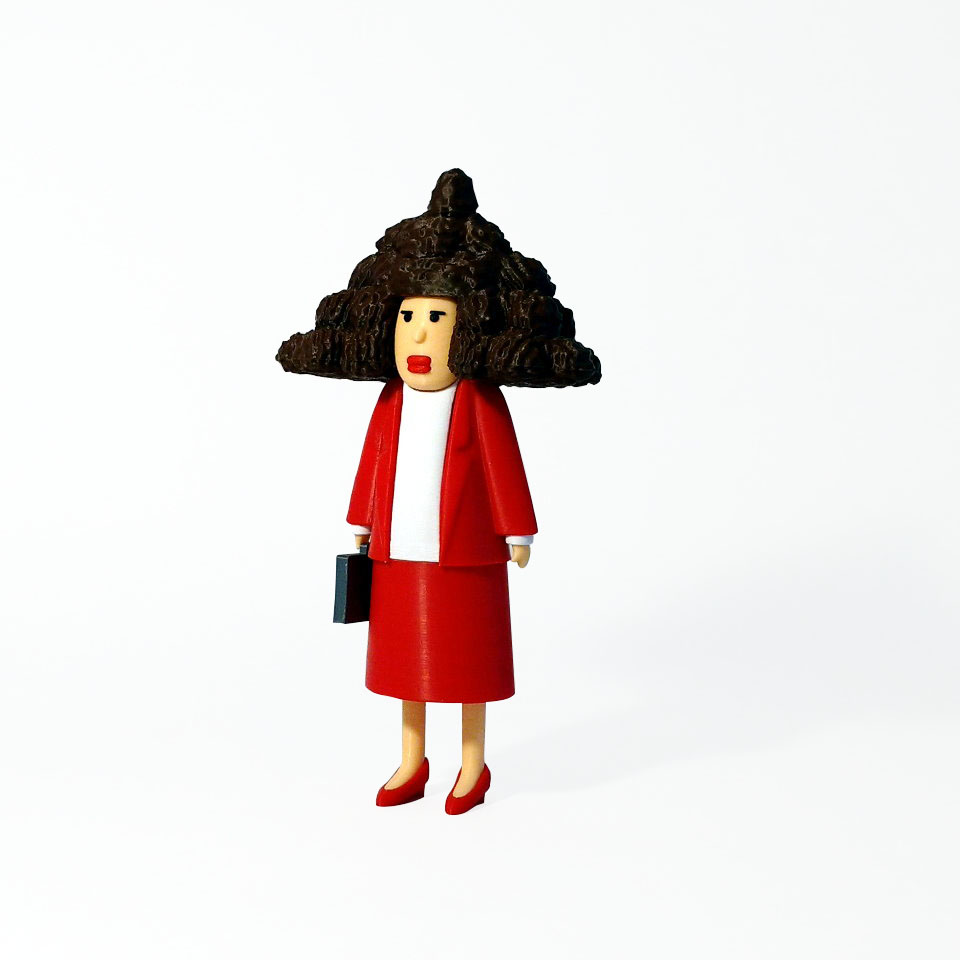
Alice
myminifactory
Alice, a pivotal character from Scott Adams' Dilbert comic strip, is portrayed as one of the hardest-working engineers in the comic series. Despite her impressive work ethic, Alice faces numerous challenges as a female engineer with no support system in place. To assemble this 3D model, you'll need the following filament colors: black for the eyes and eyebrow, white for the shirt, red or dark pink for the skirt, jacket, shoes, and mouth, beige for the legs and hands, brown for the hair, and grey for the briefcase. If you're using a single extruder, follow these instructions for two-color printing: 1. Print all the black pieces first, including the eyes and eyebrow. 2. Next, print the white shirt piece with no brim. Printing Tips: 1. Supports are not required; however, I used a brim on some pieces, but you can use your discretion based on your printer's preferences. 2. The jacket is printed upside down to avoid supports, resulting in a smaller base, so be careful when assembling the model. 3. Print multiple copies of the small eye pieces with no brim for better results; this part can be tricky if you experience bed adhesion issues. 4. Hair_top contains a built-in support structure that needs to be removed after printing. 5. When aligning pieces for printing, consider avoiding layer stepping by having slow curves vertical instead of horizontal. Assembly Instructions: 1. Use the diagrams provided to assemble the model; it's quite straightforward. 2. Glue all the pieces together, taking care to ensure tight clearances and cleaning off any added brim or "squish." 3. The head has a minimal dent for the eyes, which serve as placement markers for aligning and gluing them in place. 4. When assembling the right hand/cuff into the jacket, make sure the briefcase is already attached but not glued; there's no room to insert it later. 5. Remove the built-in support structure from hair_top before assembly (this should be obvious, but just in case!). 6. Test fit the head/jacket/hair/shirt combo thoroughly before gluing any pieces together. 7. The bottom of the skirt has a thicker side in the back; the holes for the legs will then be slightly further back. 8. Be cautious not to mix up the left/right legs and shoes, as they're small and there's limited room for distinction.
With this file you will be able to print Alice with your 3D printer. Click on the button and save the file on your computer to work, edit or customize your design. You can also find more 3D designs for printers on Alice.
