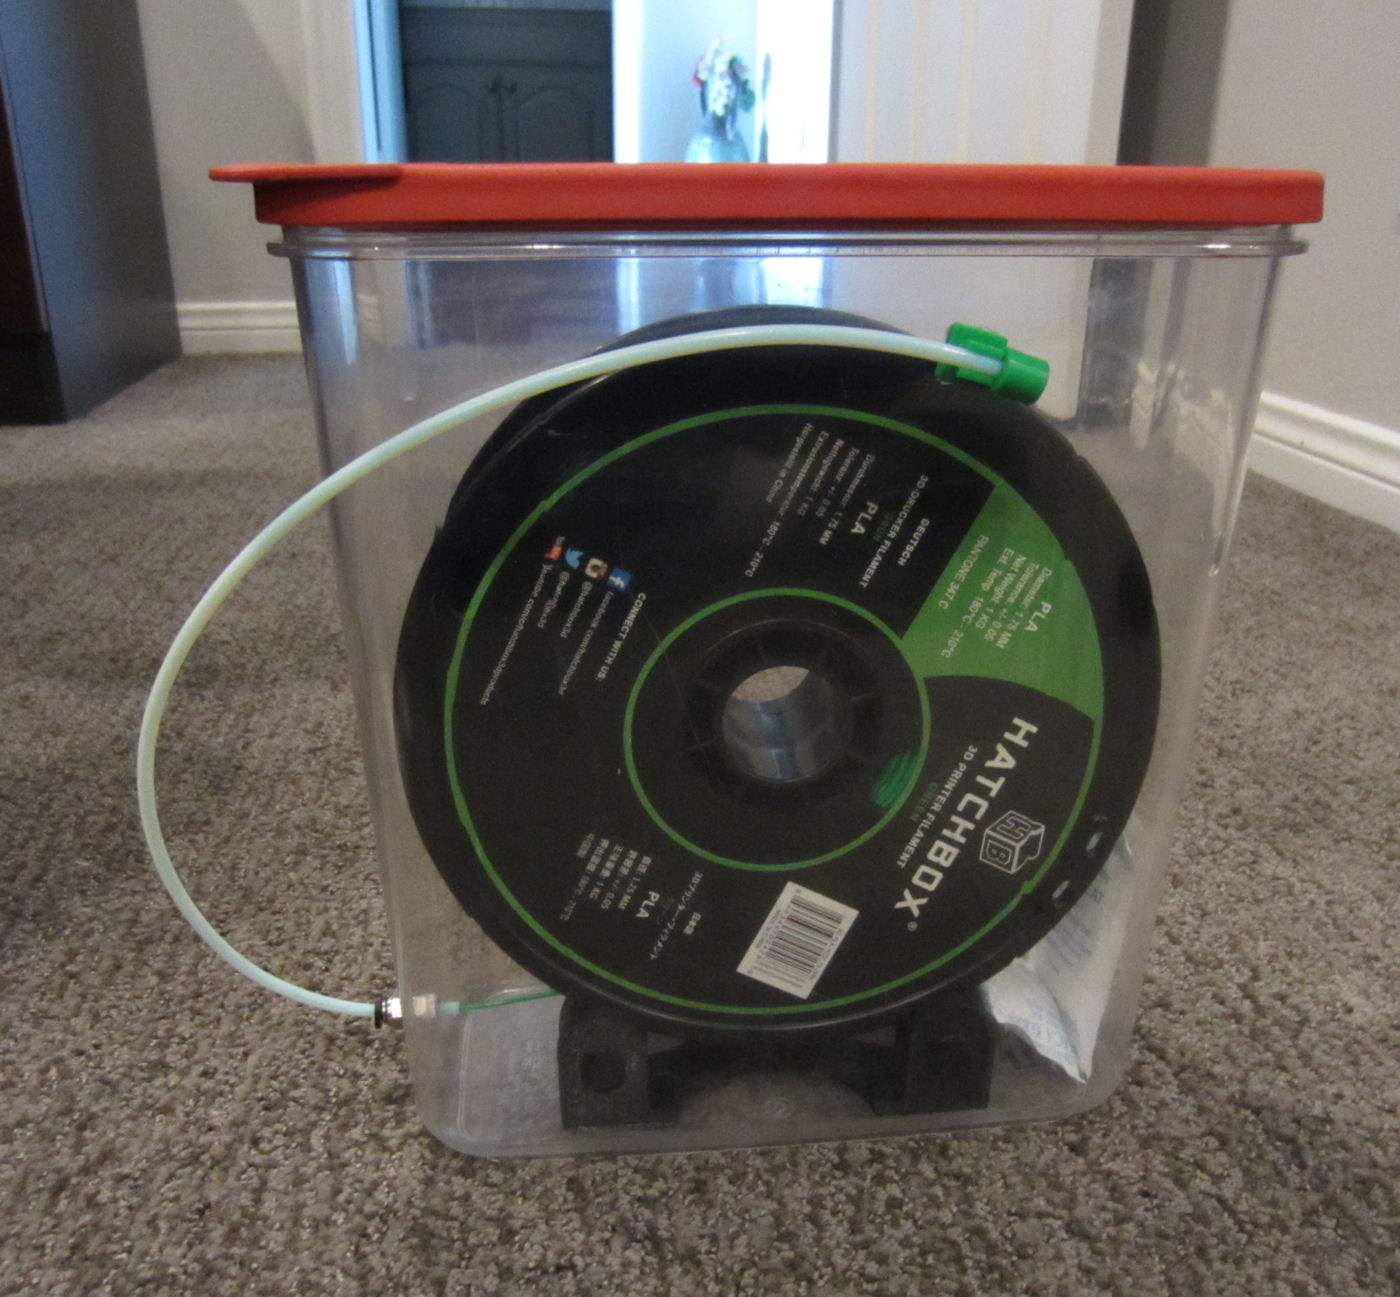
Airtight Filament Canister
myminifactory
Update 2-16-2017: I've added a new design for the PTFE port that supports 4 mm tubing. The revised design uses a cap and a clip instead of an integrated cap port. It utilizes the same spool cradles, allowing it to work seamlessly with CoreXY and HyperCube printers featuring a port mounted low on the container. To install this updated design, you'll need a 10mm PTFE connector and will have to drill a hole to mount the connector. Check out the second photo for more details. I encountered issues with moisture entering my filament, causing small pops on the sides of my prints. However, when I tried using a fresh spool of filament, the problem disappeared. This led me to realize that my filament was absorbing moisture. The Airtight Filament Canister resolves this issue and offers convenient storage. It comes equipped with a cradle for the filament spool to move freely on six 608 bearings. The filament is fed through an airtight connection using 1/4" PTFE tubing, which I used to minimize drag on the feed of the filament. The canister is entirely airtight except for a small hole at the end of the tubing where the filament exits. After printing, I cut the filament off and plugged the end of the tubing into the spare dummy port, sealing the tube's end. The dummy port doesn't enter the canister; it's a blind cap integral to the filament port. I chose to install the filament port on top because I run my printer on my desk. If you prefer your canister on a shelf above your printer, you can install the filament port on the side of the canister, even near the bottom. It can be glued into any 1/2" hole on the canister. There are two versions of the cradle: one for narrower spools and one for wider spools. This canister won't handle spools over 78mm wide due to its limitations with the Rubbermaid Canister. I opted for two cradles because an adjustable cradle is harder to print and didn't look as nice and simple as the one-piece design. The Rubbermaid container is a 21-cup size, available on Amazon.com for $12. You can purchase the bearings from anywhere, including a skate shop, for approximately 75 cents each. The 1/4" PTFE is available at Home Depot. There's no additional hardware required for this design. Update 1: I've been using my new canister extensively this week and noticed that it feeds better when facing the canister and PTFE in a way that follows the natural curve of the filament coming off the spool. This makes perfect sense, doesn't it? Update 2: I printed another one of these setups, and I'm keeping my favorite filaments in these canisters. It's much easier to connect them to my printer, and sealing them off is simpler than using zip-lock bags for storing other spools of filament. This canister has eliminated any issues I had with moisture entering my filament. Update 3: I received a spool of Hatchbox filament that didn't fit the smaller cradle design, so I narrowed it down by 10mm. Between the two cradles, this canister design will support spools ranging from 56mm to 80mm wide. Update 4: I added a filament guide that mounts on the printer and receives the 0.25" PTFE guiding it to the middle of the top of the printer. This makes it easy to connect and swap out canisters, as you simply clip the filament, unplug the tubing, and plug in another canister.
With this file you will be able to print Airtight Filament Canister with your 3D printer. Click on the button and save the file on your computer to work, edit or customize your design. You can also find more 3D designs for printers on Airtight Filament Canister.
