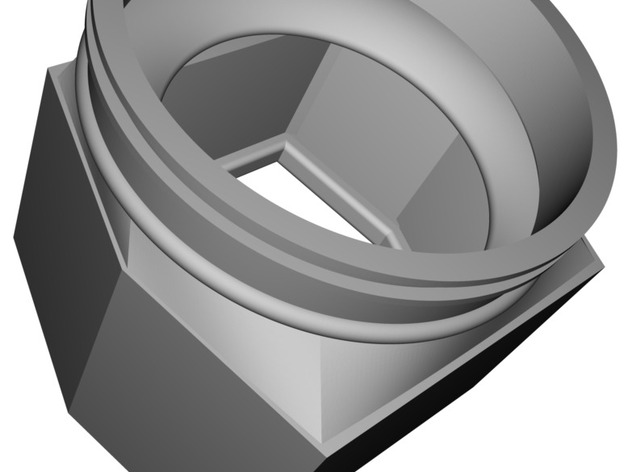
AIRBOX ADAPTER
thingiverse
These designs are for testing purposes only, with PLA going up to 215 degrees before melting. Use ABS or convert to aluminum to avoid damage. V1 - Working on a new air-box adapter for a turbo kit. This is V1, and it's not complete yet. I'll assemble it once I get accurate measurements. V2 - Parts are now assembled. I need to fine-tune the fit. This will eventually be made of aluminum since the motor heat might melt the intake due to its placement on an automatic transmission. V3 - After printing V2, we found a few flaws in the design. Not major, but enough that I redesigned the lower half and reused the top part. (I left the old V2 part intact so you can see the difference!) This will eventually be made of aluminum since the motor heat might melt the intake due to its placement on an automatic transmission. V4 - After printing V3, we decided to simplify a few items and add a groove for the gasket. V5 - I'm done! We simplified a few items by rounding them down and adding a groove for the gasket. Print Settings Printer Brand: MakerBot Printer: MakerBot Replicator (5th Generation) Rafts: Yes Supports: Yes Infill: 0.10 Notes: Use Default Settings. How I Designed This Digital Caliper I used my trusty digital caliper to take measurements since the original piece was damaged. https://www.grainger.com/product/MITUTOYO-Stainless-Steel-Absolute-Digital-4CGK4 It's not necessary, but a digital caliper is nice to have. You can find cheaper alternatives that do the same job.
With this file you will be able to print AIRBOX ADAPTER with your 3D printer. Click on the button and save the file on your computer to work, edit or customize your design. You can also find more 3D designs for printers on AIRBOX ADAPTER.
