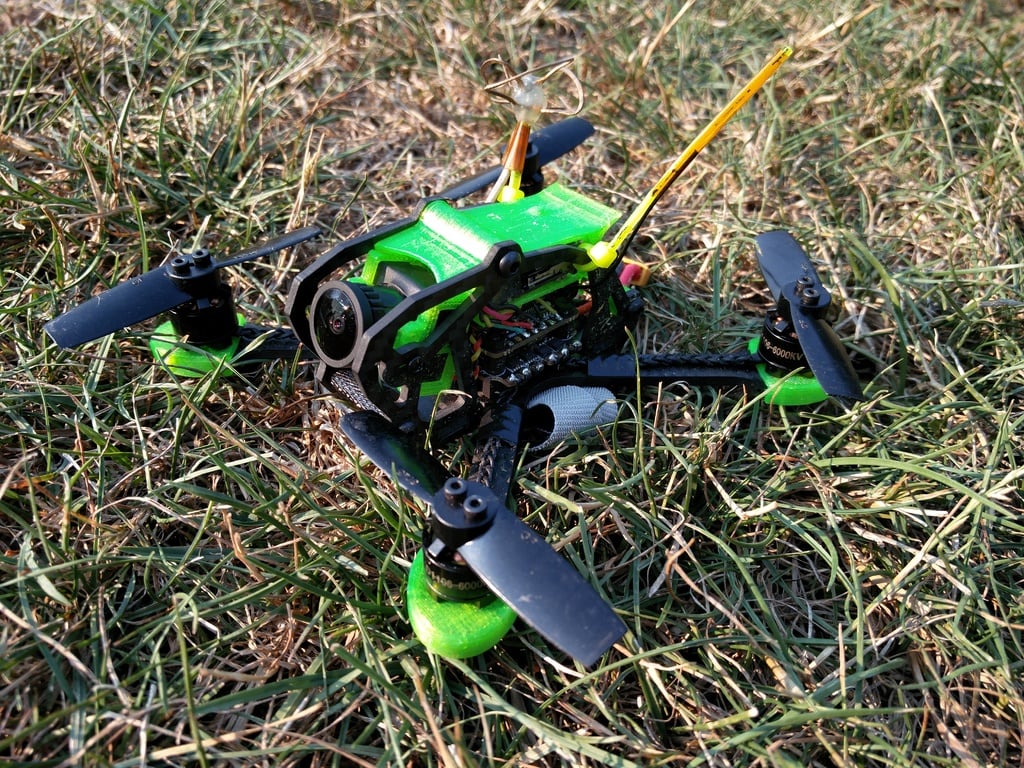
Airblade Eclair V2 Ninja Mission Bodykit
thingiverse
This is my 4th attempt at building a micro freestyle FPV quad that's durable and performs well, with a Runcam Owl and onboard DVR module for capturing post-sunset shenanigans. And this one finally works wonderfully without compromise, so now it's yours too! I suspect it'll be a while before Runcam releases an Owl Micro-Split, so until then, this is what we have. And it ain't bad! This package of components can turn an Airblade Eclair V2 2.0" or 2.5" into the ultimate micro night ripper with onboard HD video recording. You can also use them individually to meet your needs. Find more information about the components used in this quad, along with sample flying videos, at Rotorbuilds: https://rotorbuilds.com/build/6532 #### DTX Backpack The DTX Backpack is designed for the Eachine DTX03 combination VTX/DVR module. The top-rear frame standoff needs to be removed for it to work, but this doesn't compromise strength in any significant way. A nub on the backpack's top is used to start/stop recording. The VTX switching button is accessible on the right side. The SD card is accessible from the rear, and you might need a tool to insert or remove it. The stock antenna on the DTX03 won't work, so it needs to be removed to mount the module, and a suitable replacement needs to be soldered on after assembly with suitable length to get above/behind the quad. Many options for antenna support are available, but a pair of zip-ties on the side plates works great. Thin "windows" are designed into the forward and bottom surfaces of the backpack, which can be cut away after printing to increase much-needed airflow. PRO-TIP: The DTX03 ships in standard-definition mode, but it's capable of recording nicer video in HD mode. This is enabled using the module's OSD function, which isn't available without connecting a monitor to the video-output wire. Instead of rigging up a cable/monitor, temporarily solder the video-out and video-in together. This will transmit the OSD and let you set HD mode. Do this before it's installed in the quad, and you'll always get the best possible recording quality. #### Owl Mount The Owl Mount allows fitting the original compact Runcam Owl to the Eclair. Screws are used to keep the camera straight and prevent slipping, but otherwise compression from the side-plates is used to set and maintain the angle. #### Arm Bumper The Arm Bumper is a simple bumper unit that helps protect the ends of the arms in impacts. It won't save you from the worst of unscheduled rapid disassembly events, but it does wonders for minimizing wear and tear when cartwheeling along the ground. The Arm Bumper also serves as a soft-mount for the motors.
With this file you will be able to print Airblade Eclair V2 Ninja Mission Bodykit with your 3D printer. Click on the button and save the file on your computer to work, edit or customize your design. You can also find more 3D designs for printers on Airblade Eclair V2 Ninja Mission Bodykit.
