air vents support for tomtom go 6000/6100
thingiverse
I've put together a quick setup guide for the TomTom GO 6000 GPS device so you're all set before taking off on your holiday. First, make sure you have the latest software update installed by going to Settings > System Info > Software Update. If an update is available, follow the on-screen instructions to download and install it. Next, locate the GPS antenna on the back of the unit and ensure it's securely attached. This will help maintain a strong signal lock and prevent any dropped connections during your journey. Now, set up your preferred language and country by going to Settings > System Info > Language & Country. Choose your desired settings from the drop-down menus and save your changes. In addition, configure your GPS device to use the correct time zone by selecting Settings > System Info > Time Zone. Pick your destination's time zone from the list and confirm your selection. To ensure you're getting the most out of your TomTom GO 6000, customize your map display by going to Settings > Map Display. Adjust the settings as needed to suit your preferences for road types, traffic information, and more. Finally, before hitting the road, plug in your GPS device and let it charge fully. This will ensure you've got a full battery life to last throughout your trip.
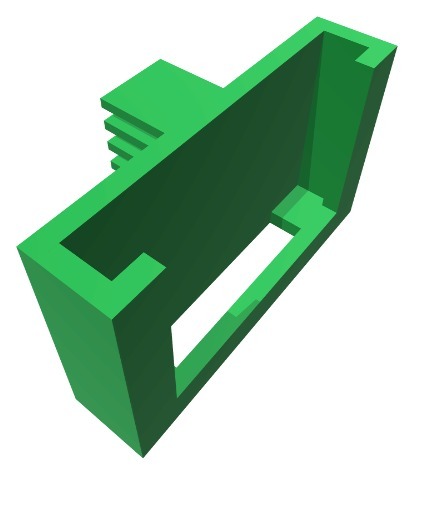
With this file you will be able to print air vents support for tomtom go 6000/6100 with your 3D printer. Click on the button and save the file on your computer to work, edit or customize your design. You can also find more 3D designs for printers on air vents support for tomtom go 6000/6100.