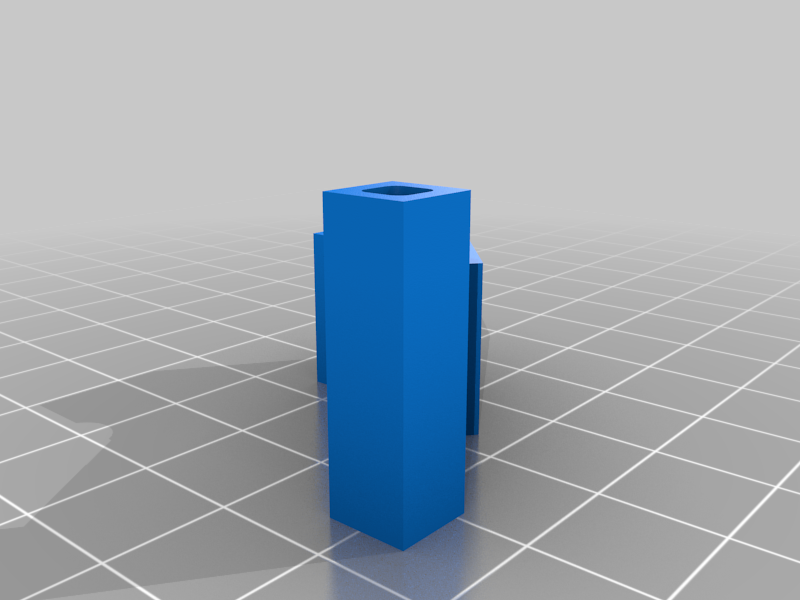
Air Tunnel Patch
prusaprinters
<p>Update 1: For a better approach, check this out: <a href="https://www.thingiverse.com/thing:4352377">https://www.thingiverse.com/thing:4352377</a></p> <p>The original design is great and I appreciate the effort the author put in it. However, in my opinion, the air tunnel/room is too large and not separated by the rest of the case. Thus, the SDS011 sensor fan is not able to create vacuum and absorb fresh air from outside, but it rather takes air from the case which acts as a buffer zone.</p> <p>By this patch, I already noticed an improvement of the real-time PM readings (in the original design, there were some delays when comparing the readings towards a Netigo sensor (an improved version of Luftdaten.info).</p> <p>Besides this, I hope to improve the temperature readings, but I'm not expecting miracles in this respect. A better solution would be a BME 280 sensor placed in an attached enclosure to the OBO case. The designers of Netigo sensors use with success a reduction M16 - M20 / and a blanking plug with a simple hole in the middle.</p> <h3> Post-Printing</h3> <p>Use Teflon Tape / Heat shrink sleeve for the IN pipe of SDS011 sensor. Also, tape the top area of the temperature sensor.</p> Category: Electronics
With this file you will be able to print Air Tunnel Patch with your 3D printer. Click on the button and save the file on your computer to work, edit or customize your design. You can also find more 3D designs for printers on Air Tunnel Patch.
