air ride controller case no2
thingiverse
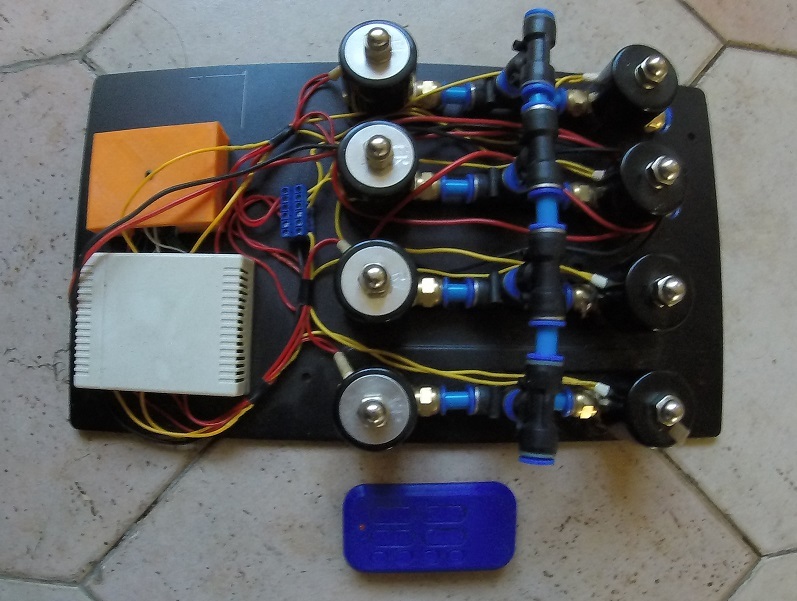
I've successfully adapted a 12ch rf relay remote board off the bay by simply searching for (12ch rf). To get it working properly with buttons, you'll need to unsolder them from the board first. I used superglue to secure them to a plate and then soldered thin wire to the board using an old USB cable with very thin wires. Next, I connected the wires to the battery, keeping in mind that this setup isn't perfect but it works okay for now. To add some finishing touches, I drilled holes for the LED and held it in place with a drop of glue. Then, I soldered some additional wire connections. The wiring diagram for the buttons is crucial; follow it carefully to ensure all relays function correctly. Only one button uses three wires, so pay close attention to the uploaded image that shows where each wire goes. I even managed to rig up an antenna using a bit of spare wire and surprisingly, it works without one at all within about 10 meters. These quick cases are just temporary solutions until I can create better ones with improved print quality and buttons. To help others set up their controllers, I've uploaded diagrams showing how to wire one button to control two relays. This will allow the four buttons on the controller to control front pair ups, front pair downs, and so on. Feel free to ask if you have any questions, and I'll do my best to assist you. I've also added a quick box for the relays, which should make it easier to manage them.
With this file you will be able to print air ride controller case no2 with your 3D printer. Click on the button and save the file on your computer to work, edit or customize your design. You can also find more 3D designs for printers on air ride controller case no2.
