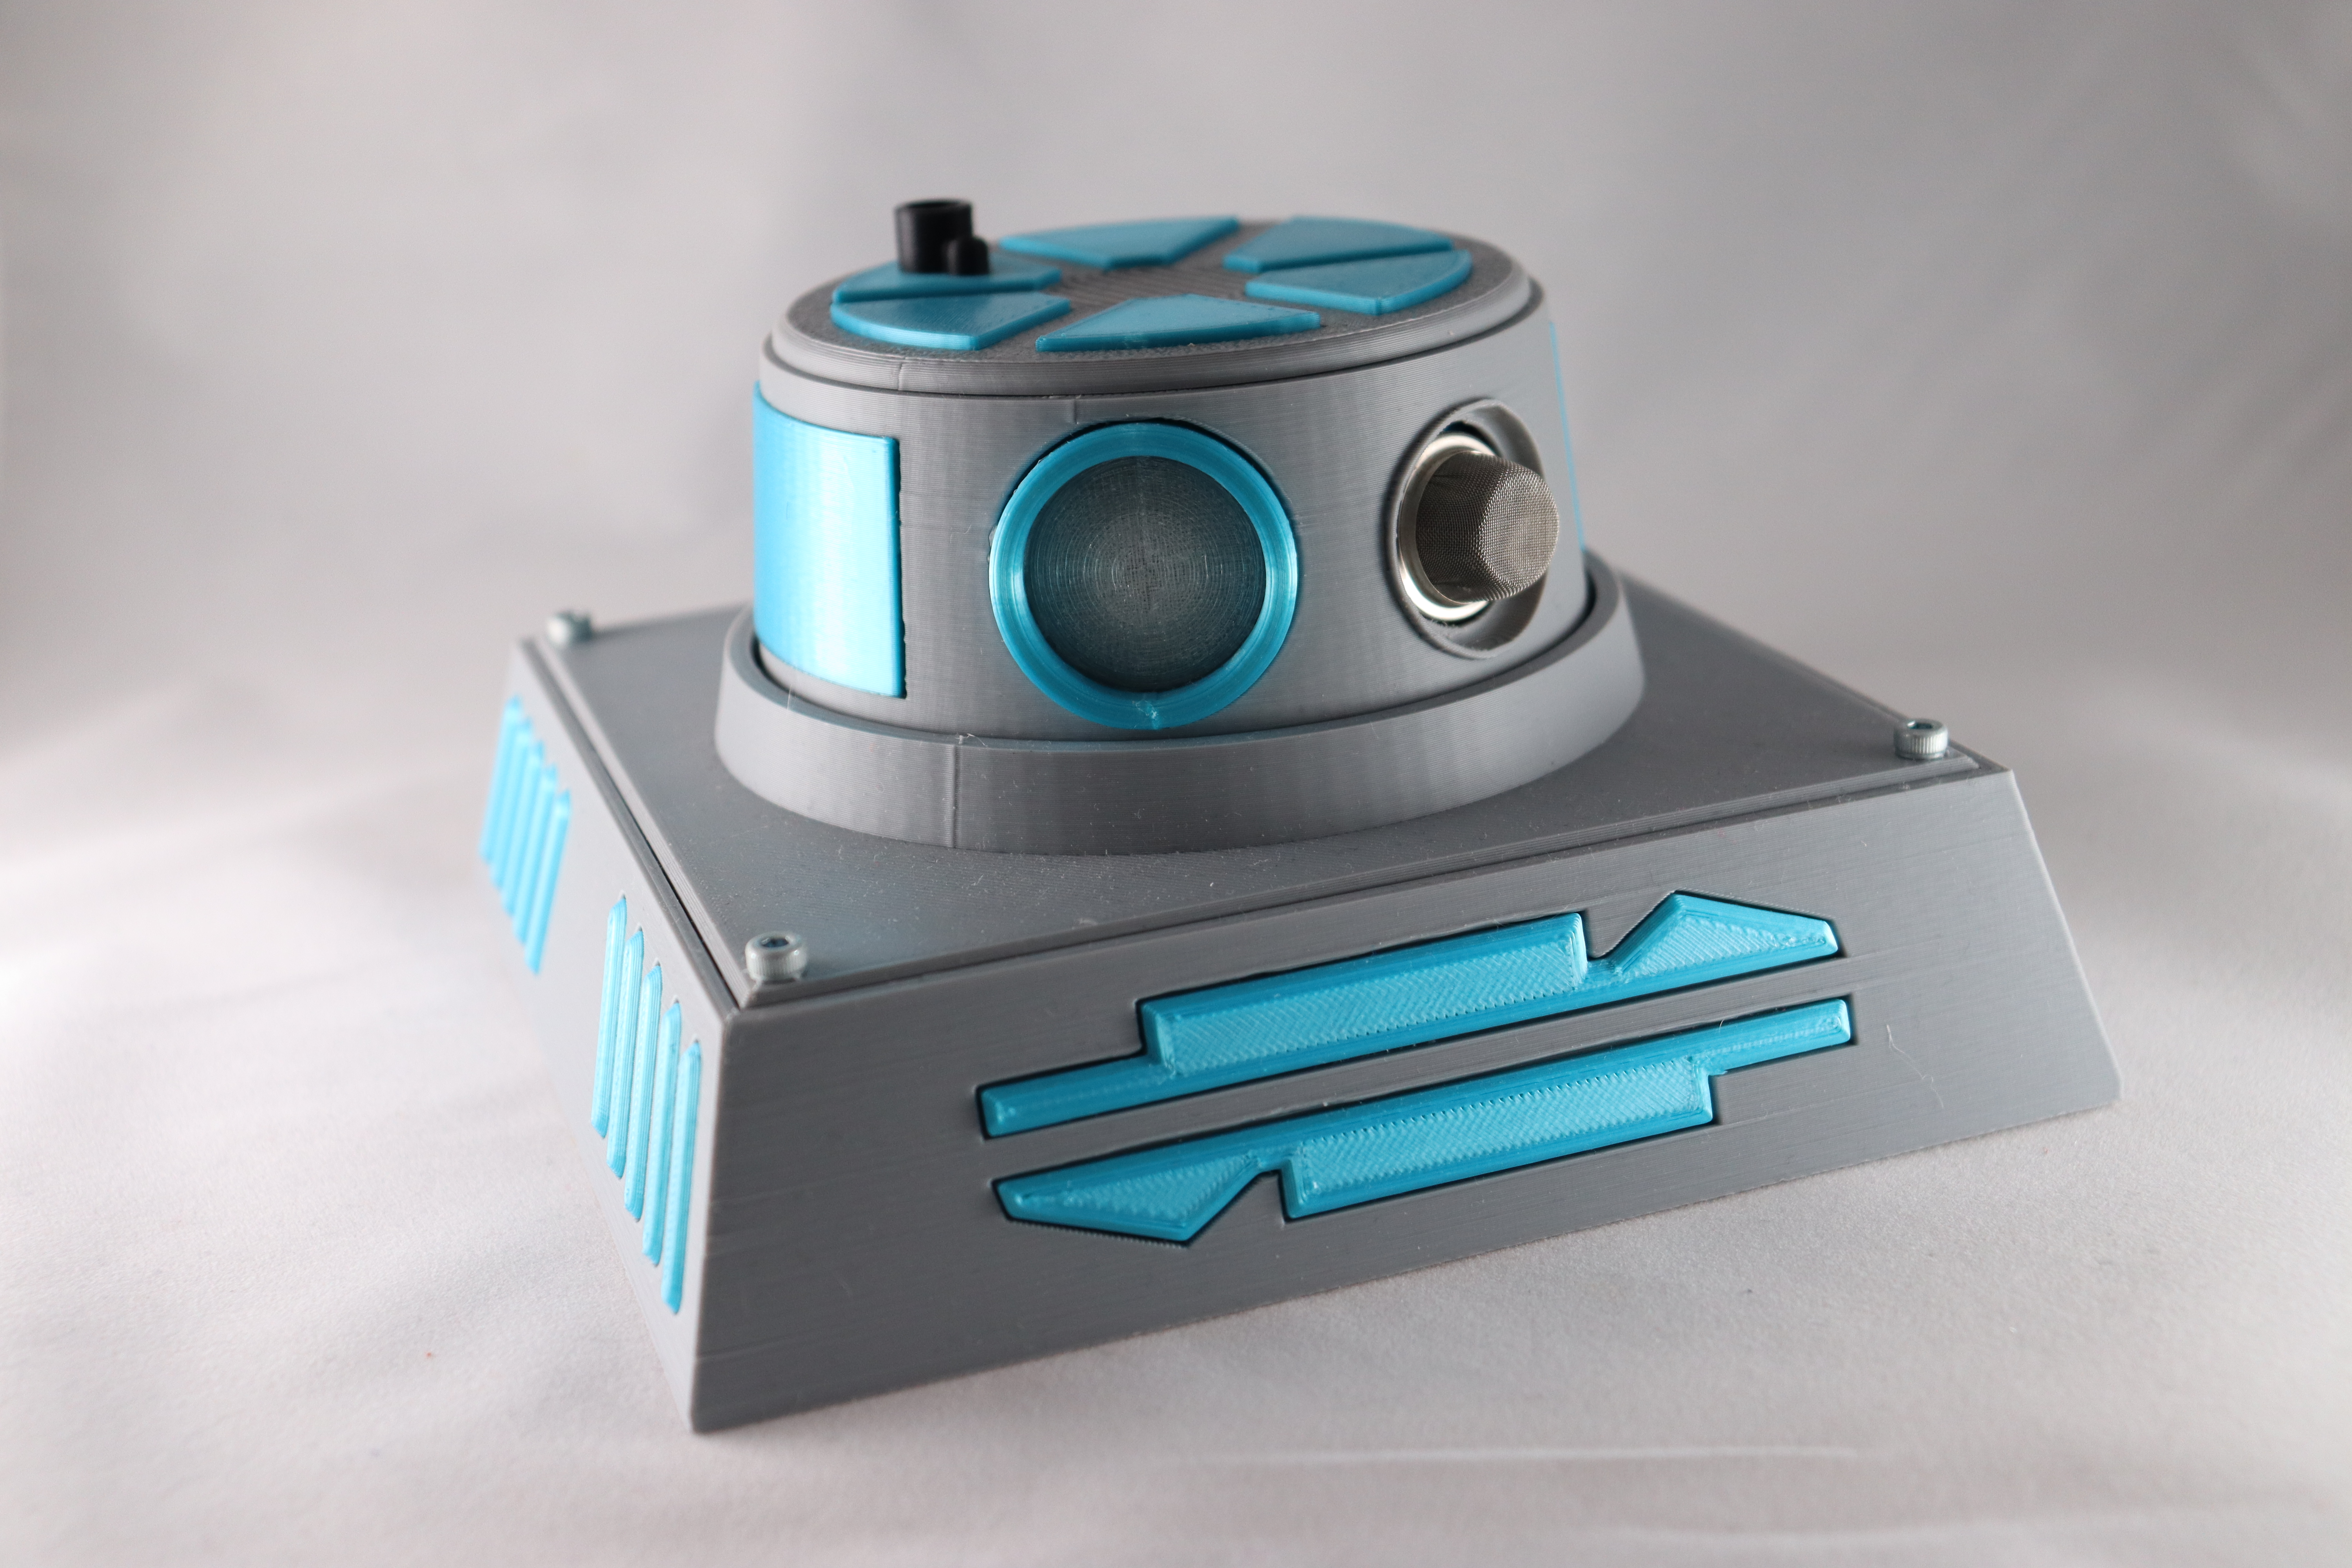
Air Monitoring Droid - Alien Edition
prusaprinters
<p>This is a Remix of the VO-CH Air Monitoring Droid originally made by Bugman.</p><p>This was redesigned to use the component sent in the Alien3D UFO Monthly Box.<br>The major differences are changing the Arduino to a D1 Mini and the air sensor to a MQ-135</p><p>This project will monitor your air quality and work with Alexa/Google to turn on a device to clean your air and then turn it off when the air is at an acceptable level.</p><p>The way this project works is the Arduino will check the air quality constantly using the MQ-135 sensor and once it reaches a certain threshold it will play the saved audio telling your smart home device to turn on the air filter/device you want to clean the air. Once the air quality goes back down to an acceptable level it will play the audio to turn off the filter/device.</p><h3> </h3><h3>UPDATE:</h3><p>There is now 2 sets of Arduino code below. The new code adds WIFI to the board and when you load up the webpage it will show you the air quality number the sensor is reading. All other things still apply like changing the name of the .txt files to .h and .cpp respectively. </p><p> </p><h3>Printing:</h3><p>All parts saved as STL are in the correct orientation, and the only part that needs supports is the head. It only really needs support under the cross section where the servo is mounted.</p><h3> </h3><h3><strong>Components:</strong></h3><ul><li>1 x D1 Mini (esp8266)</li><li>1 x SG90 Servo</li><li>1 x DFPlayer Mini MP3 Player Module</li><li>1 x Micro SD Card to hold your audio files</li><li>1 x MQ-135 Air Quality Sensor</li><li>1 x 60mm round speaker</li><li>Wires</li><li>4 x M3 screws (Not included)</li></ul><p> </p><h3>Wiring Diagram:</h3><figure class="image"><img src="https://media.printables.com/media/prints/243157/rich_content/e05e74e4-8ceb-46ac-9d8e-402072df14df/airdroid_bb.png#%7B%22uuid%22%3A%2283db4a4d-485b-4896-a4d9-ac14bf73dab6%22%2C%22w%22%3A1213%2C%22h%22%3A933%7D"></figure><h5>Important:</h5><p>You will need to bend the pins on the MQ-135 for it to be able to fit into the head of the droid. They need to be bent straight.</p><p> </p><h3>Assembly:</h3><figure class="media"><oembed url="https://youtu.be/8A39XVrllZE"></oembed></figure><p> </p><h3>Preparing the MicroSD Card:</h3><p>You will need an MicroSD card for this project, any size should do as you only need 2 audio files saved into it. You will need to record yourself saying “Hey Alexa(Hey Google) turn On [Device of your choosing]” and the same again but saying to turn it off. You will need to save the files as 0001.Mp3 and 0002.Mp3.<br>The MicroSD card needs to be formatted in FAT not FAT32.<br>The order in which you copy the files into the MicroSD card does matter as well as the dfplayer can use the name but also the file enumeration to select the file to play. So I suggest once you format the card copy in the 0001.mp3 first and then copy the 0002.mp3; if you copy them in accidently backwards you will need to format and do it again (thankfully its quick)</p><h3> </h3><h3>Preparing the Air Sensor:</h3><p>To make sure the air sensor works correctly and accurately you will need to calibrate the sensor. To do this you will need to “burn in” the sensor. It basically means running the sensor for 24 hours and then reading the rzero number that you can then enter into the program to calibrate the sensor.<br>You can visit this website for more details of how it is done:<br><a href="https://hackaday.io/project/3475-sniffing-trinket/log/12363-mq135-arduino-library">https://hackaday.io/project/3475-sniffing-trinket/log/12363-mq135-arduino-library</a> </p><p> </p><h3>Programming:</h3><p>You will need to do a few things to get this programmed. You can start by either renaming the files included in the project from DFPlay.cpp.txt and DFPlay.h.txt to DFPlay.cpp and DFPlay.h respectively or you can download them from their GitHub [This step is no longer necessary as I have uploaded the files as a zip file] <a href="https://github.com/rwpalmer/DFPlay.">https://github.com/rwpalmer/DFPlay.</a> That is the library to control the MP3 player module.<br>These must be in the same Airdroid folder as the Airdroid.ino. You cannot add this library by going to sketch > include library > manage library as it does not appear in the search.</p><p>You will also need to add the MQ-135 library to your Arduino ide. This one you can add through the manage library option in the IDE. You can search for MQ135 and it should be the first one to appear as MQ135 by GeorgeK. Or manually install it from GitHub <a href="https://github.com/GeorgK/MQ135">https://github.com/GeorgK/MQ135</a> </p><p>Next you can load up the Airdroid.ino file and you are almost ready. In my program I did provide some values for UpperLim and LowerLim but these may not be suitable for you and you may need to adjust them as needed and reprogram the d1 mini as needed. </p><p>After make sure the correct board is selected "Node MCU 1.0" and the correct port and them program it by pressing sketch > upload.</p><h5>Extra info for wifi version:</h5><p>For the AirDroidWifi.ino version you may need to add 3 more libraries to your Arduino ide software</p><ul><li>ESP8266WiFi</li><li>WiFiClient</li><li>ESP8266WebServer</li></ul><p>Also you will need to change the generic wifi ssid and wifi password to your own before you compile and send to your board.<br>Once it is compiled and sent through the serial monitor you should see the IP address of your board and if you enter that into a browser you will get the air quality number being read by the sensor. If you want to update the number refresh the webpage and it will do it again.</p><p> </p>
With this file you will be able to print Air Monitoring Droid - Alien Edition with your 3D printer. Click on the button and save the file on your computer to work, edit or customize your design. You can also find more 3D designs for printers on Air Monitoring Droid - Alien Edition.
