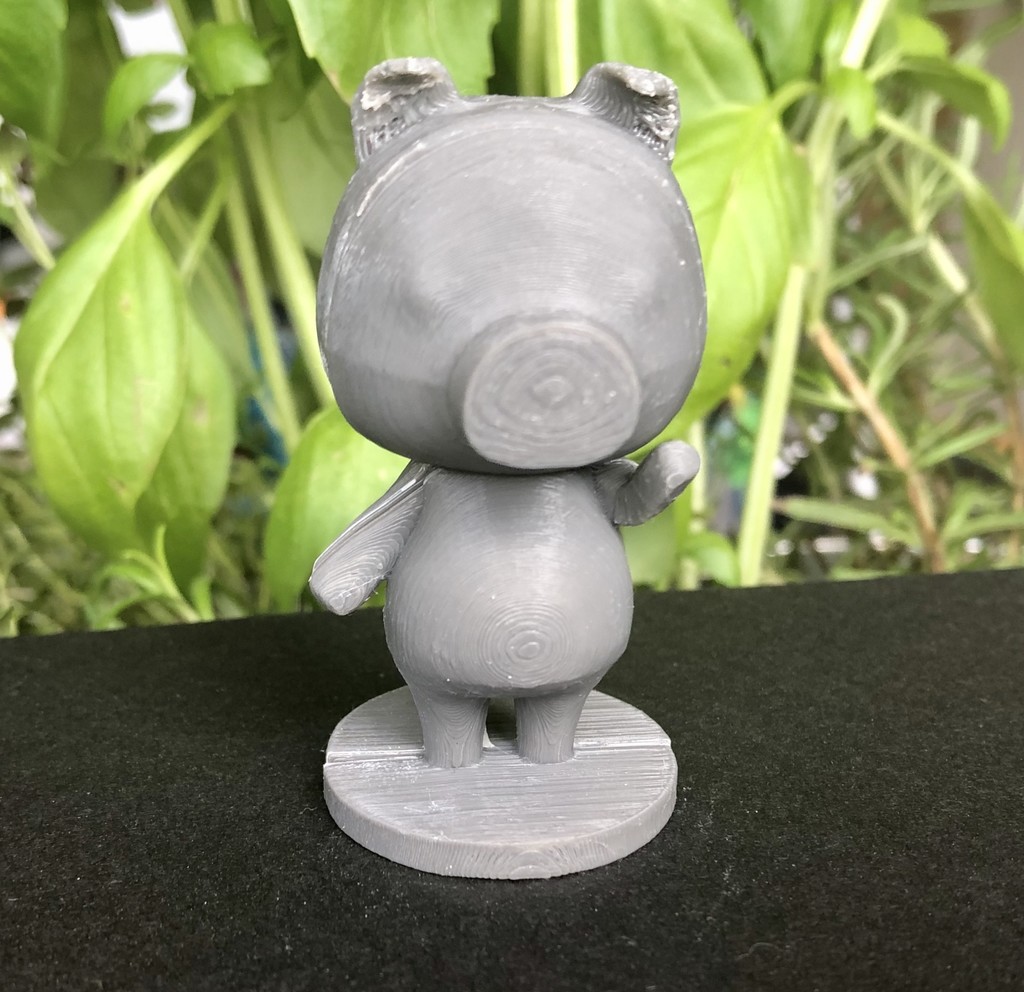
Agnes - Animal Crossing
thingiverse
I'd like to thank Centrixe for sharing their Pocket Camp model. I took it upon myself to pose it, add a base and optimize it for printing. The result is a print that comes in two pieces, which you'll need to glue together at the end. When it comes to printing settings, I highly recommend using both a brim and supports. My prints are done at a resolution of 0.12 mm, and this setting has worked wonders for me. For gluing, I use Locite super glue. I start by lining up the base and applying a small amount of glue, allowing it to dry before moving on to the head. This gives me the flexibility to make any necessary adjustments for warping. The model can be easily customized with paint, depending on how you choose to decorate it. If you do decide to paint, I recommend starting with a coat of primer and then using acrylic craft paint from Walmart. Thin it out with water first, as this will help achieve the best results. Once your masterpiece is complete, consider adding a protective clear coat by spraying Krylon Colormaxx Clear - Flat over the top.
With this file you will be able to print Agnes - Animal Crossing with your 3D printer. Click on the button and save the file on your computer to work, edit or customize your design. You can also find more 3D designs for printers on Agnes - Animal Crossing.
